Resources
Welcome to WAZER, the first desktop waterjet. Please read the User Manual and important Safety Directives before setting up or operating your WAZER. Contact Customer Support to let us know how it's going!

Welcome to WAZER, the first desktop waterjet. Please read the User Manual and important Safety Directives before setting up or operating your WAZER. Contact Customer Support to let us know how it's going!
WAZER is a powerful system; please read, understand, and follow these safety guidelines to avoid damage or injury.
You will learn about the operating principles of WAZER and familiarize yourself with its components. It may be tempting to skip this section, but understanding these concepts will be helpful every time you use WAZER.
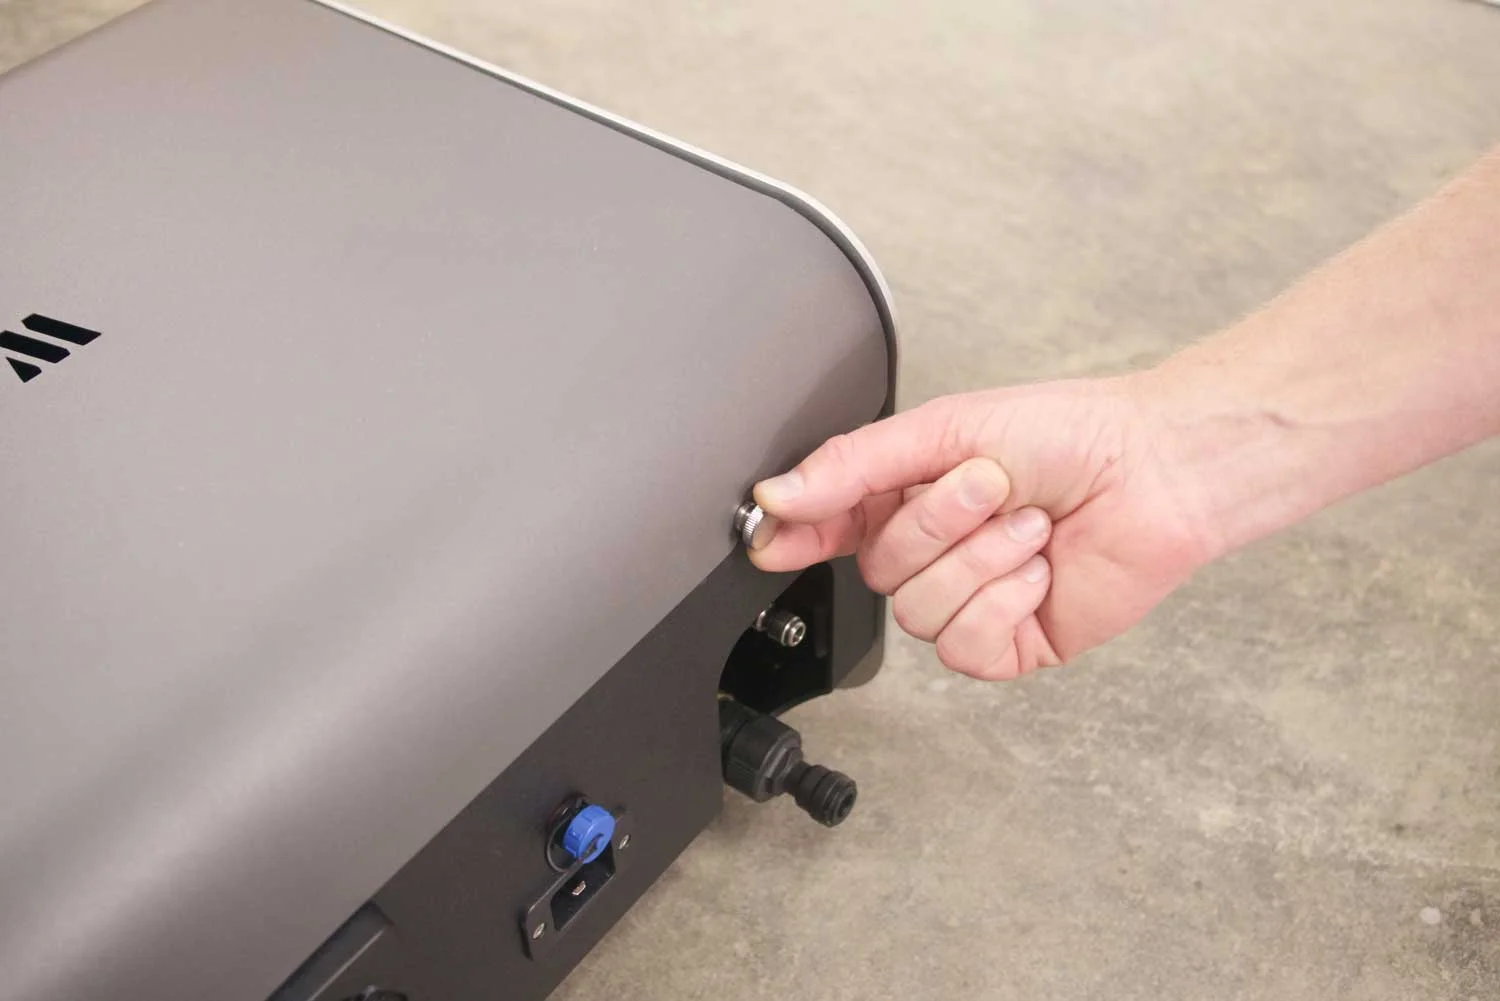
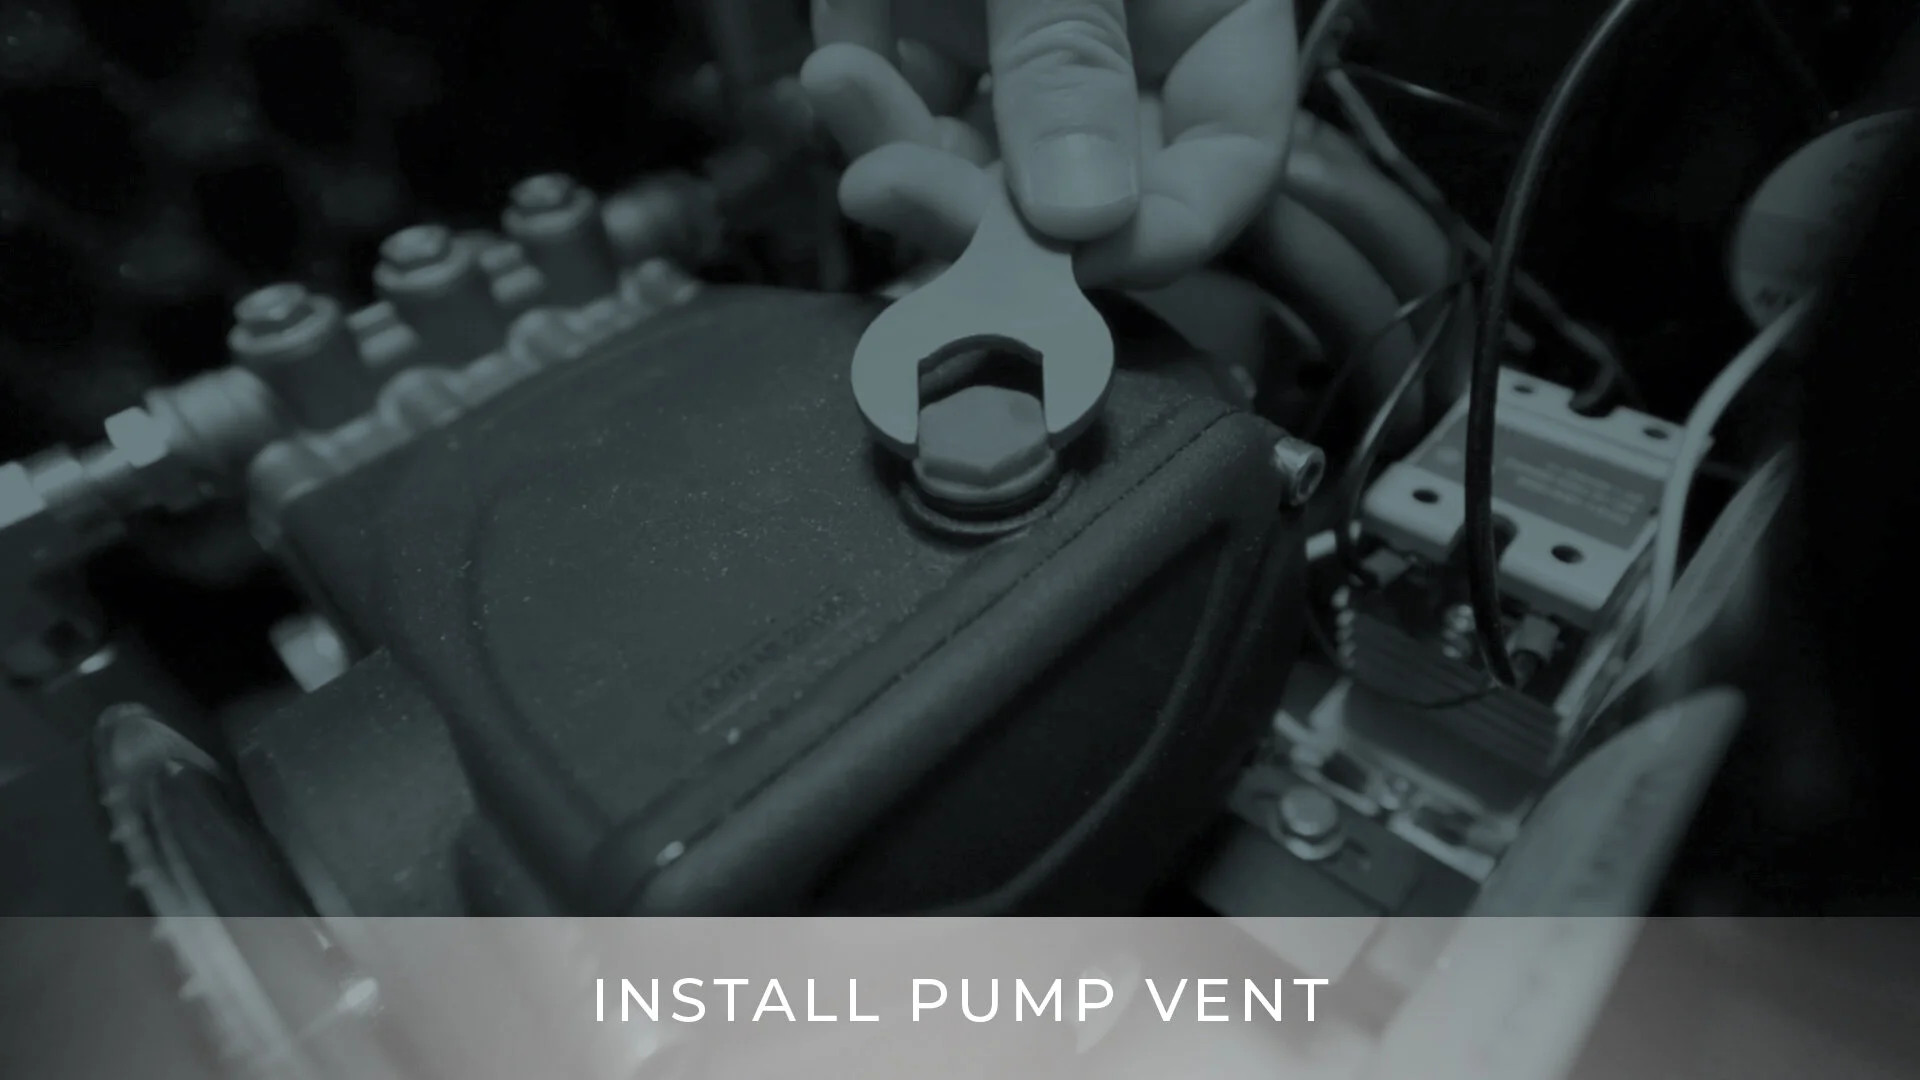
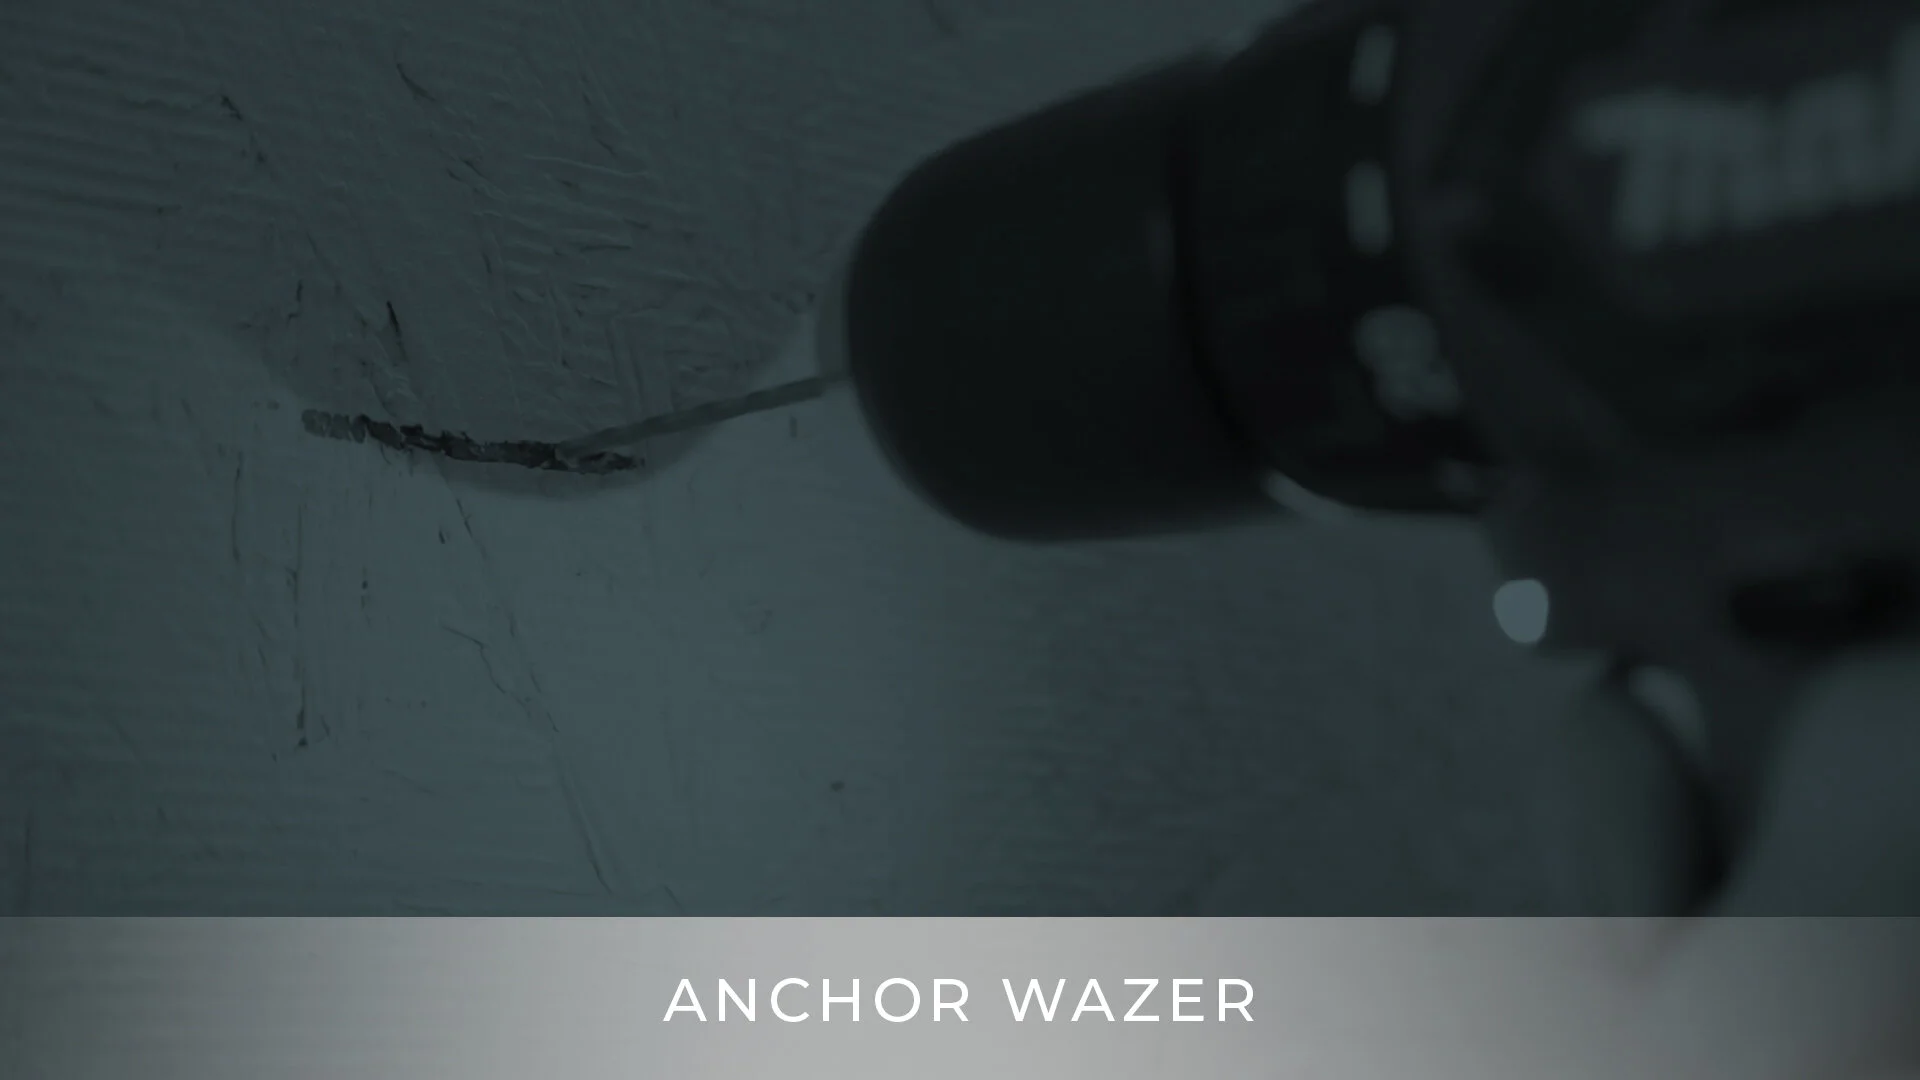
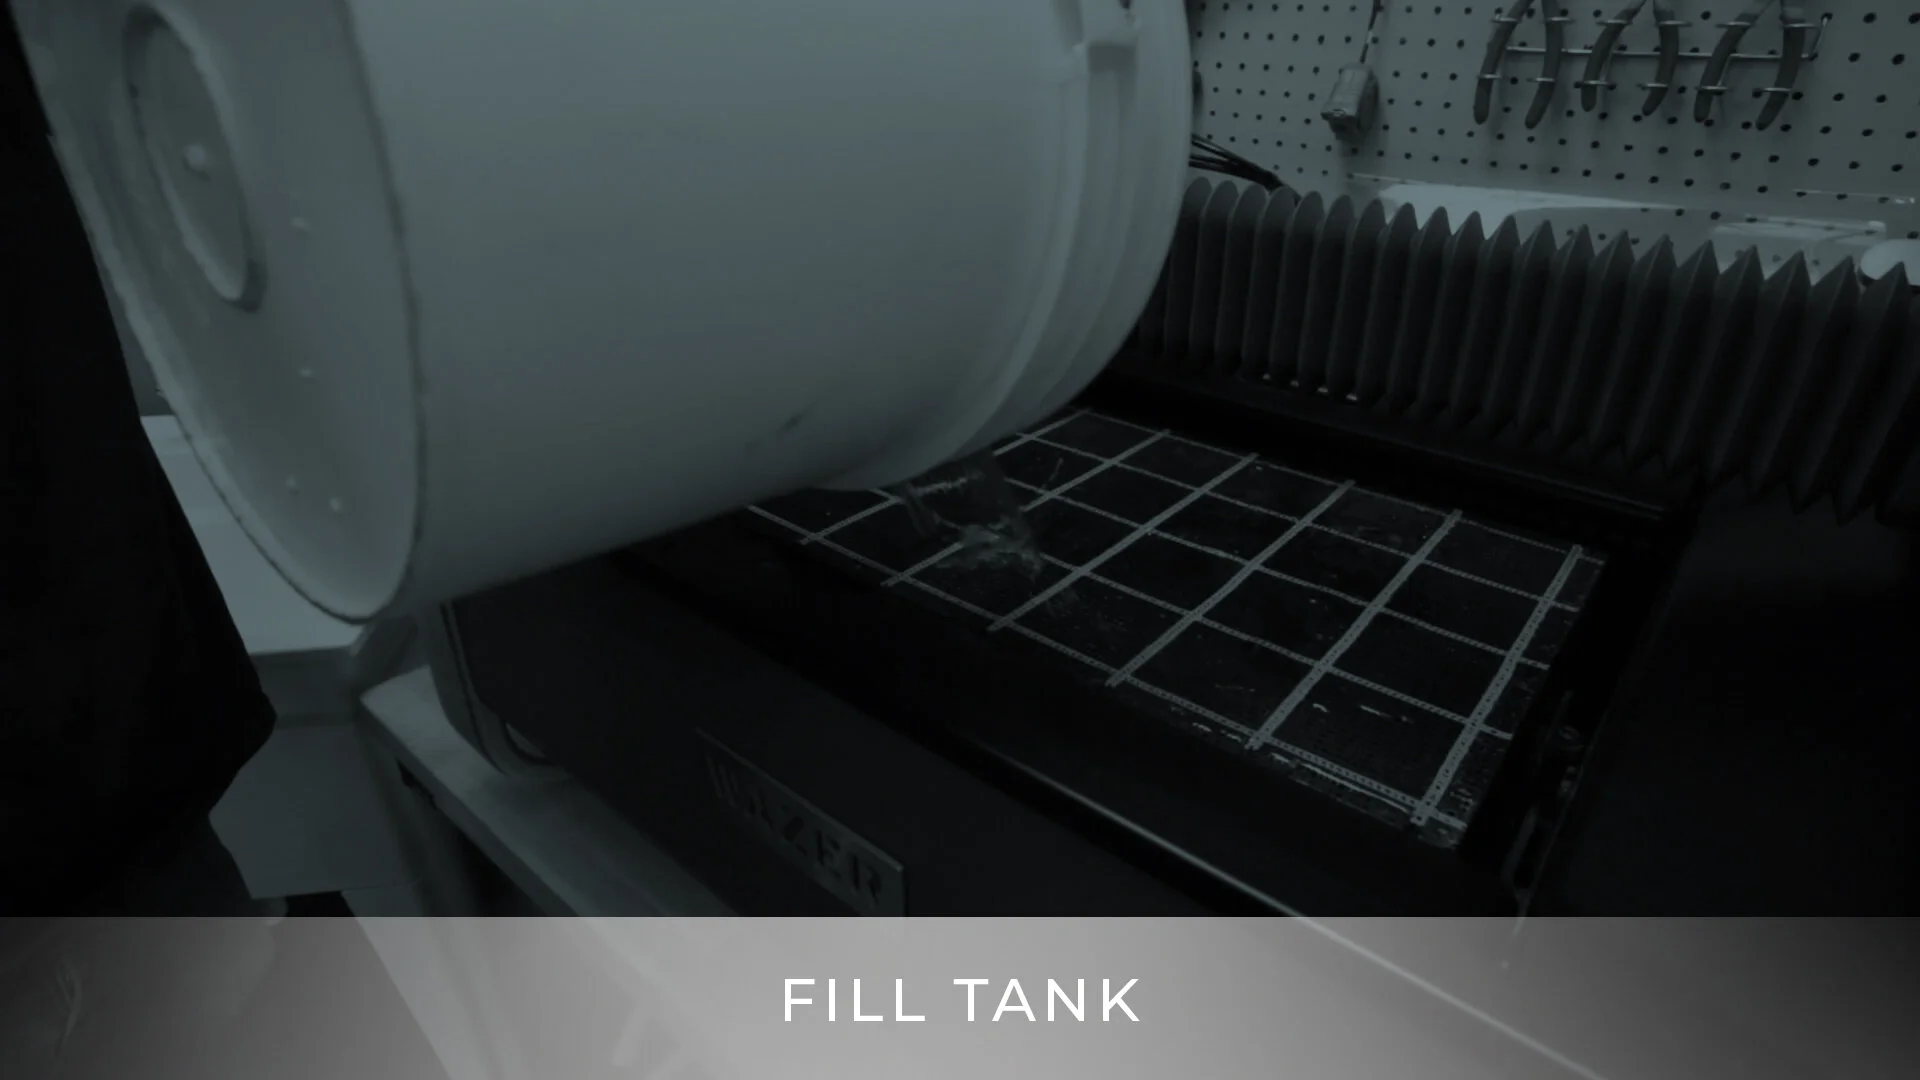
Walk through the process of setting up WAZER. It is important to follow the instructions here very carefully to ensure successfully operating your WAZER.
WAZER is a powerful system; please read, understand, and follow these safety guidelines to avoid damage or injury.
Please follow the provided Maintenance Schedule for your WAZER. If you do not abide to the regular maintenance procedures and schedule, the warranty and support for your WAZER will be void.
An overview of all maintenance & machine procedures you may need to follow in order to properly operate, maintain, or troubleshoot your WAZER.
An overview of the WAZER software WAM. This section contains in-depth guides into the features of WAM as well a instructions to get the most of the WAM software
Like any machine WAZER will occasionally have issues. Explore common problems and their solutions:
A collection of our most useful tips and tricks. We’ve learned a lot about how WAZER works best.
When storing WAZER for a long period of time it is good practice to clean and drain the unit before storage. This will prevent the growth of bacteria and mold inside as well as prolong the life of many of the internal seals. This procedure is crucial in winter when the WAZER needs to be protected from freezing temperature. Water expands when freezing, thus when water is left in WAZER it will destroy tubing, valves, and fixtures when it freezes.
Partial Cutting occurs when WAZER partially cuts through your Material, but it fails to fully cut through. You will also see a directed water spray in the direction opposite of the Gantry motion.
We discovered a batch of our Low Pressure Filter Kits went out with an insufficient amount of Teflon tape on the Low Pressure Gauge threads. This leads to a slow drip that certainly less than ideal. Luckily the fix is quite quick and if you are experiencing the problem WAZER support can send you a roll of Teflon tape to carry out the following procedure.
Having a level Cut Bed is critical. If it isn’t level, this can result in Partial Cutting, a Cut failure, or damage to WAZER.
Water may spill out of the fitting that is located at the bottom of the Abrasive Hopper.
There is a bug that was just discovered where old versions of the “Welcome Cut” file can cause the controller to freeze early in the cut if the controller is updated to the newest firmware
Required for initial WAZER set-up! Ensure the water lines have no air in them and are fully primed with water.
The guide will help diagnose a distorted cut result. The may look like gantry shaking or the gantry can’t reach the cutting extents.
This guide will give you some insights into what we have learned about cutting various materials and thicknesses, tricks and reminders to make everything from sourcing material to fixturing more efficient.
The WAZER produces a cut finish which for some is acceptable right out of the machine and for others is the first step in a larger finishing process. These are some of our recommendations for what to do after your cut has finished.
Hard water, water that as a high mineral content, can have an effect on the long term reliability of the WAZER. This article outlines what to expect and how to mitigate some of the problems
Overtime the Nozzle on your WAZER will gradually wear out. Most of the time the way a nozzle fails is not instantaneous, so understanding how it wears will help you decide when it is time to replace the nozzle.
The WAZER team regularly uses this method to see how the material is to be cut by the WAZER. It can help you understand the order parts will be cut out and the path that the machine will take
This tutorial will walk you through converting the edges in an image into vector paths which you can then cut. We use a free Photoshop type program called Gimp to do this. You can accomplish the same process with other software in much the same way.
The WAZER team regularly uses this method to remove connectors as needed. This is an easy way to reach connectors in the right side cavity of the Main Unit.
“Customer Support
WAZER Customer Support is here to help. If you need help with your WAZER, please get in touch with Customer Support.”