Machine Procedures
An overview of all maintenance & machine procedures you may need to follow in order to properly operate, maintain, or troubleshoot your WAZER.
Pump & High Pressure System
The High-Pressure System is the heart of the WAZER. It includes the pump, all the high-pressure plumbing, the valve, and the cut head. Keeping this system running well is vital to the performance of the WAZER.
This section includes some preventative maintenance as well as fixes for common problems. There are also a few wear components in this system - replacements are available at the WAZER shop.
Required for initial WAZER set-up! This procedure will ensure that both the low-pressure and the high-pressure water lines have no air in them and are fully primed with water, setting up your machine to have an error free and flawless cut.

This guide will walk you through the process for preparing the WAZER for long term storage. This is crucial to do in winter if the machine will be subjected to freezing temperatures.

If WAZER was shut down or turned off before completing a cut, the system is still under high pressure. To release the high pressure perform a Nozzle Purge.

The High-Pressure Hoses need to be checked for wear every 20–50 hours. If you do not properly identify wear in the High-Pressure O-Rings, they can become damaged and lead to a severe leak.

All the water going into the system is filtered at the water inlet of the pump. Over time, this can accumulate debris and sediment commonly found in most water mains. If you have particularly old plumbing, you may need to clean your filter more often.
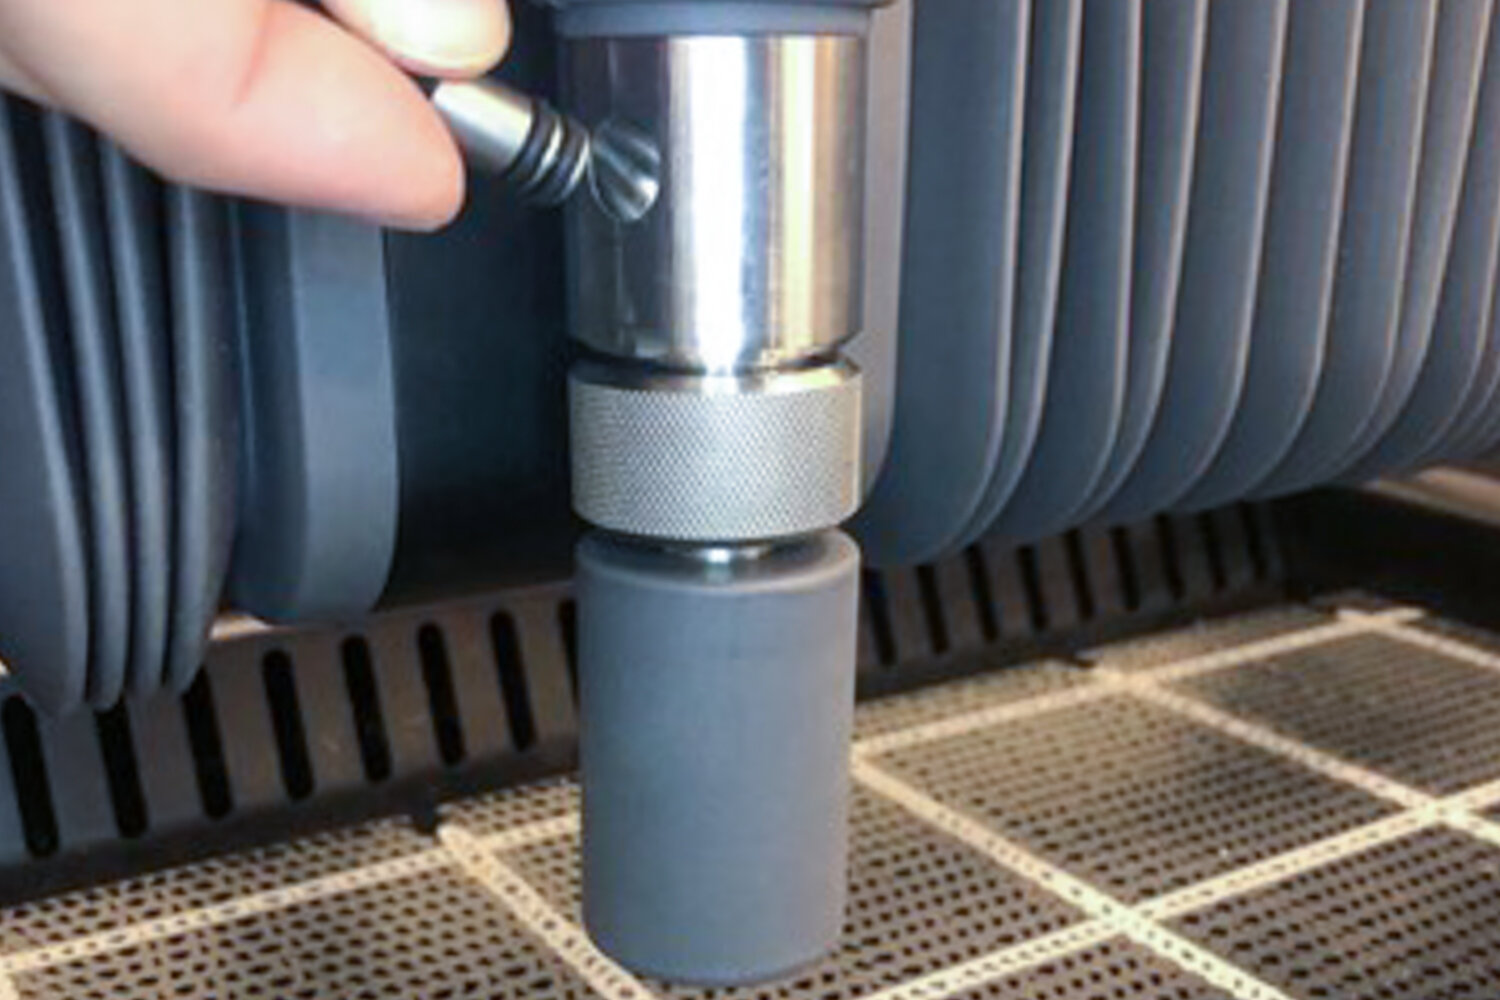


The nozzle assembly is wear component and needs to be replaced after around 300 hours of cutting. The following guide details the replacement procedure.

On rare occasion it is possible to clog the nozzle with compacted abrasive. Fortunately it is a quick procedure to clear the nozzle.

We discovered a batch of our Low Pressure Filter Kits went out with an insufficient amount of Teflon tape on the Low Pressure Gauge threads. This leads to a slow drip that certainly less than ideal. Luckily the fix is quite quick and if you are experiencing the problem WAZER support can send you a roll of Teflon tape to carry out the following procedure.

The filter cannister is a mechanical system. It has multiple threaded interface and seals, thus sometimes you may find leaking to deal with, or maintenance needs to be performed.

You will need to replace the WAZER’s Orifice after 300+hr of run time, when the performance of your WAZER starts to decline, or if the orifice is damaged.
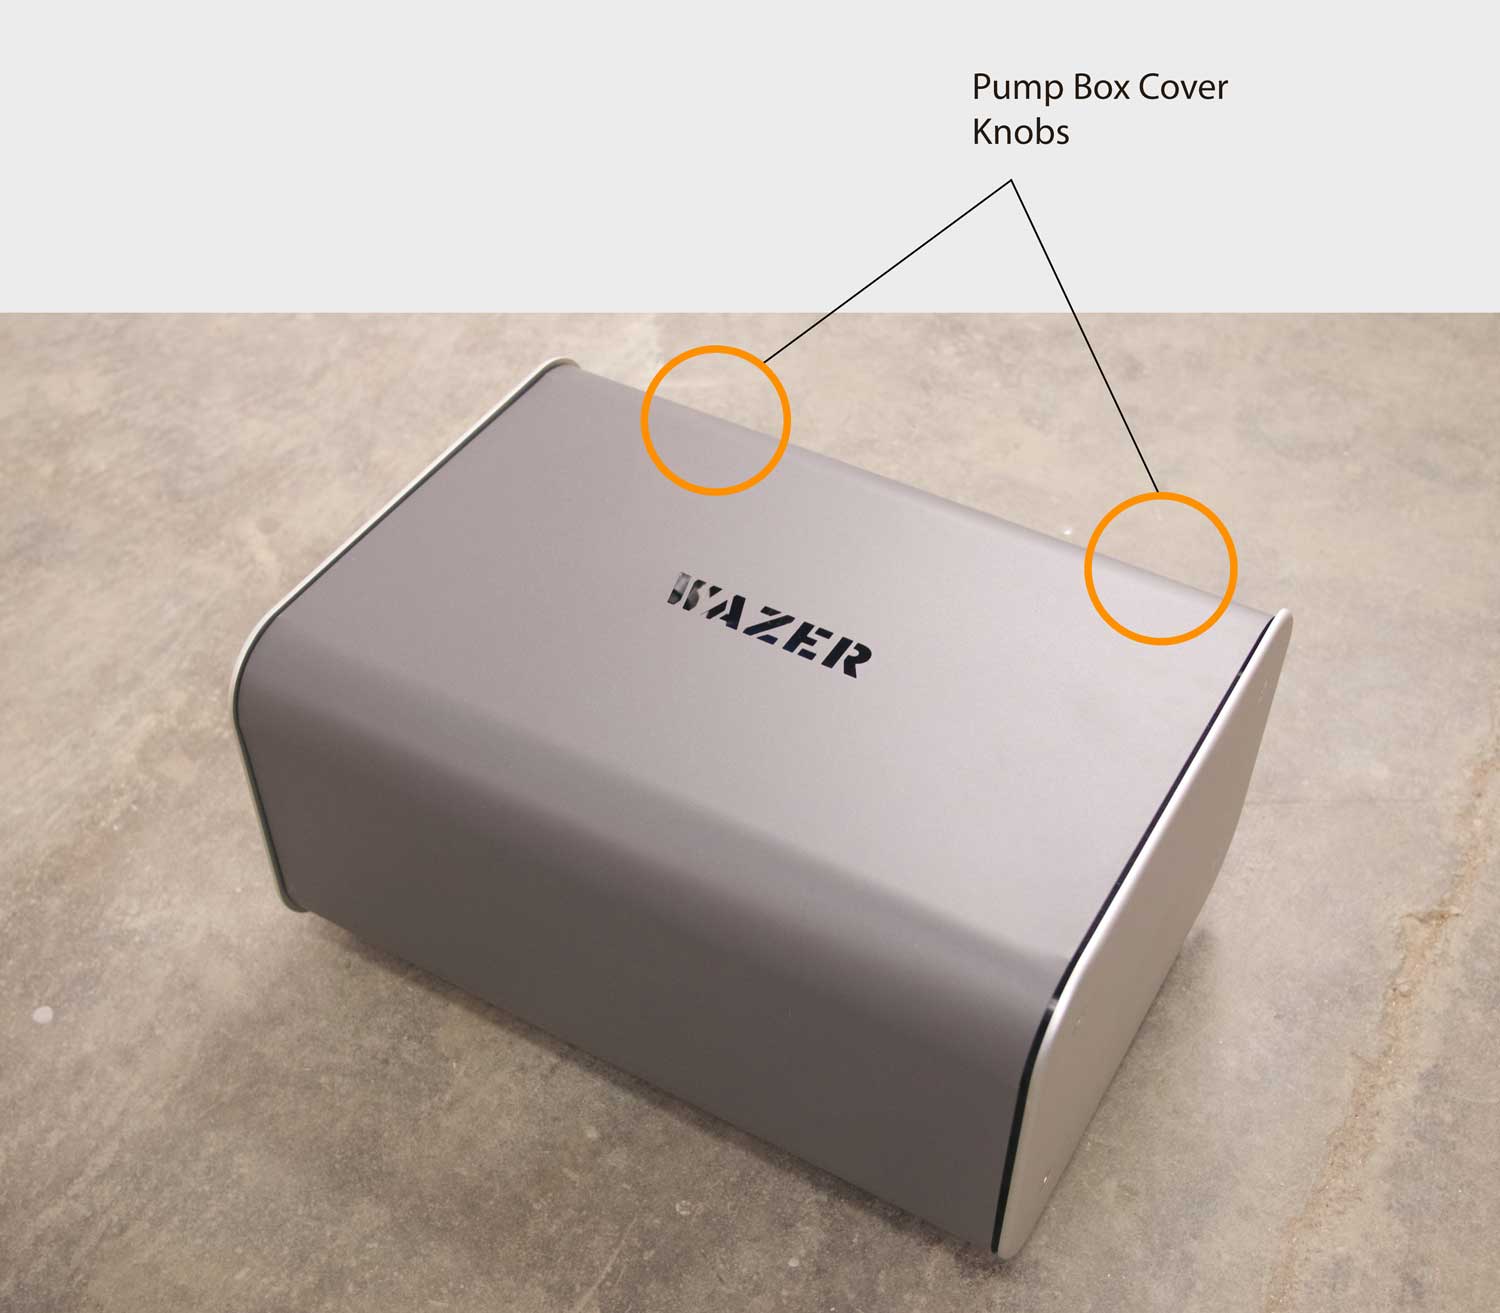
The Pump Box oil needs to be changed after the first 50 hours of use, and then every 300 hours after that.

Required for all WAZER set-up! This procedure will guide you to install the filter canister that will protect your WAZER from impurities in the water supply.

This procedure will guide you to install the very helpful add on that comes with your WAZER: the sprayer.

Required for all WAZER set-up! This procedure will guide you to install the water inlet check valve that will prevent any potential backflow of water into your water supply system

The nozzle filter core is the last defense in the high pressure system before the water reaches Jewel Orifice. Perform the cleaning regularly to prevent hours of repair work in the long run
Required for all WAZER set-up! This procedure will guide you to install the water inlet check valve that will prevent any potential backflow of water into your water supply system
Dry Abrasive System
The Dry Abrasive System manages the garnet as it travels from the hopper all the way to the Cut Head where it is accelerated to do the cutting.
This system does not have many parts, but will need maintenance and contains a few wear components that will need to be replaced when they reach the end of their life. Please contact support for replacements.


An abrasive clog is a blockage at some point in the abrasive stream. The most common area that this occurs in is the abrasive hose.

The end of the Abrasive Hose accumulates silt over time and can result in the clogging of the line, which can ruin your Cut.

This is a quick way to find out if your Abrasive Hopper is clogged and if your Abrasive Valve is operating smoothly.

In addition to the Dry Abrasive Hose, another area that an abrasive blockage can occur is in the Abrasive Hopper and/or mechanism at the bottom.
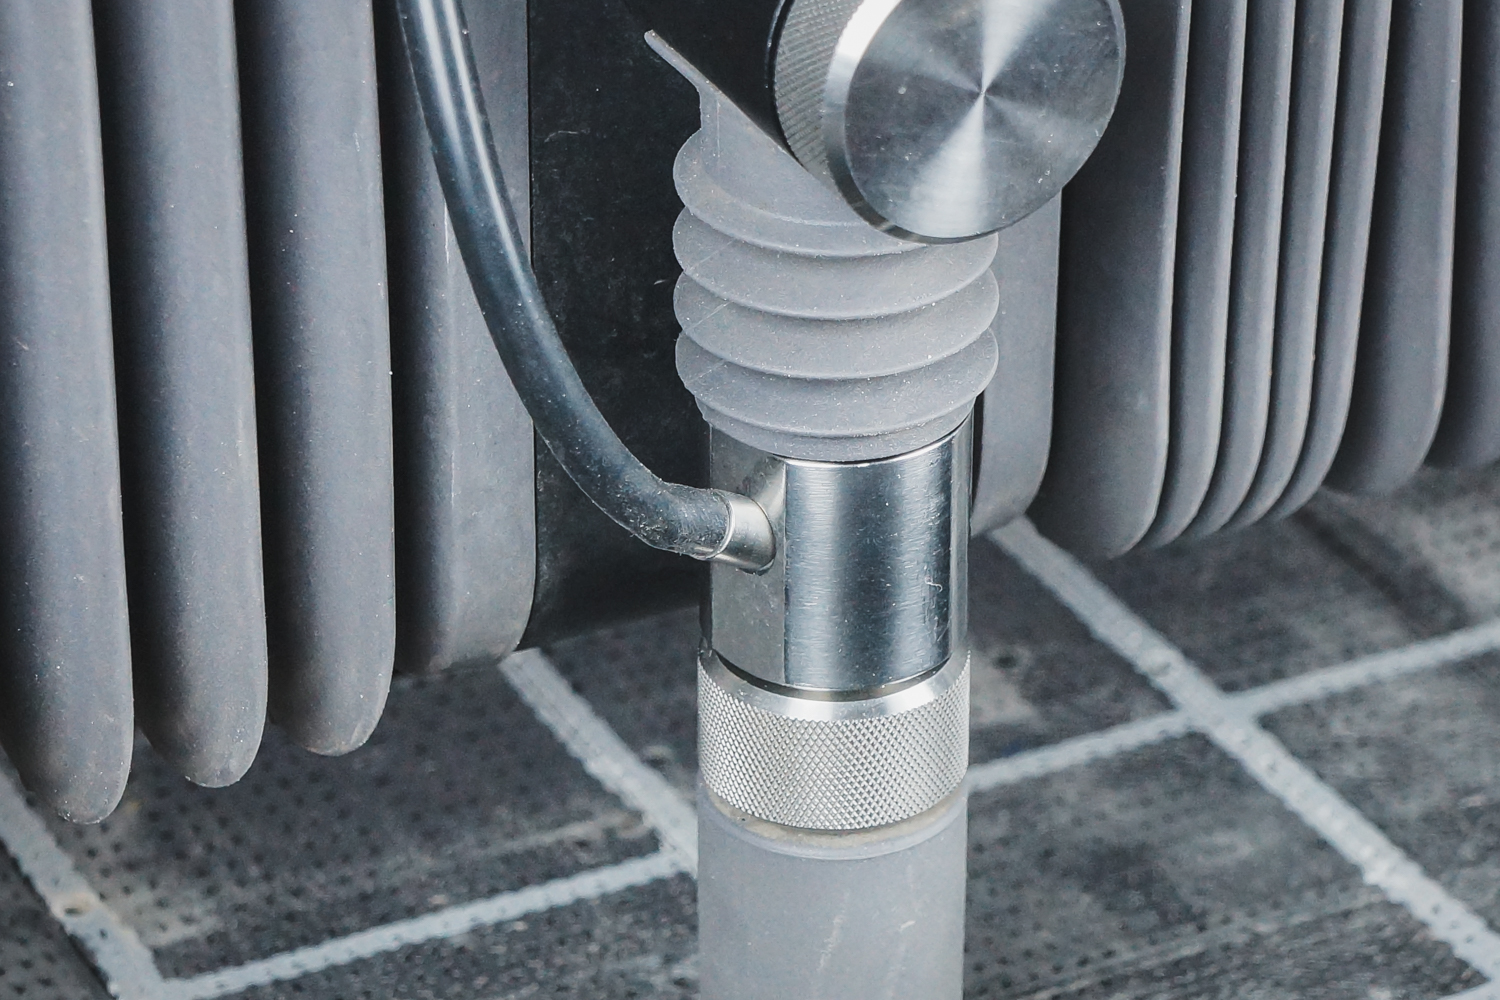
It is important that the Abrasive Hose End is fully inserted into the Cutting Head. The WAZER sucks up a carefully metered amount of abrasive from the Abrasive Hopper. So, if there is any air leak, the abrasive rate will reduce and the cut performance will be degraded
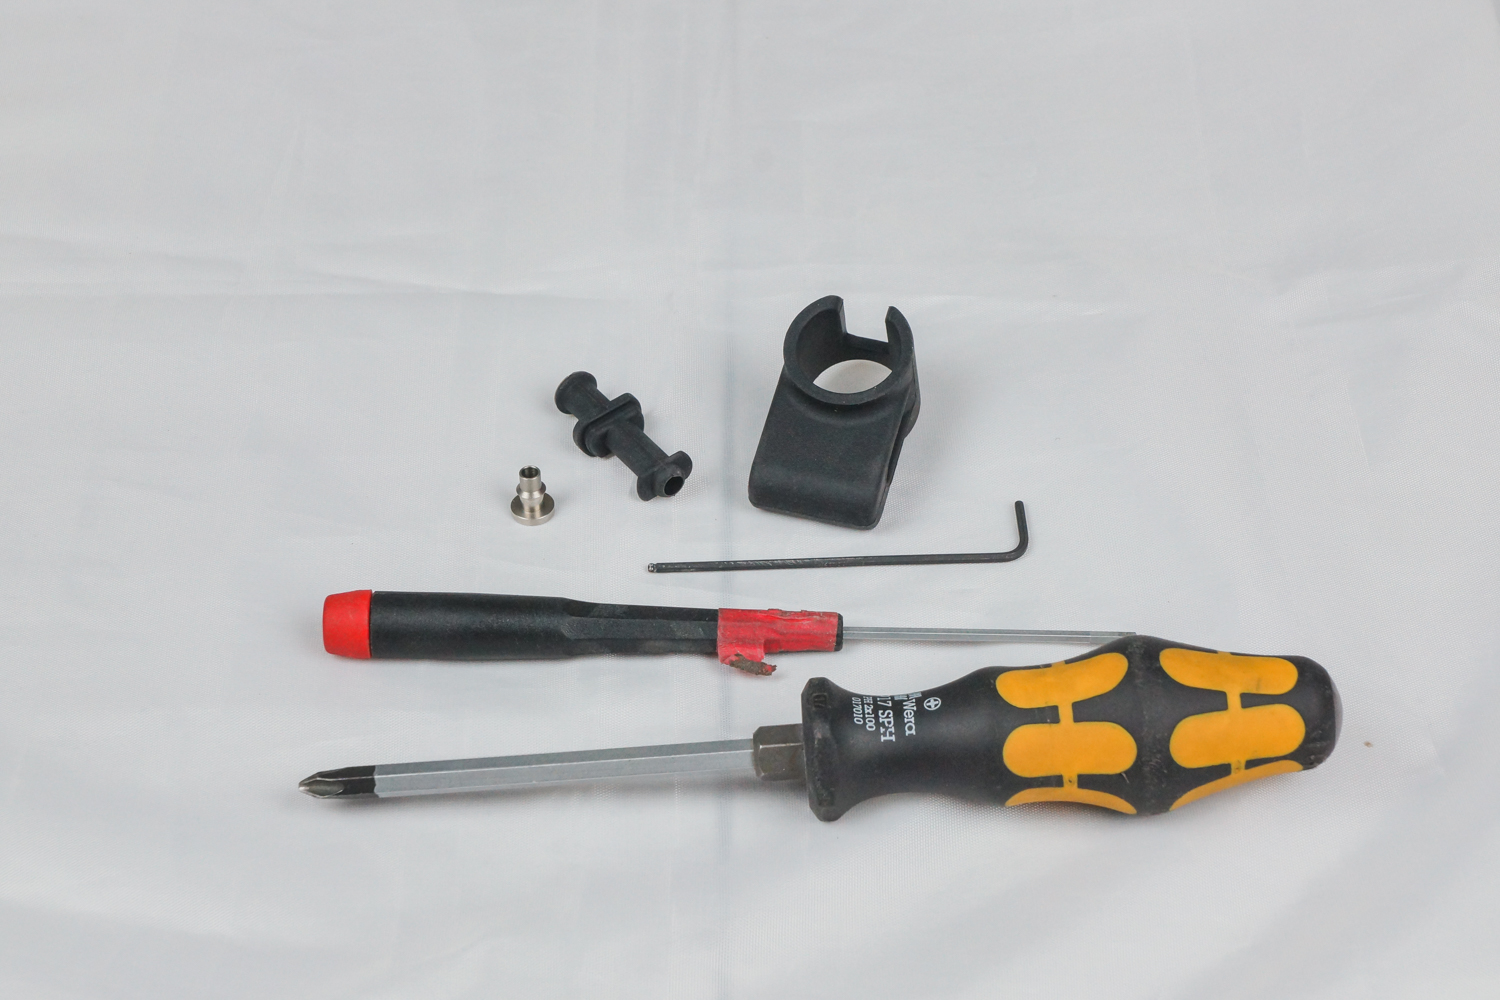

This guide teaches you how to adjust and reset the abrasive flow rate to maintain best cutting quality.

What to do when your valve won’t open. Sometimes after a severe clog abrasive will find its way into the inner workings of the pinch valve. To fix this requires the disassembly and cleaning of the pinch valve.
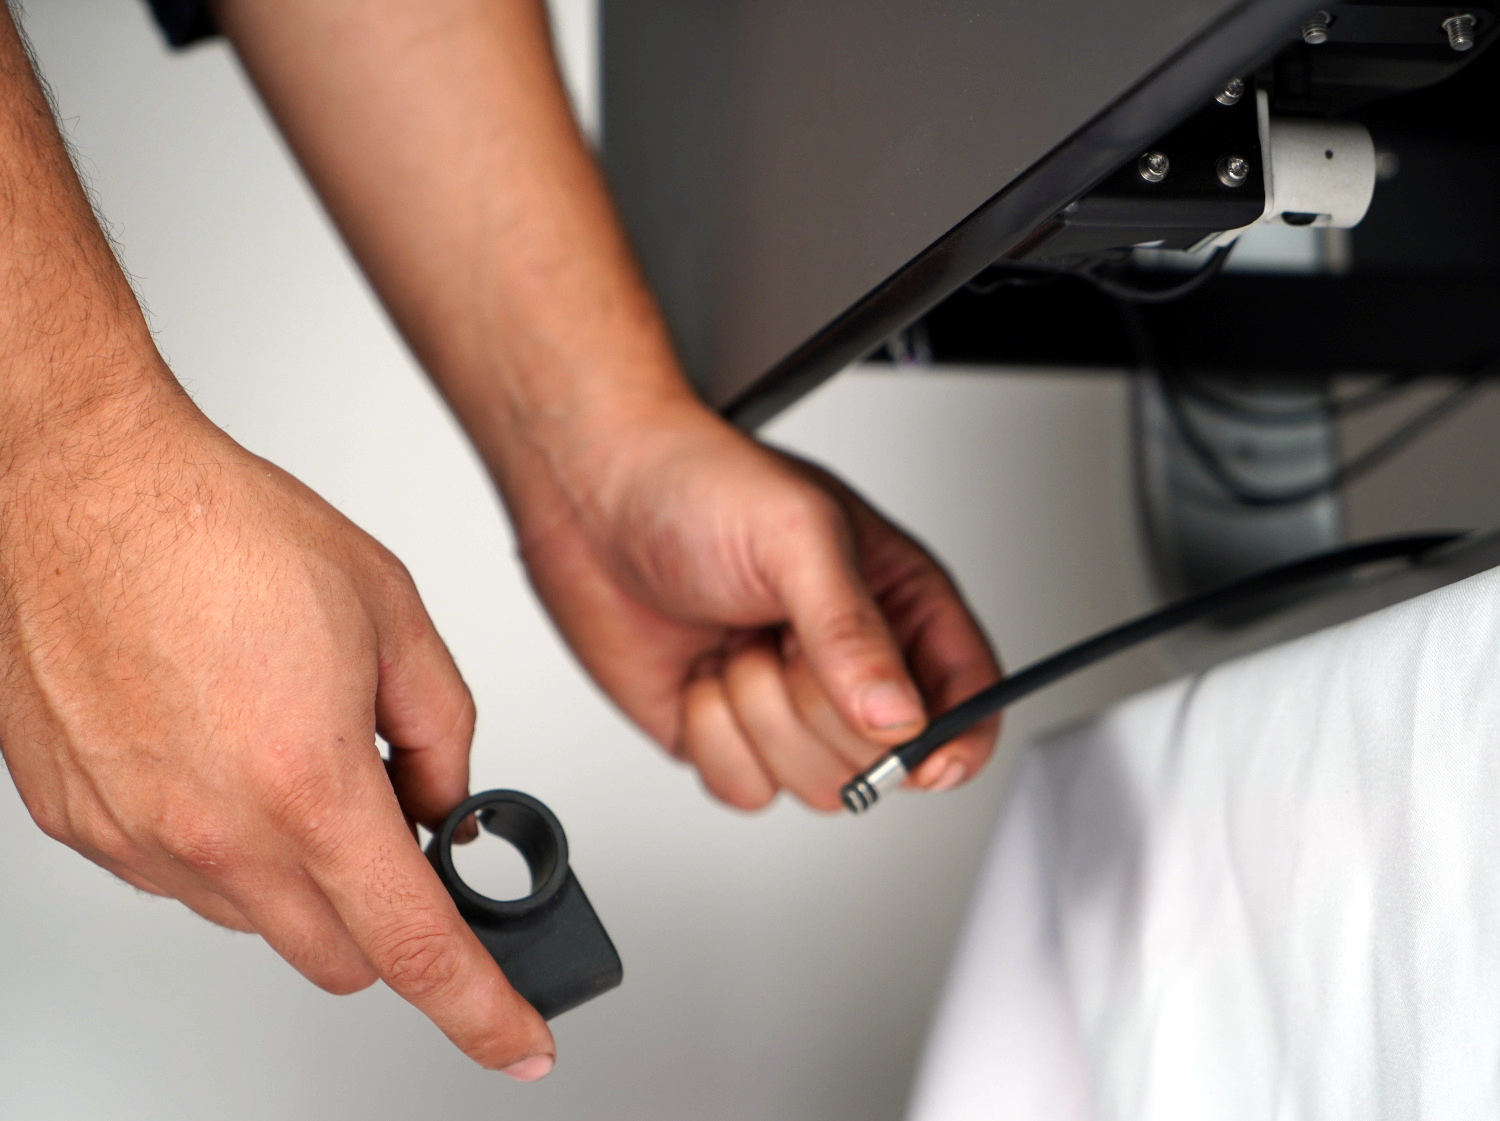

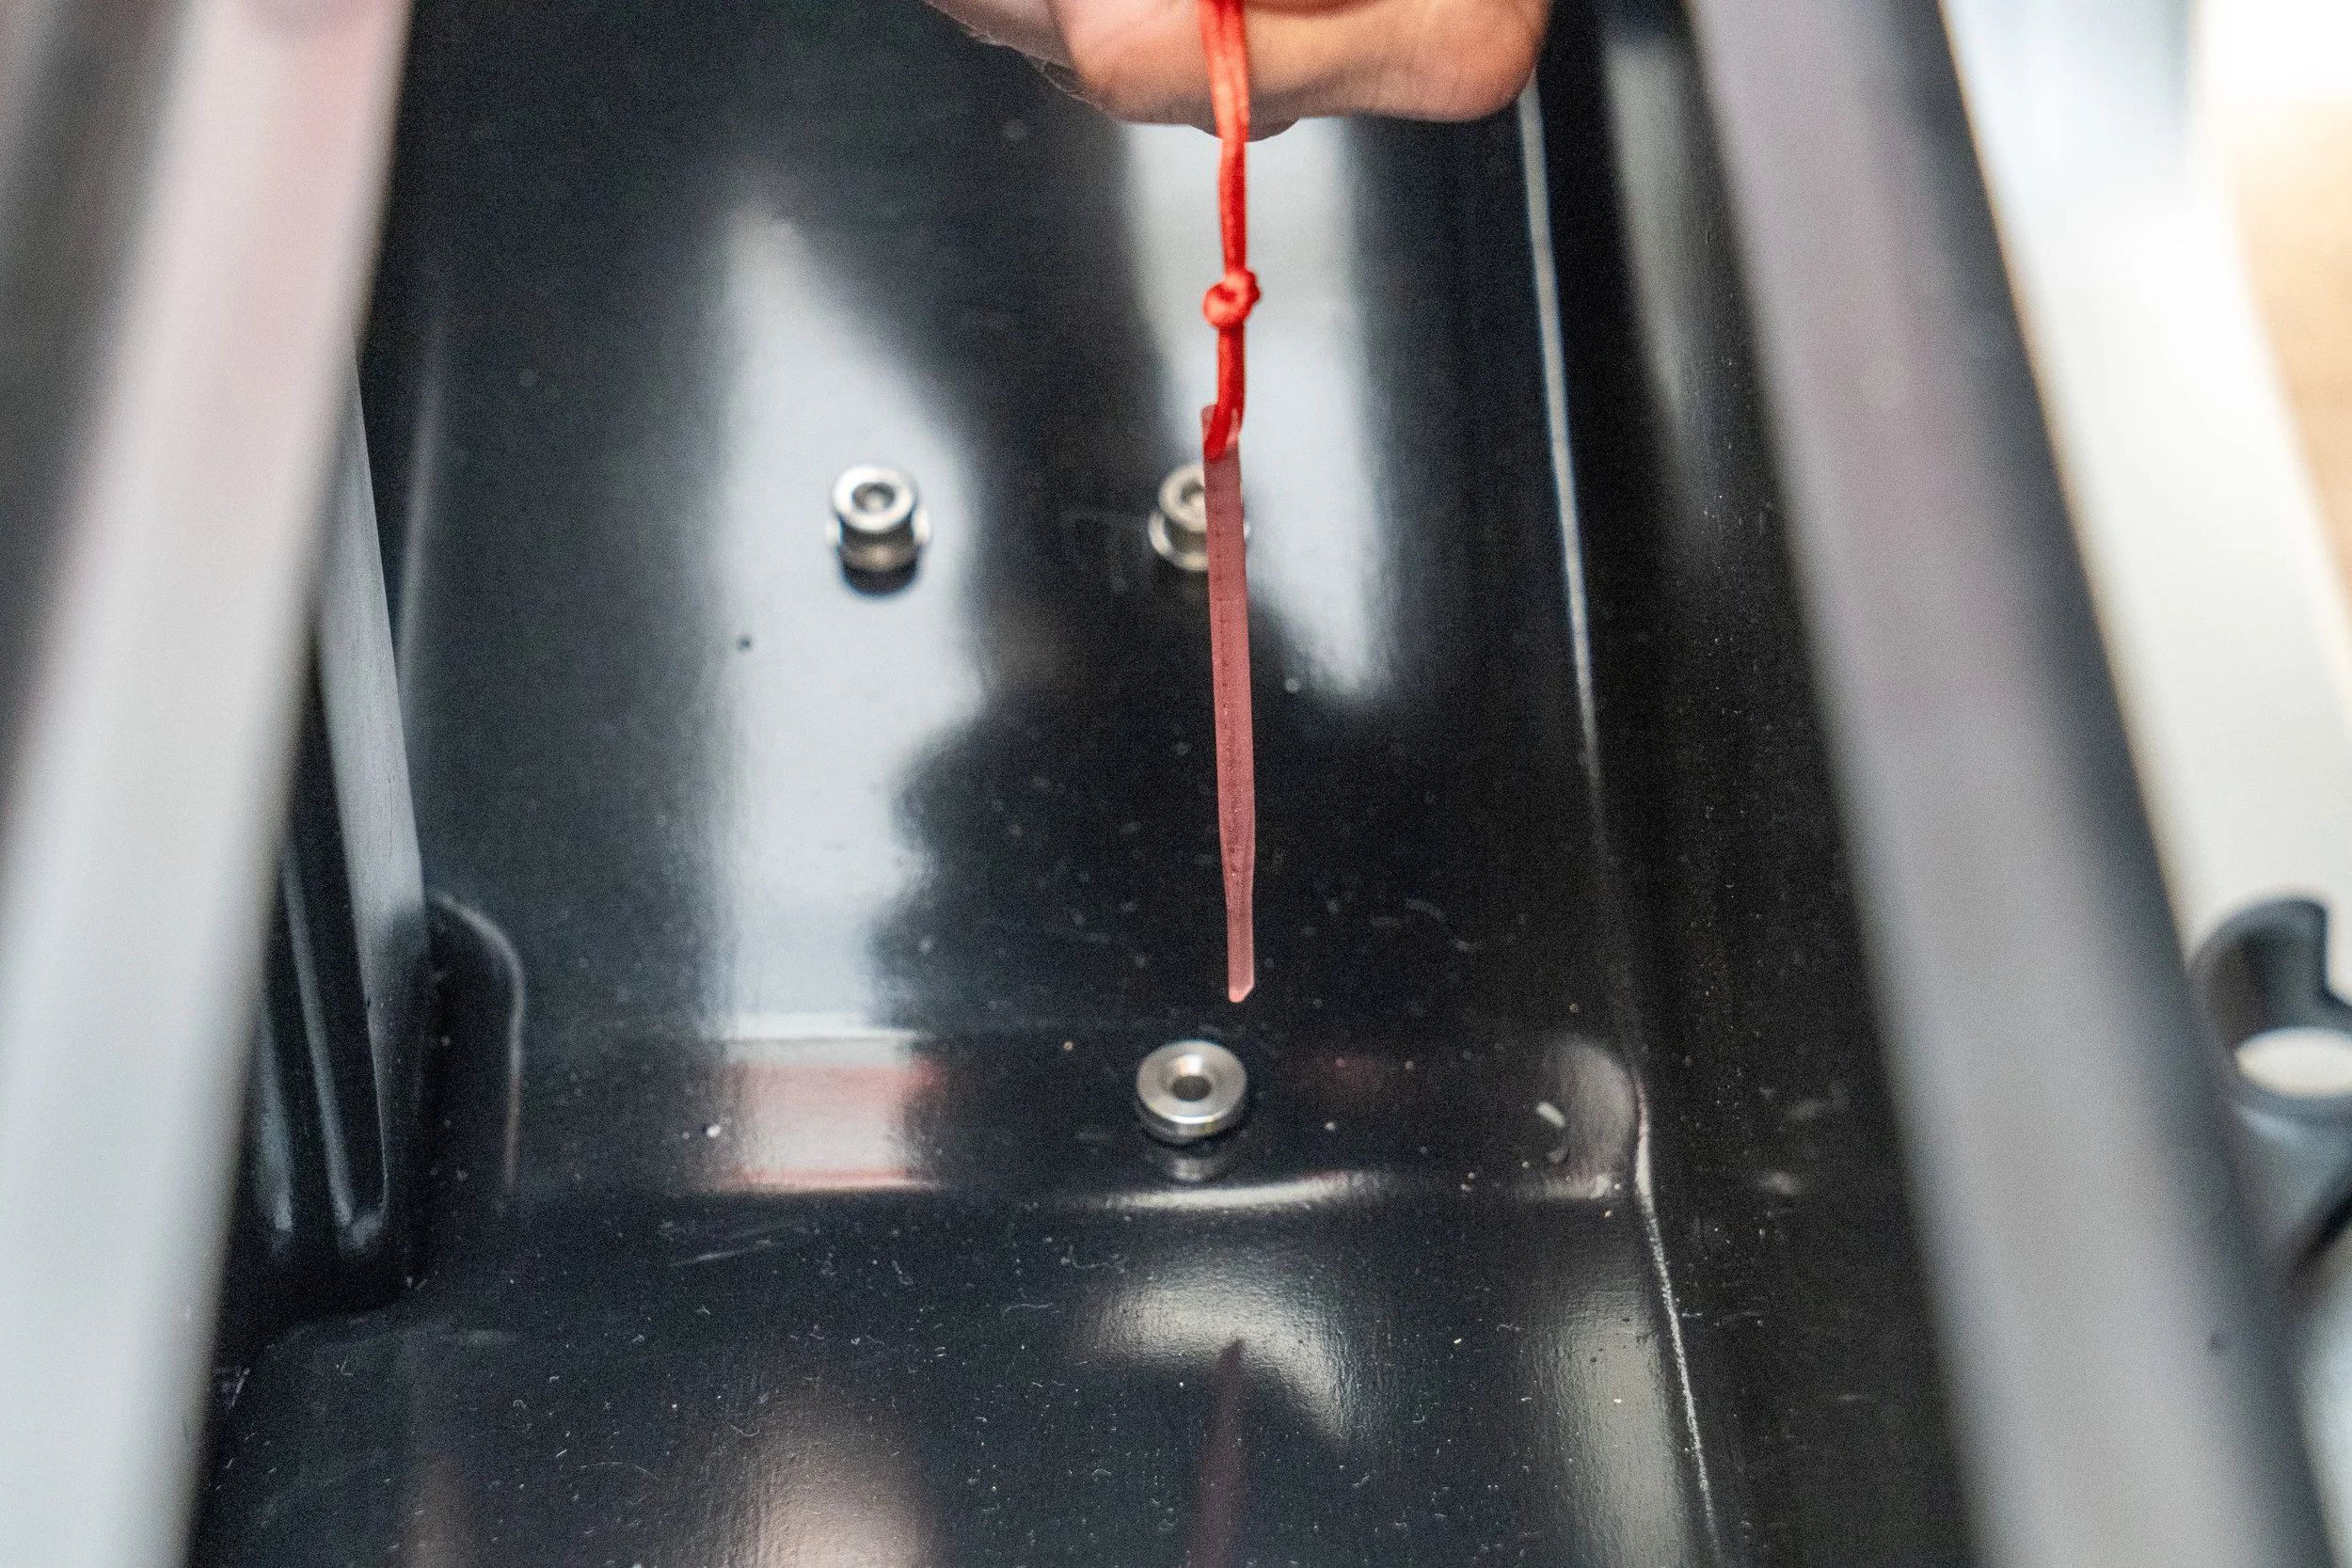

WAZER incorporates a sensor to immediately pause cutting once a backflow is detected, only a small portion of the abrasive system needs to be cleaned afterwards
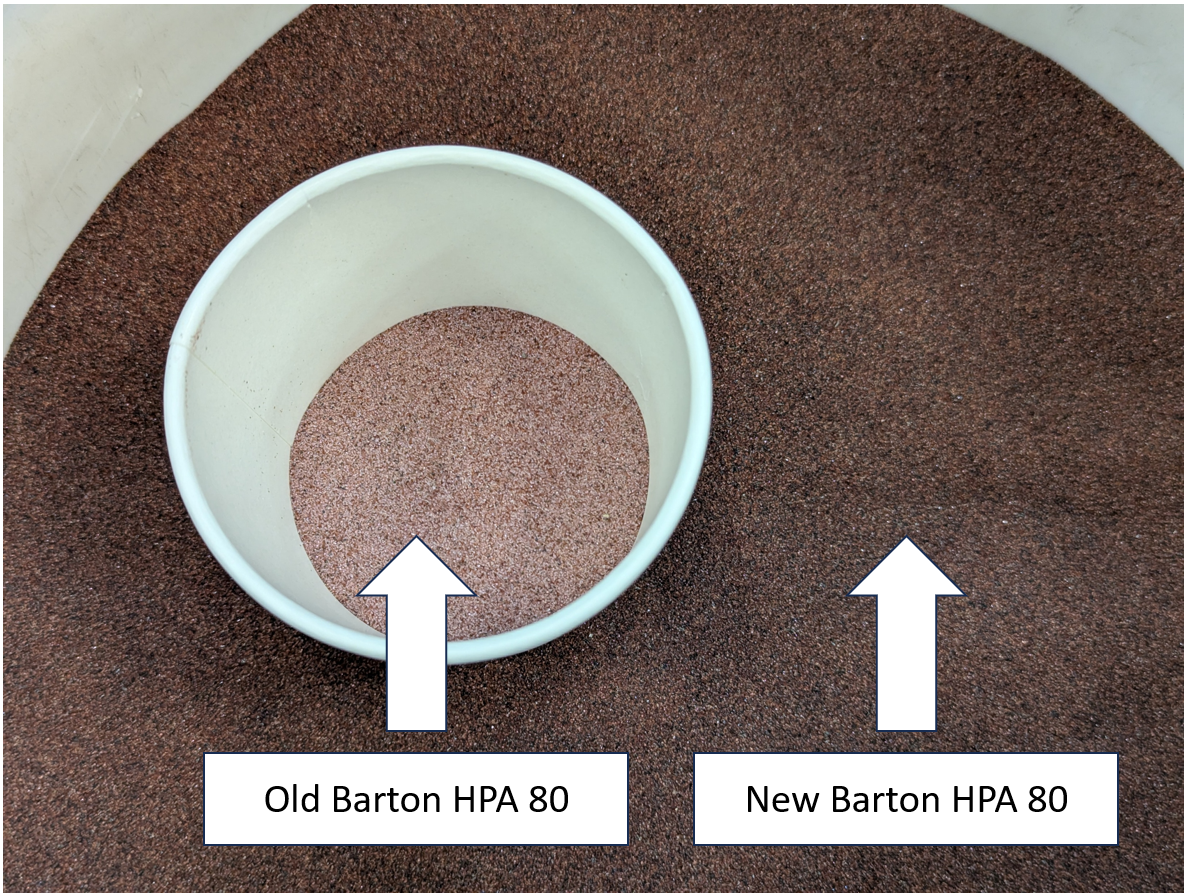
This guide teaches you how to reset the new Barton Alltek HPA 80 abrasive flow rate to maintain best cutting quality.
Used Abrasive Collection System
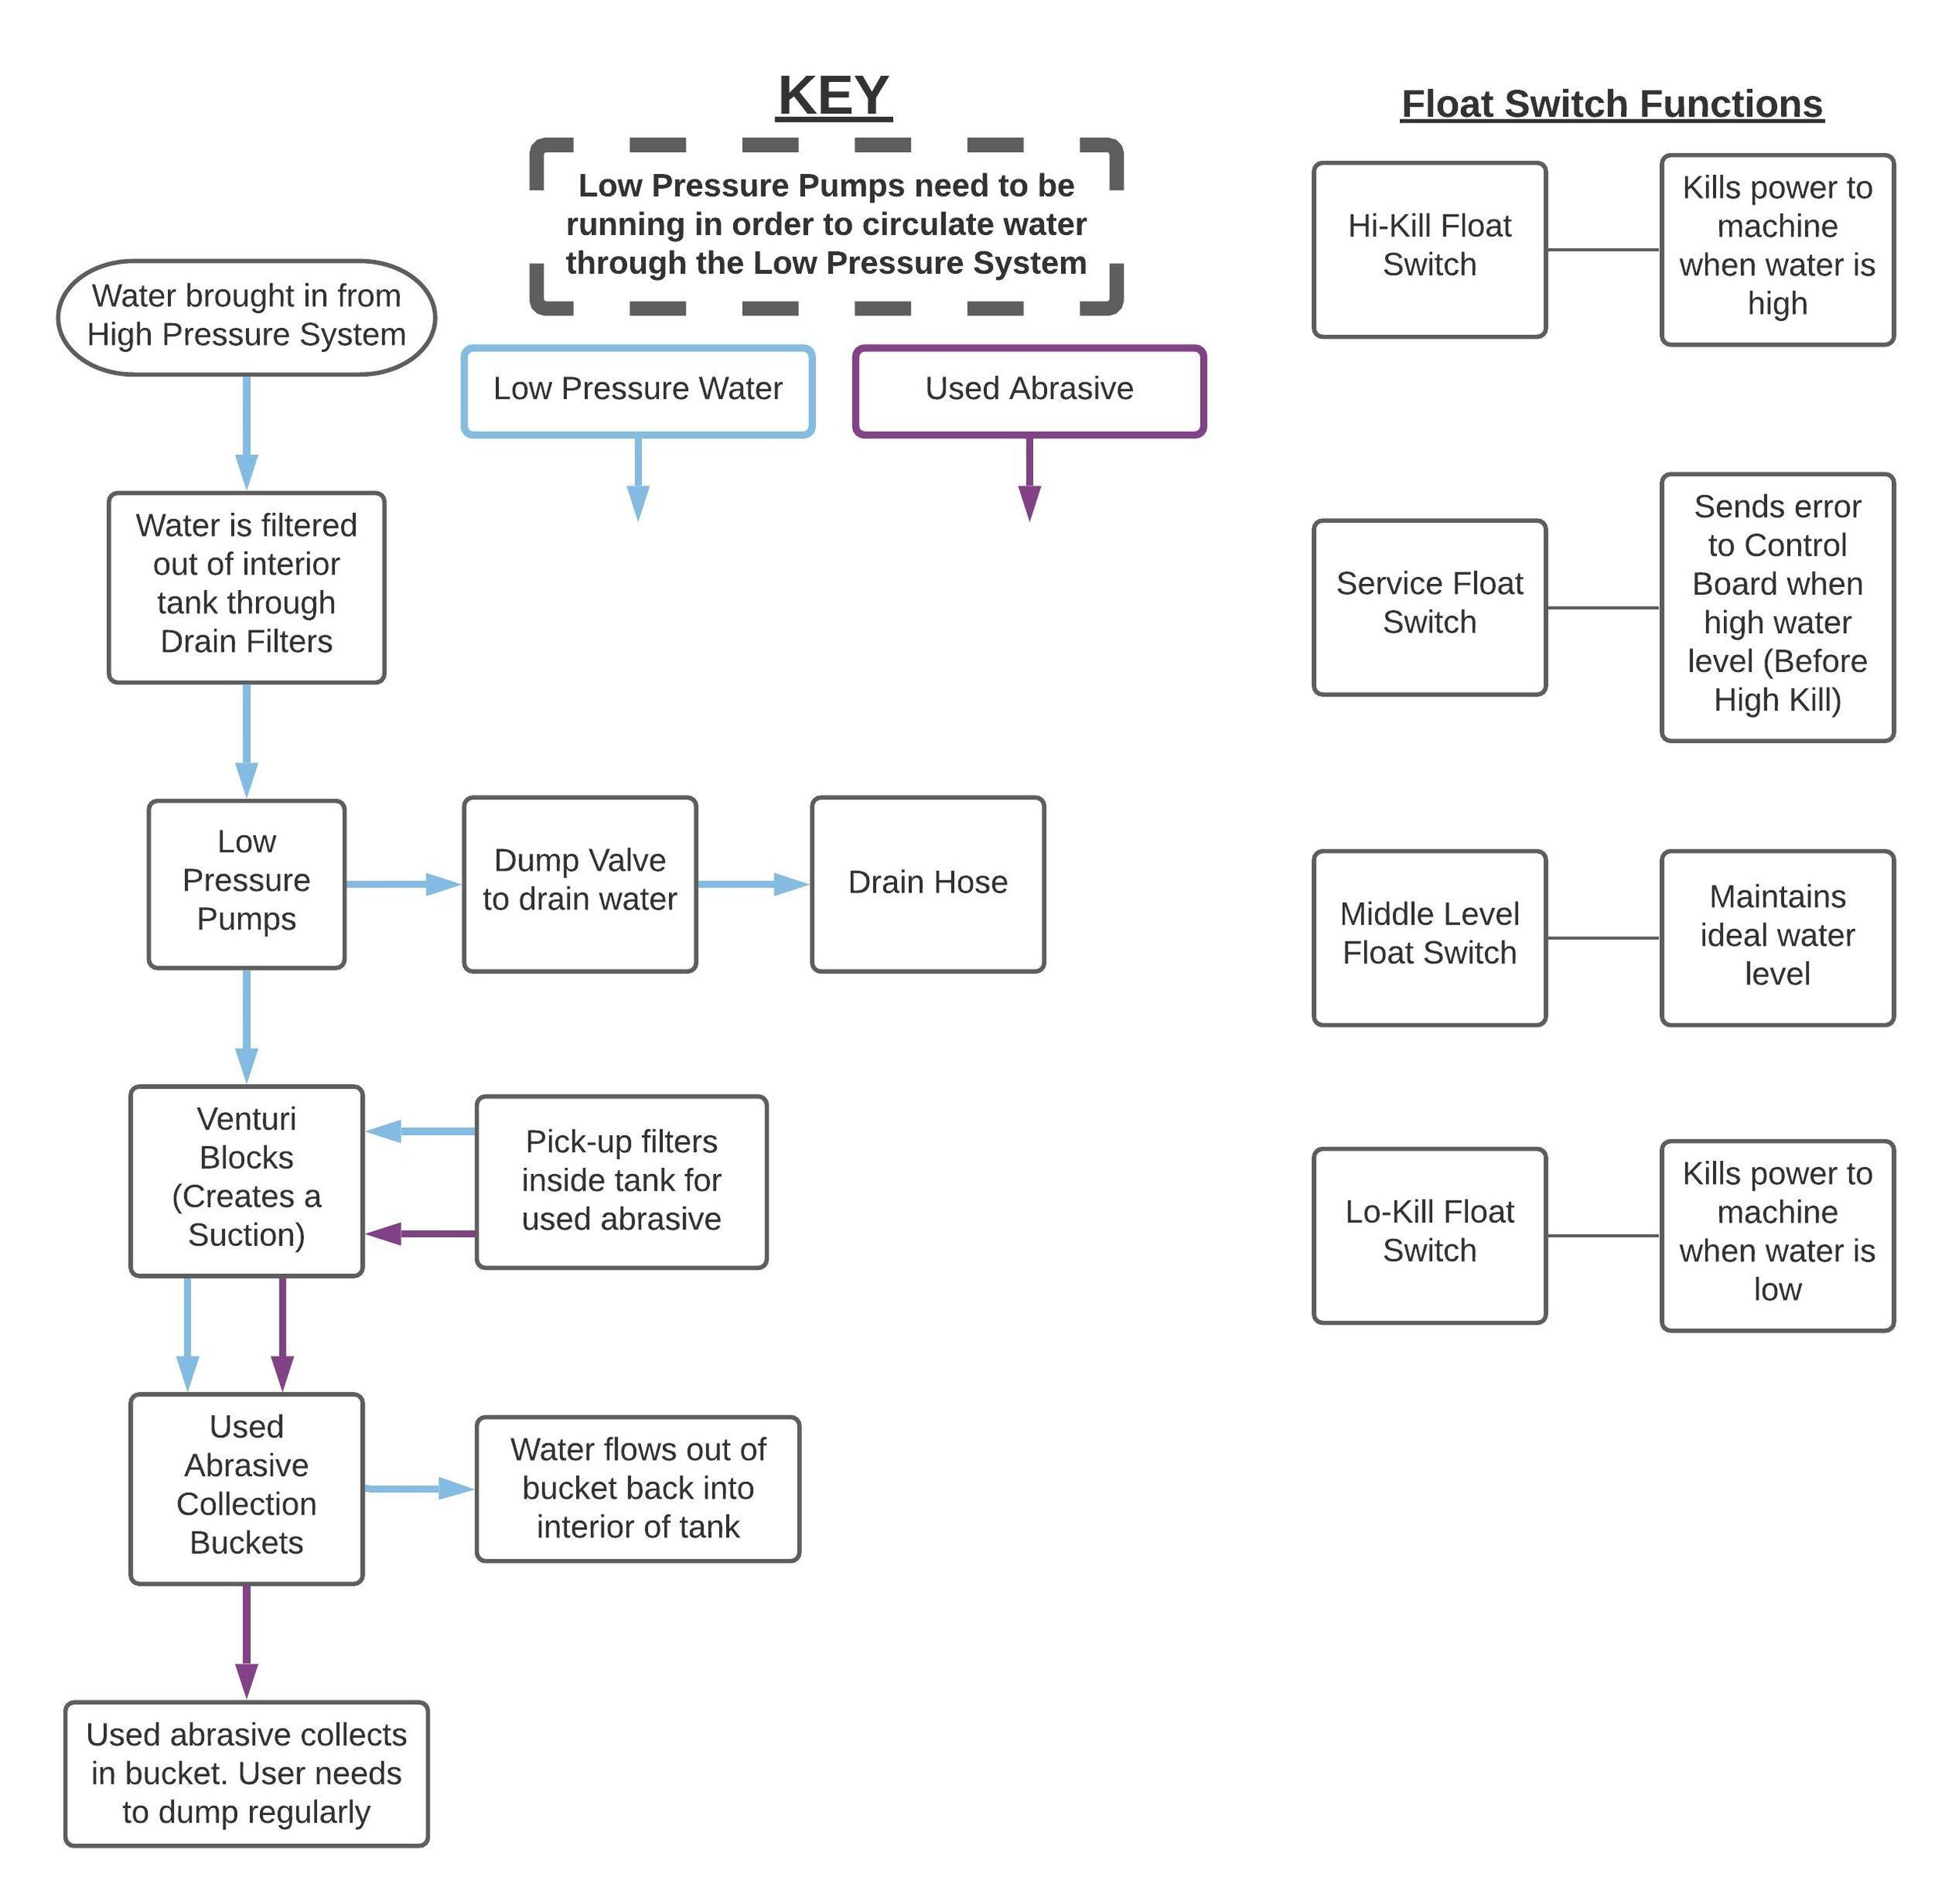
The Used Abrasive Collection System is central to the proper function of your WAZER. Not only does it help you get used abrasive out of the machine, it allows the machine to maintain the water level. This is a complicated system that will likely be the area you interact with most.
Some amount of regular preventative maintenance can help avoid major headaches down the line. If performance is degraded, the following procedures should help you identify the problem.

The first-defense for your low-pressure system. The Drain Filter needs constant cleaning. If clogged, the low-pressure system will be starved. Improper cleaning may bring more harm than good.

To collect Used Abrasive, run the Tank Cleaning Cycle from the Setup & Maintenance menu of the Control Panel. This procedure will help prevent any clogs in the Filtration System. It is good practice to after every cut

The Filtration System that keeps WAZER clean will occasionally become clogged or jammed with abrasive or air bubbles.

Sometimes the tank drain can get clogged with abrasive and requires siphon method draining, or you may just want to drain your tank in a hurry.

When one of the Venturi gets clogged, a serious mound of abrasive can form on top, and in some instances this can pack the pick-up filters to a point where Clearing the Filtration System can no longer clear the clog.

If the tank over fills with abrasive or it has been a long time since the last full tank clean the rear baffle can become clogged with abrasive. This will mess with the water leveling features of the WAZER and can be baffling to debug. (sorry)

If there is a lot of abrasive in the tank or the Wazer has been sitting for a long time this mode will loosen up the compacted abrasive by the abrasive pickups and the rear baffle
If the Wazer has been sitting for more than a few days, the heavy abrasive in the bottom of the tank can compact. The compacted abrasive is very difficult for the abrasive system to pick up and if it happens to cover the pickups then the system will not function. This guide will help you get your machine ready to cut again.

There are many reasons you may want or need to fully clean out your tank. Fully cleaning out the tank gives you a chance to get your abrasive collection working at peak performance, saving you from having to clean out the tank as often.

This is the first-defense for your low-pressure system. Magnets in the Magnetic Drain Filter traps iron particles in the tank water and prevent them from entering the Low Pressure Pumps. They need constant cleaning. If clogged, the low-pressure system will be starved. Improper cleaning may bring more harm than good.
Tank & Enclosure System
WAZER’s Tank and Enclosure System contains the Cut Bed and has the difficult task of keeping all the water and abrasive contained and supported.
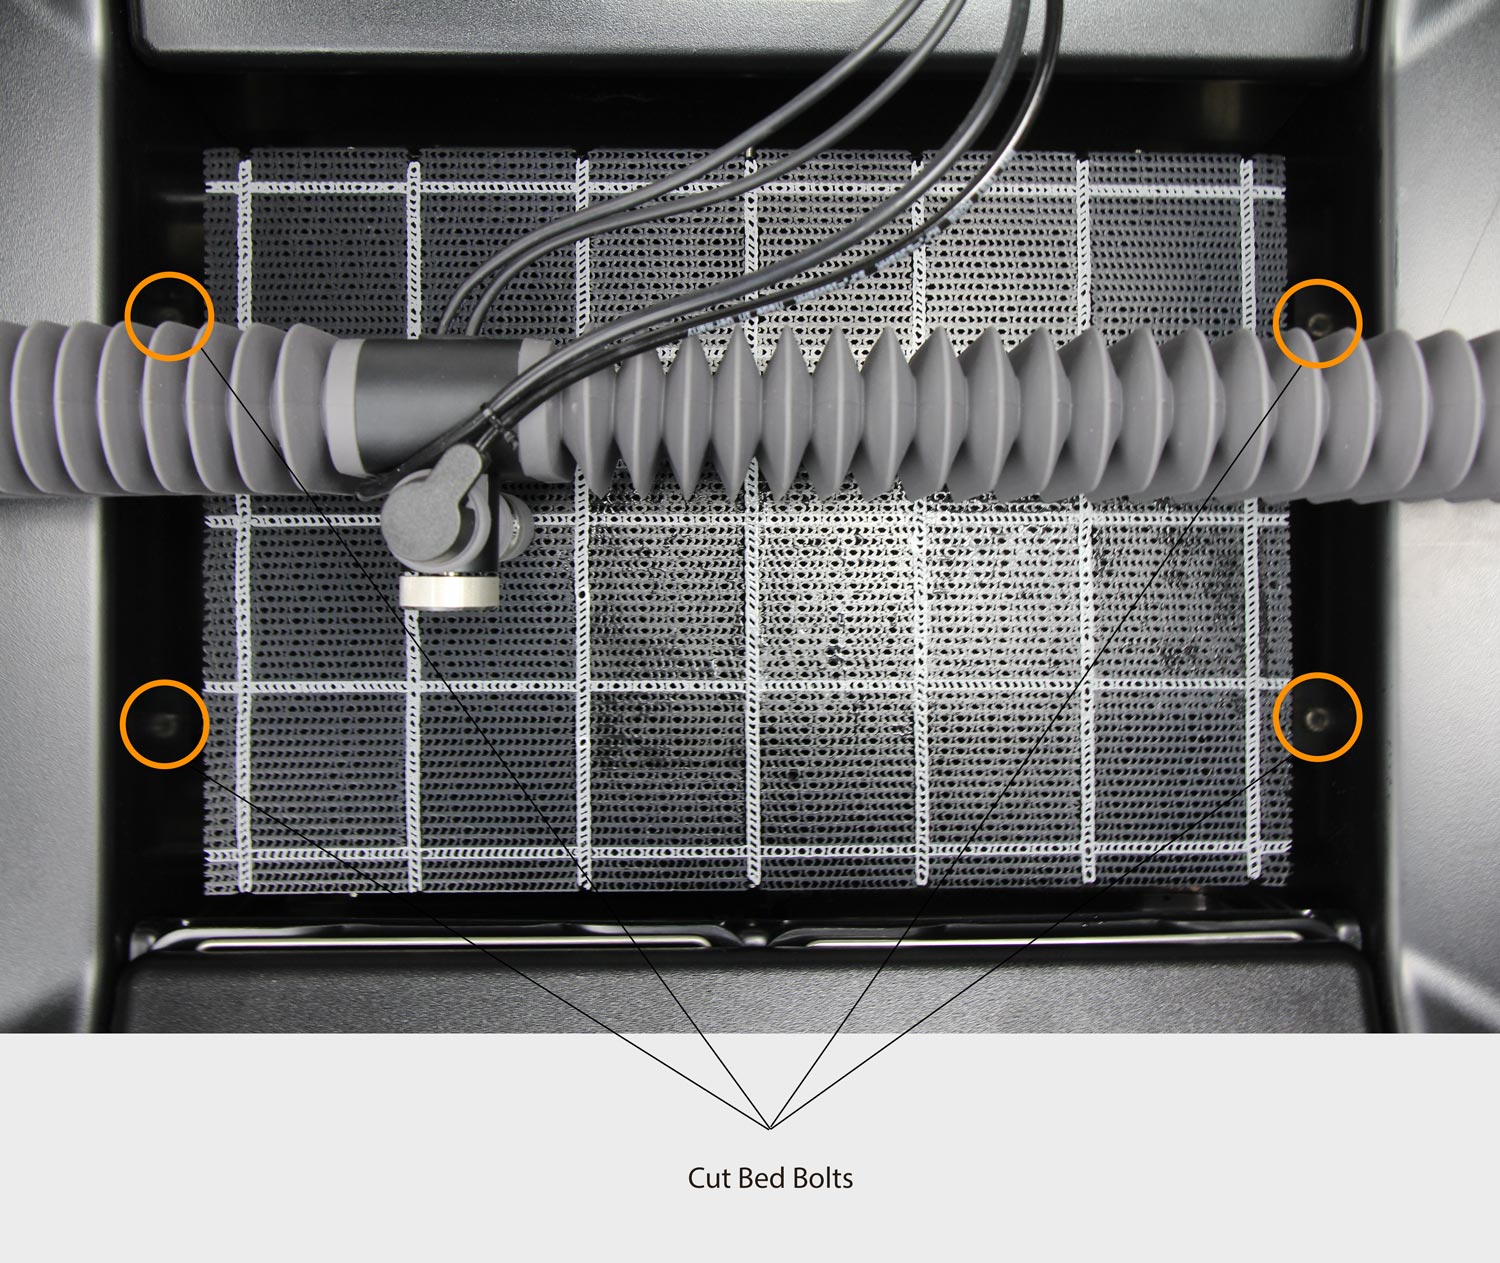
WAZER’s Cut Bed is intended to be a consumable, which means it will need to be flipped or replaced every so often.
Having a level Cut Bed is critical. The height of the Nozzle needs to be consistent at every point on the Cut Bed. If it isn’t, this can result in Partial Cutting, a Cut failure, or damage to WAZER.
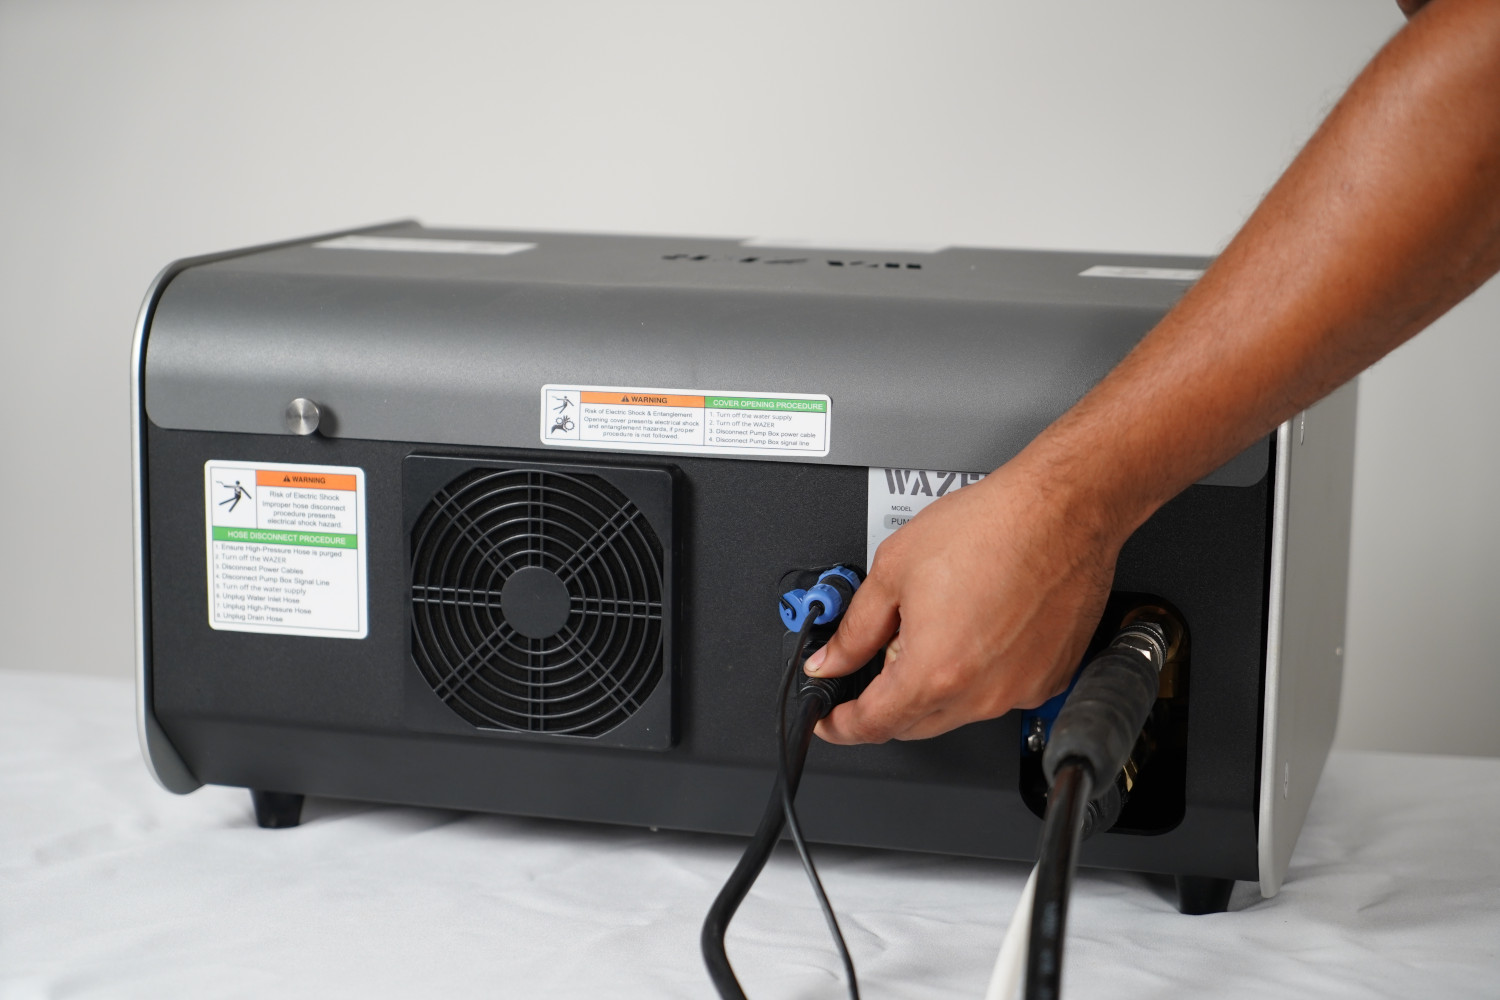
The pump box Air filter needs to be cleaned roughly every 300 hours. If the Wazer is located in a particularly dusty area it should be checked and cleaned more often. A clean air filter allows the the pump box to run far cooler, prolonging the life of all the components inside

If the Wazer Displays a “Close Door” error despite the door being closed, the door window magnet likely needs to be adjusted.
Gantry
The Gantry is the core of the motion control system on the WAZER. This is a sealed system that should not require maintenance for the life of your WAZER.
If something unexpected happens we recommend contacting support.
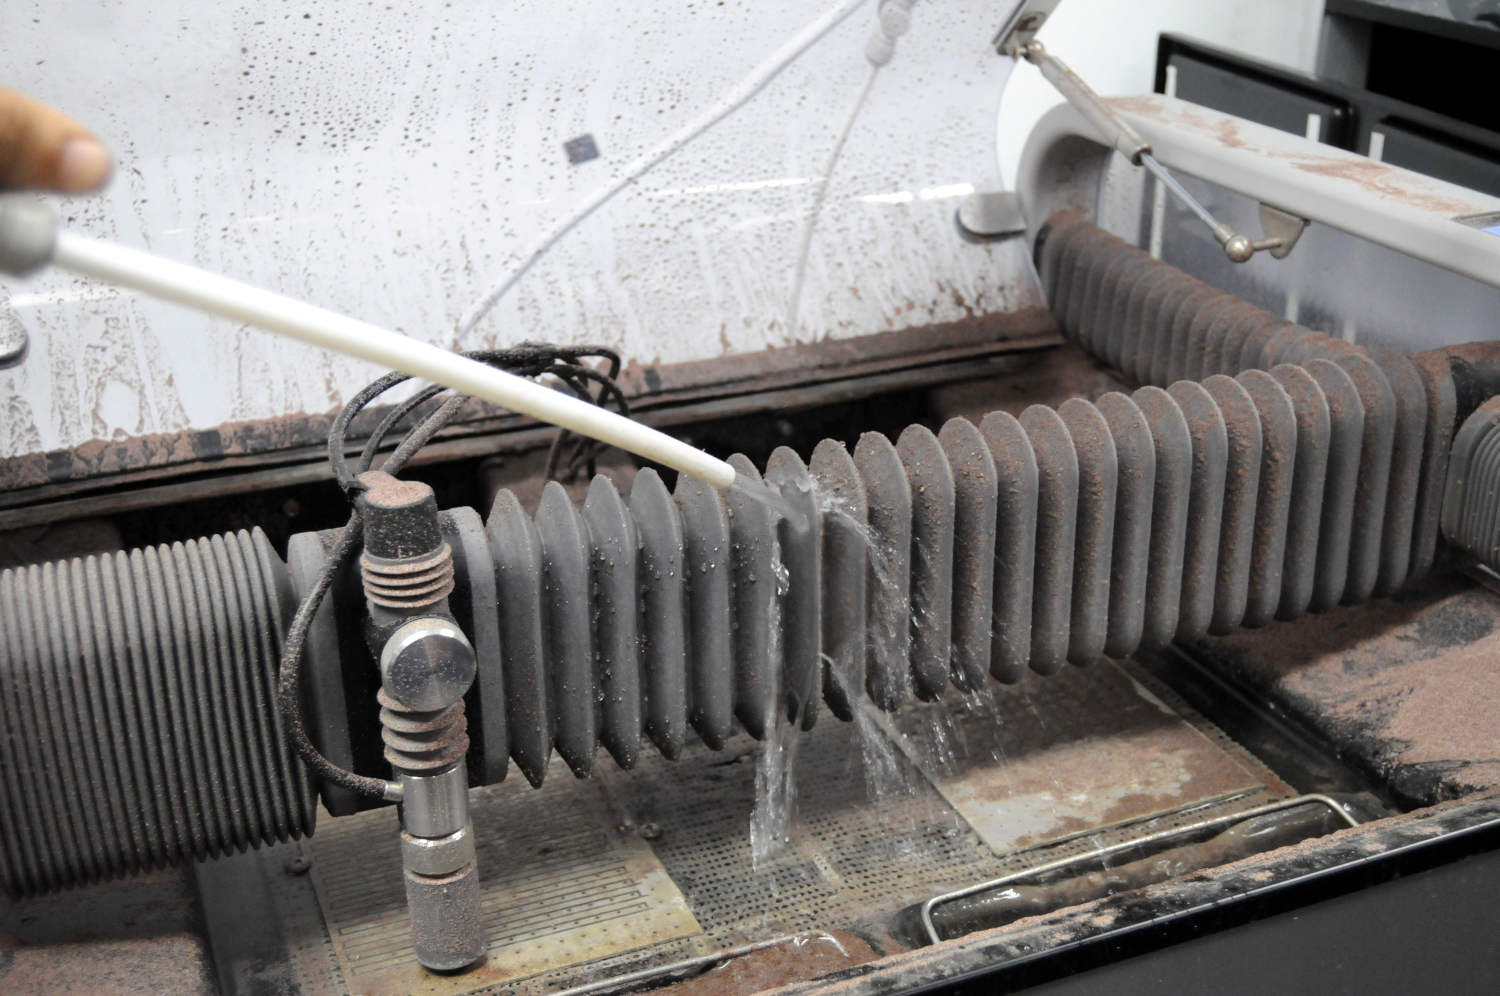
If the Wazer is jittering or having issues homing, the limit switches flags within the gantry bellows are likely not triggering the switches. This guide will show you how to properly adjust the flags to ensure contact with the limiter switches.

Over time a tiny amount of abrasive can make its way into the z-axis adjustment block and make it difficult and rough to set the z height of the Nozzle. The following guide will walk you through dissembling and cleaning the assembly.

Limit switch malfunction manifests in homing failure and filed cut. This instruction teaches you on how to quickly identify the faulty limit switch
Keeping the gantry lubricated is important to ensure that it is able to move freely along the guide rods. An unlubricated gantry may bind up and cause issues with movement.
Electronics
WAZER is made up of many electromechanical components all working together.
This system is designed such that it should not need maintenance, but if something unexpected does happen the fixes are straight forward. If you need replacement parts, feel free to contact support.
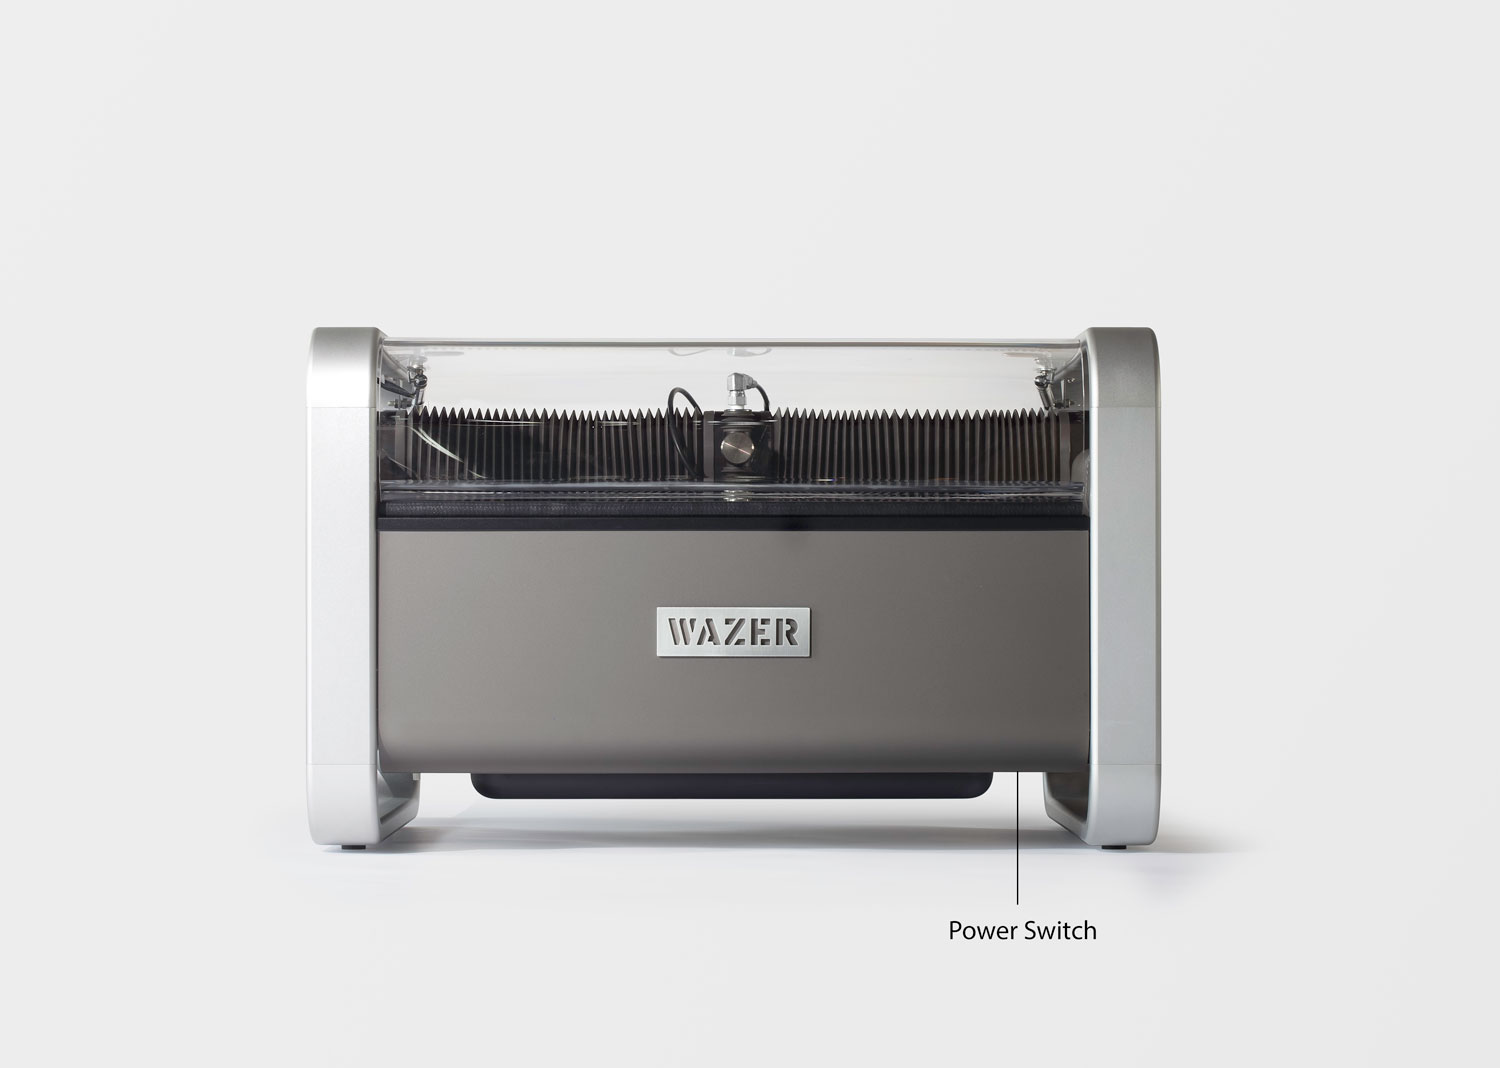
WAZER was designed to allow for easy updating, configuring and adjusting. Firmware updates may include new features, bug fixes, and stability enhancements.

The WAZER Control Box contains a fast acting fuse for protection. You may need to inspect or replace this fuse.
Cut Setup
Setting up a cut on WAZER is generally a straight forward linear process however there are many capabilities of the WAZER controller that can expand your functionality.
These features are consistently being updated with each new firmware so check back often to find out about the new capabilities of you WAZER
Controller Maintenance Menu
The WAZER provides a suite of tools built into the controller to help you maintain and maintain your WAZER
These tools are constantly being expanded upon with each firmware update so check back often to see what is new and how it can help your workflow
[NOTICE] When performing Service, Maintenance, or Repair, use ONLY identical parts provided by WAZER.
[WARNING] WAZER tracks the number of hours it has been running. Please check the “Total Cut Time“ in the maintenance menu regularly. If you do not abide by the regular maintenance procedures and schedule, the warranty and support for your WAZER will be void.
Before servicing WAZER:
Turn off or close the On/Off Valve or water supply to the machine.
Purge the high-pressure system by properly ending/completing a cut or performing a Nozzle Purge.
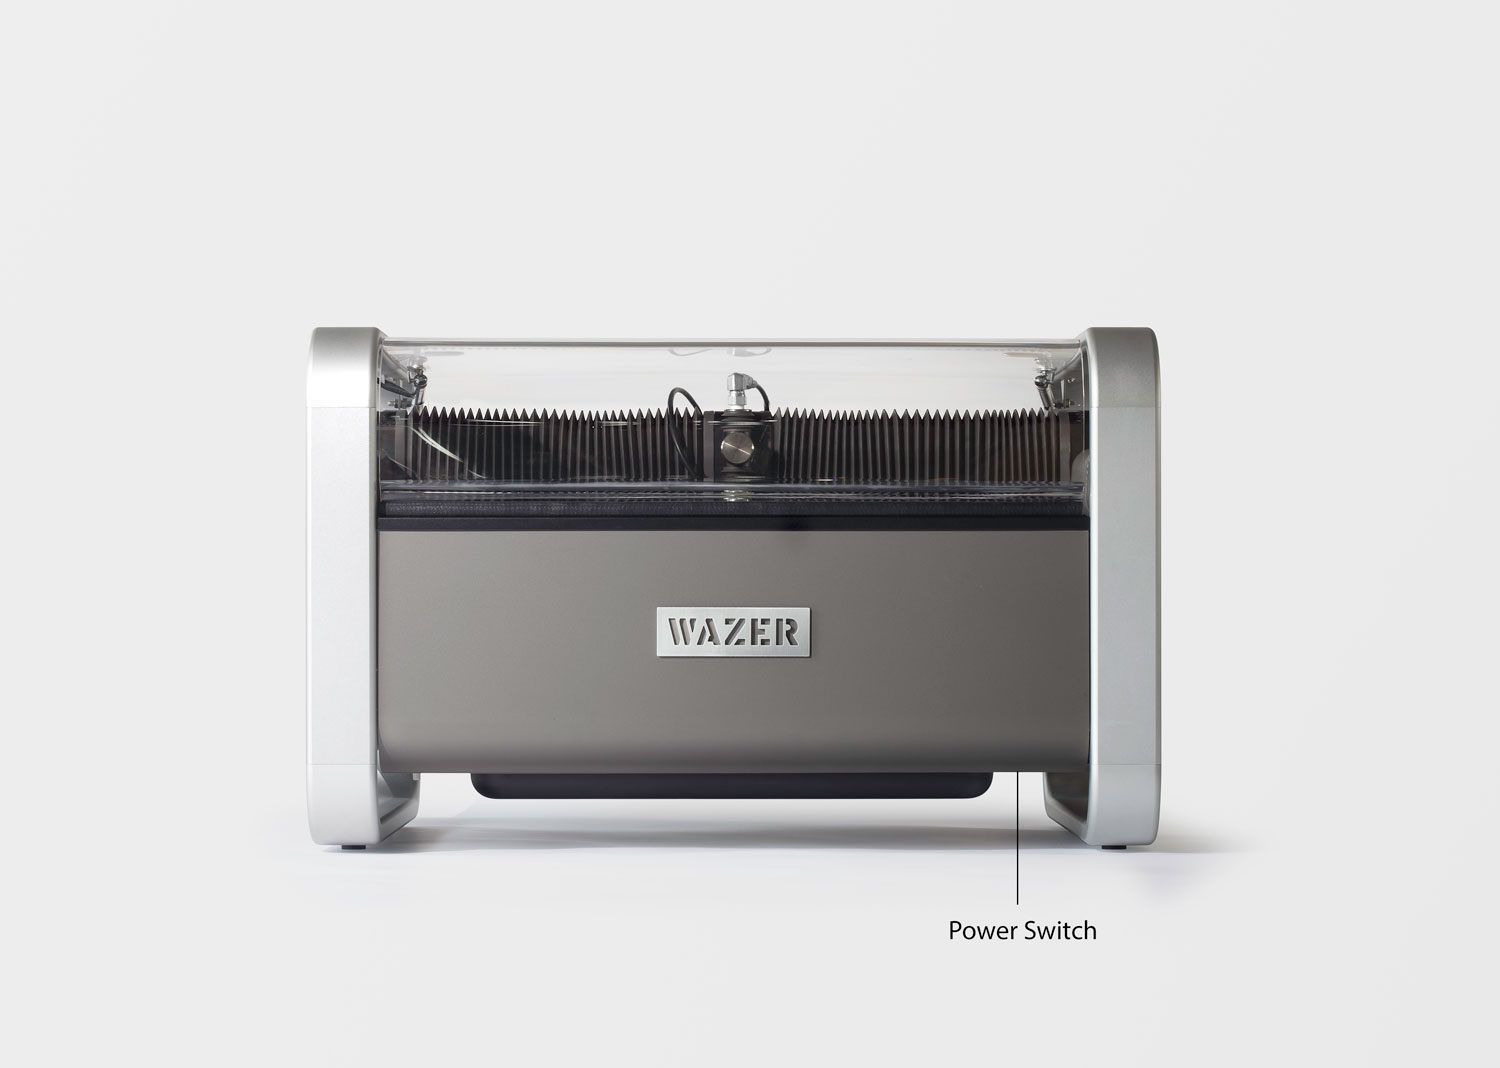
Turn off WAZER and disconnect AC power from WAZER and the Pump Box.
Never remove the cover of the Pump Box while it is plugged in.