Drain Filter Troubleshooting
The drain filters prevent abrasive and cutting particles from getting into the low pressure pump. The metal mesh filter blocks particles and the magnet inside the filter attracts ferrous particles, preventing them from entering the low pressure system. Regularly cleaning the drain filters is vital in maintaining the low pressure system performance. If you encounter a “check drain filter“ error message during a cut, refer to the steps below to clean the drain filters.
1. Remove the dirty drain filters and immediately replace them with the clean drain filters found in the Pro Initial Setup Box.
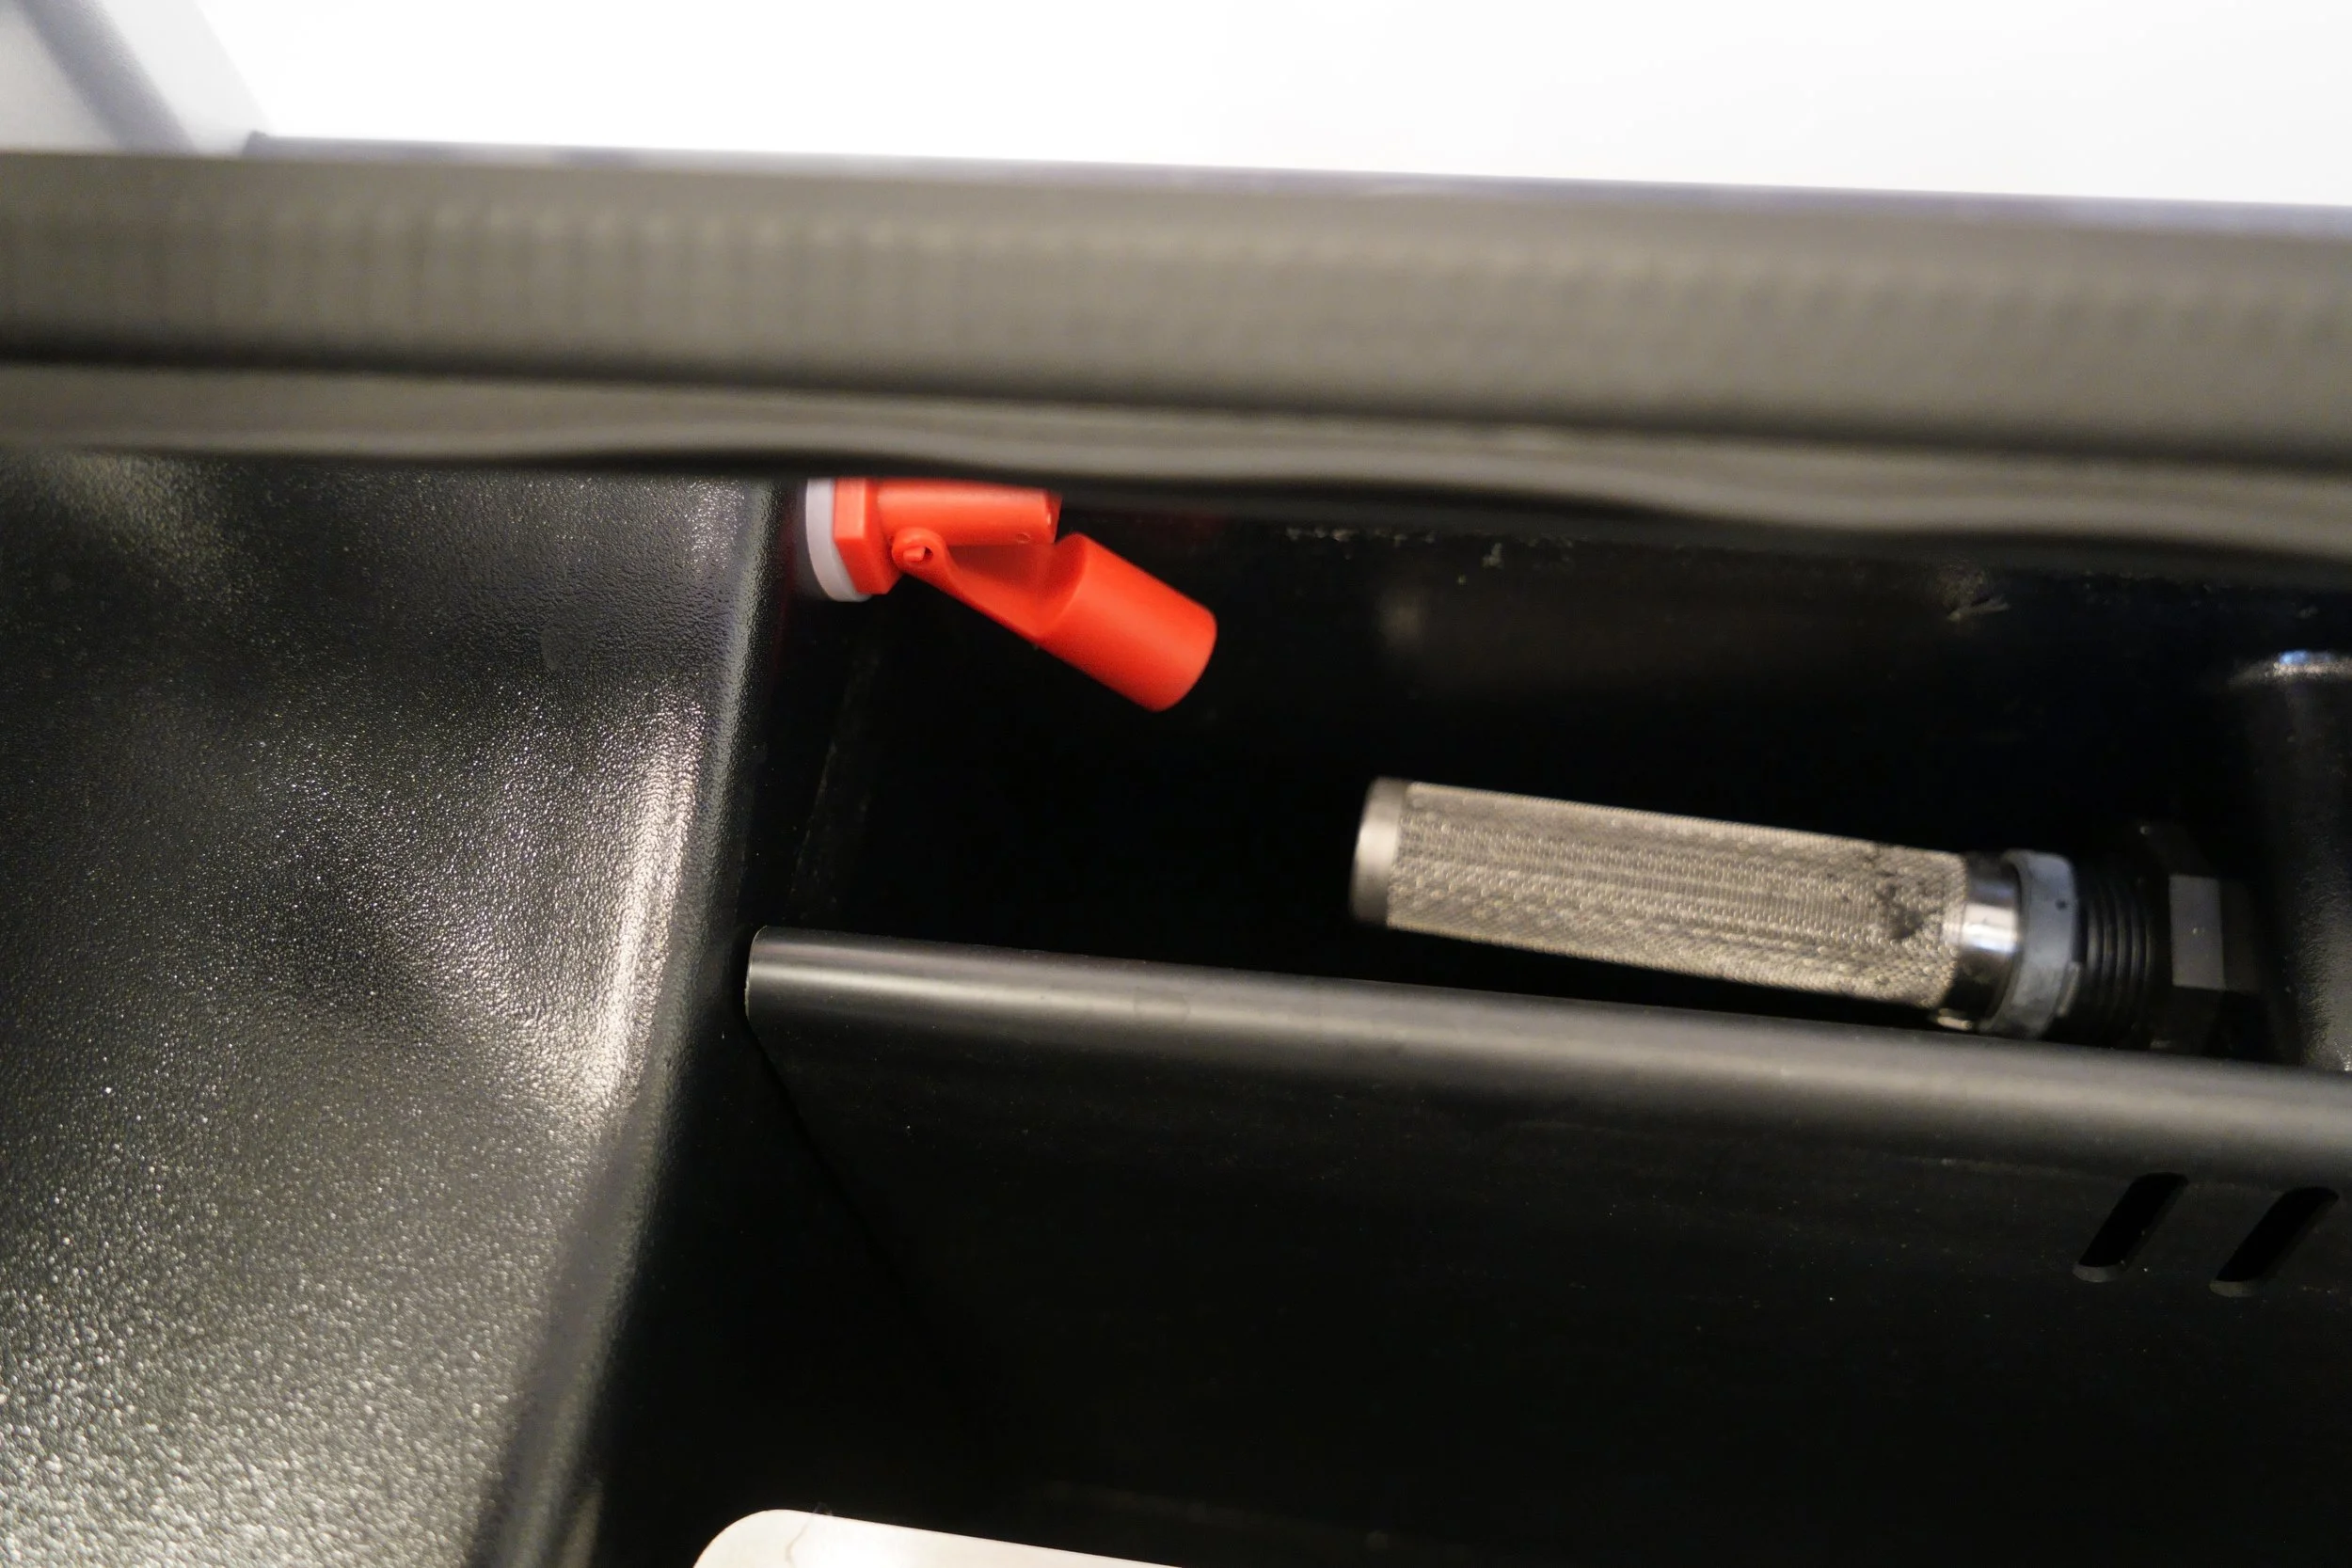
Right side filter location
Left side filter location
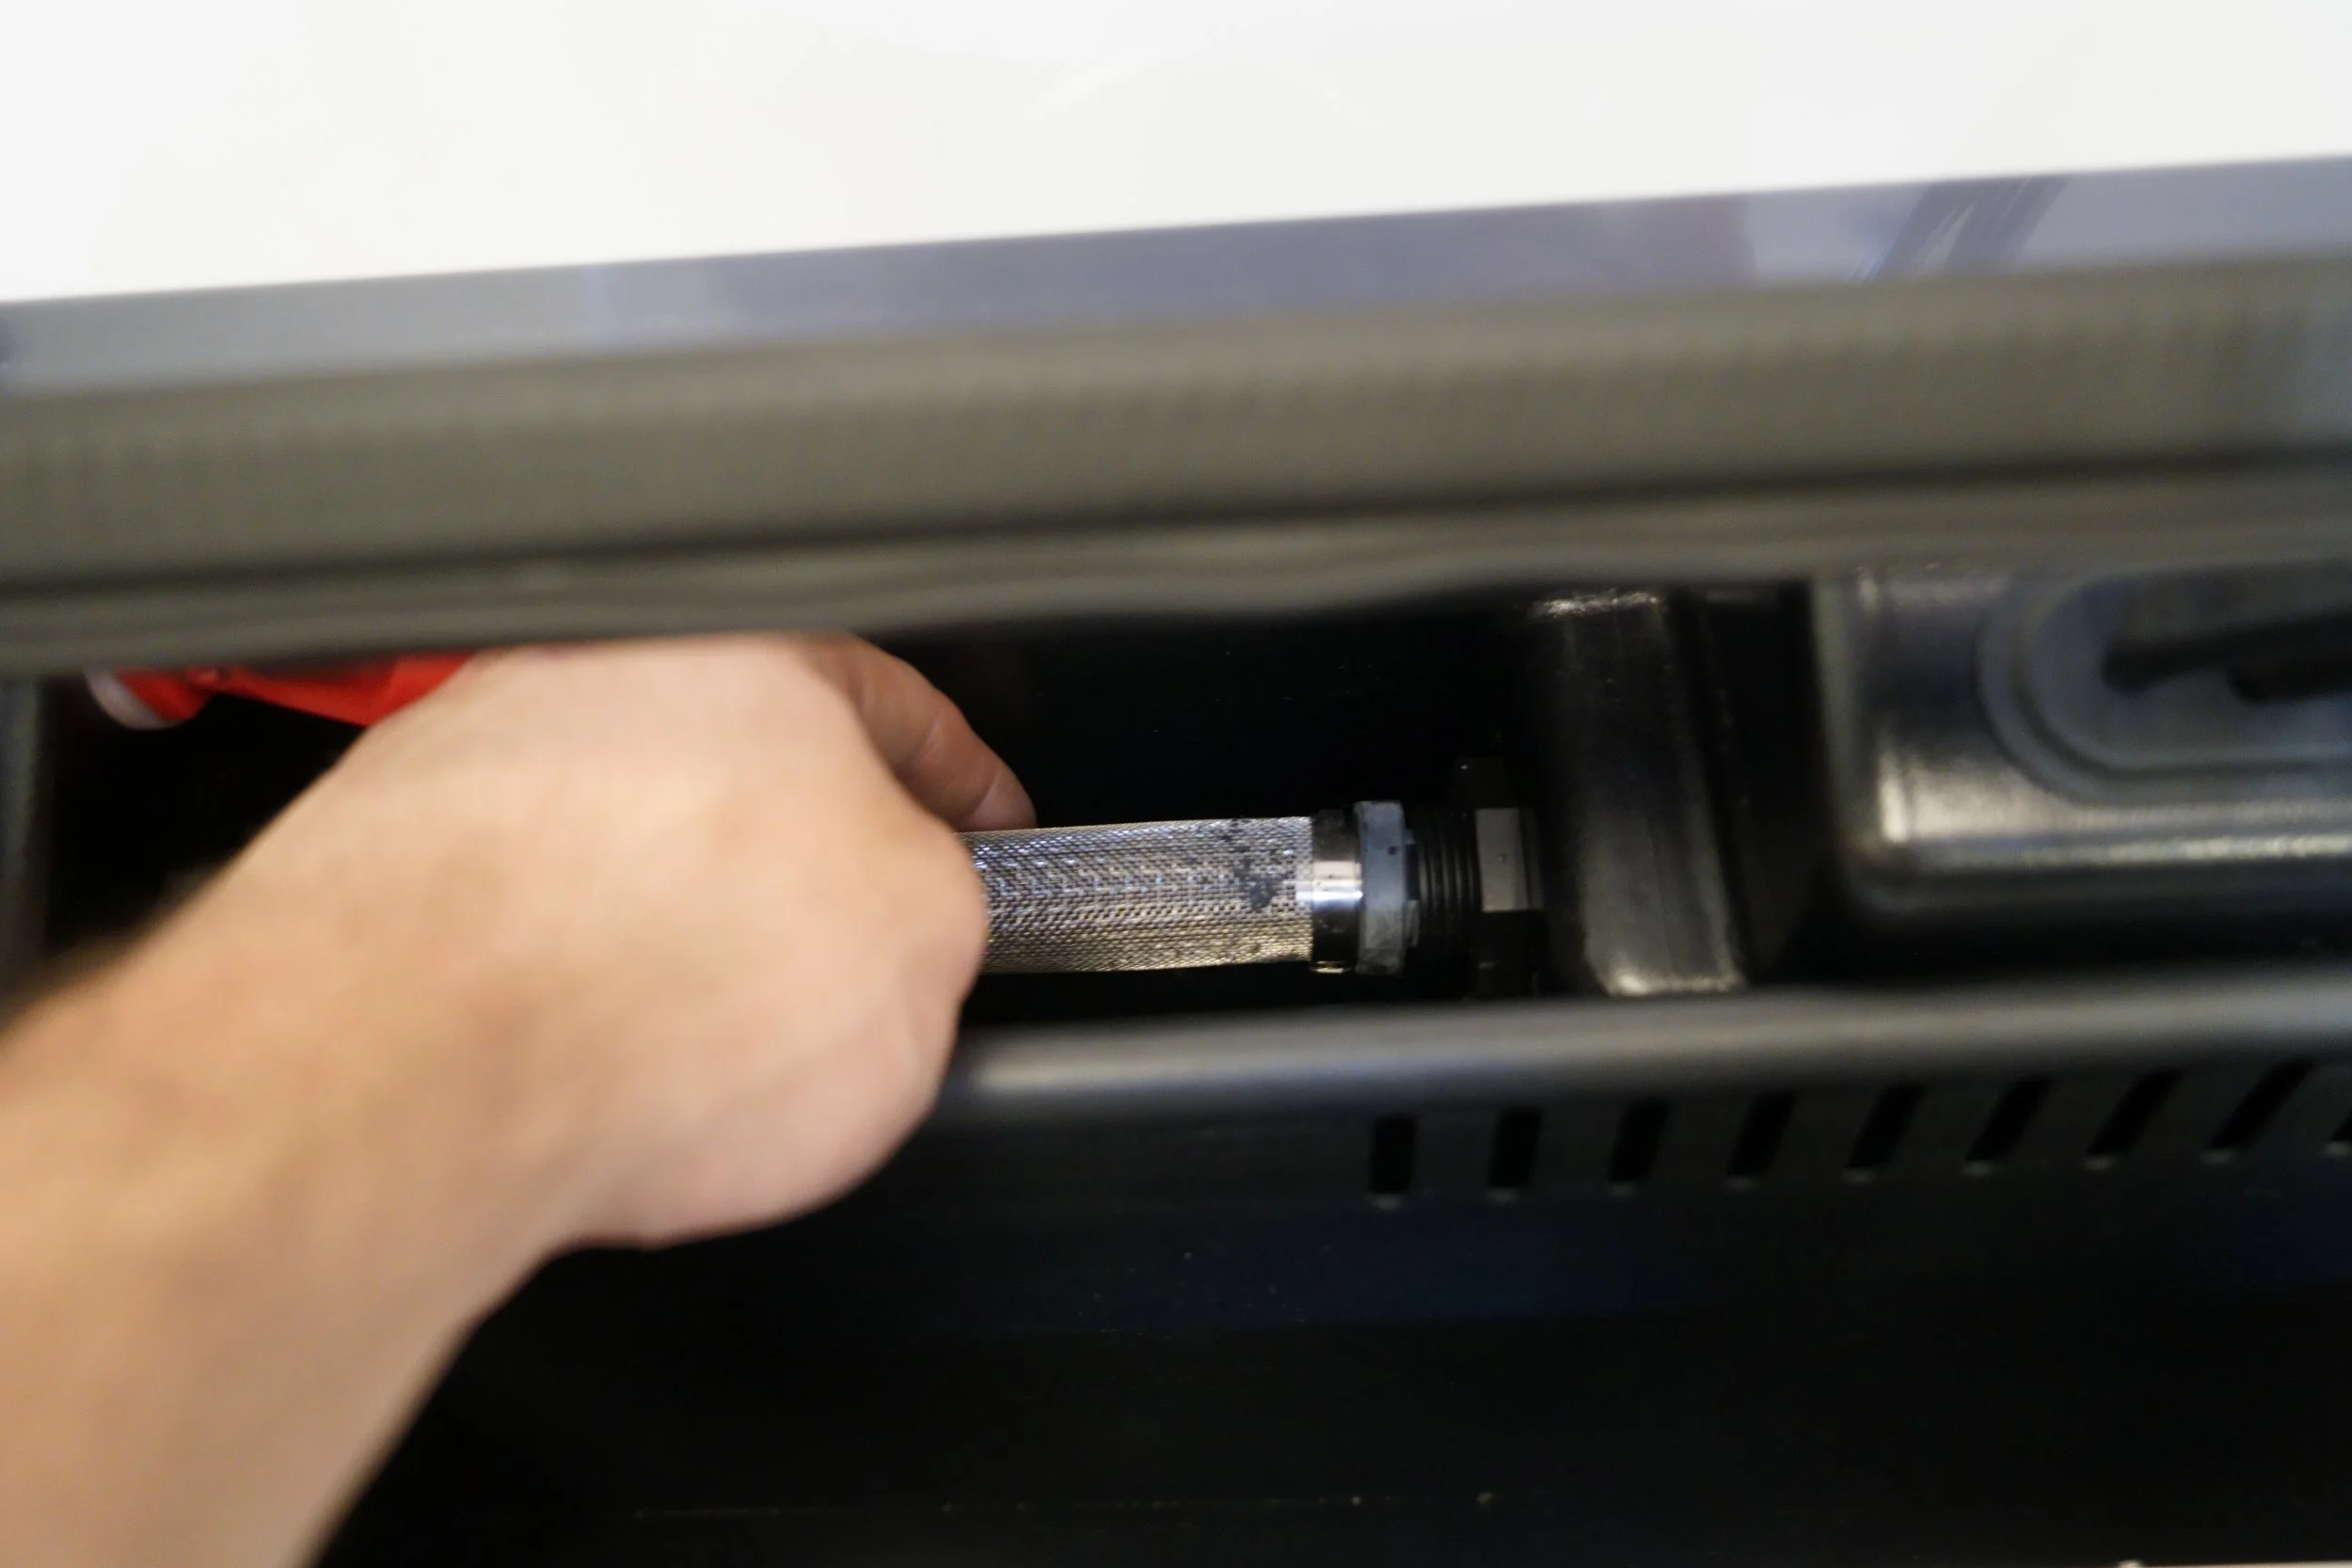
Remove filter simply by pulling them out.
2. Once the filters have been replaced with clean filters, clean the dirty filters by removing the cap, washing the filter out and removing any debris from the magnet. Put these filters aside for when you run into another "check drain filter" error message.
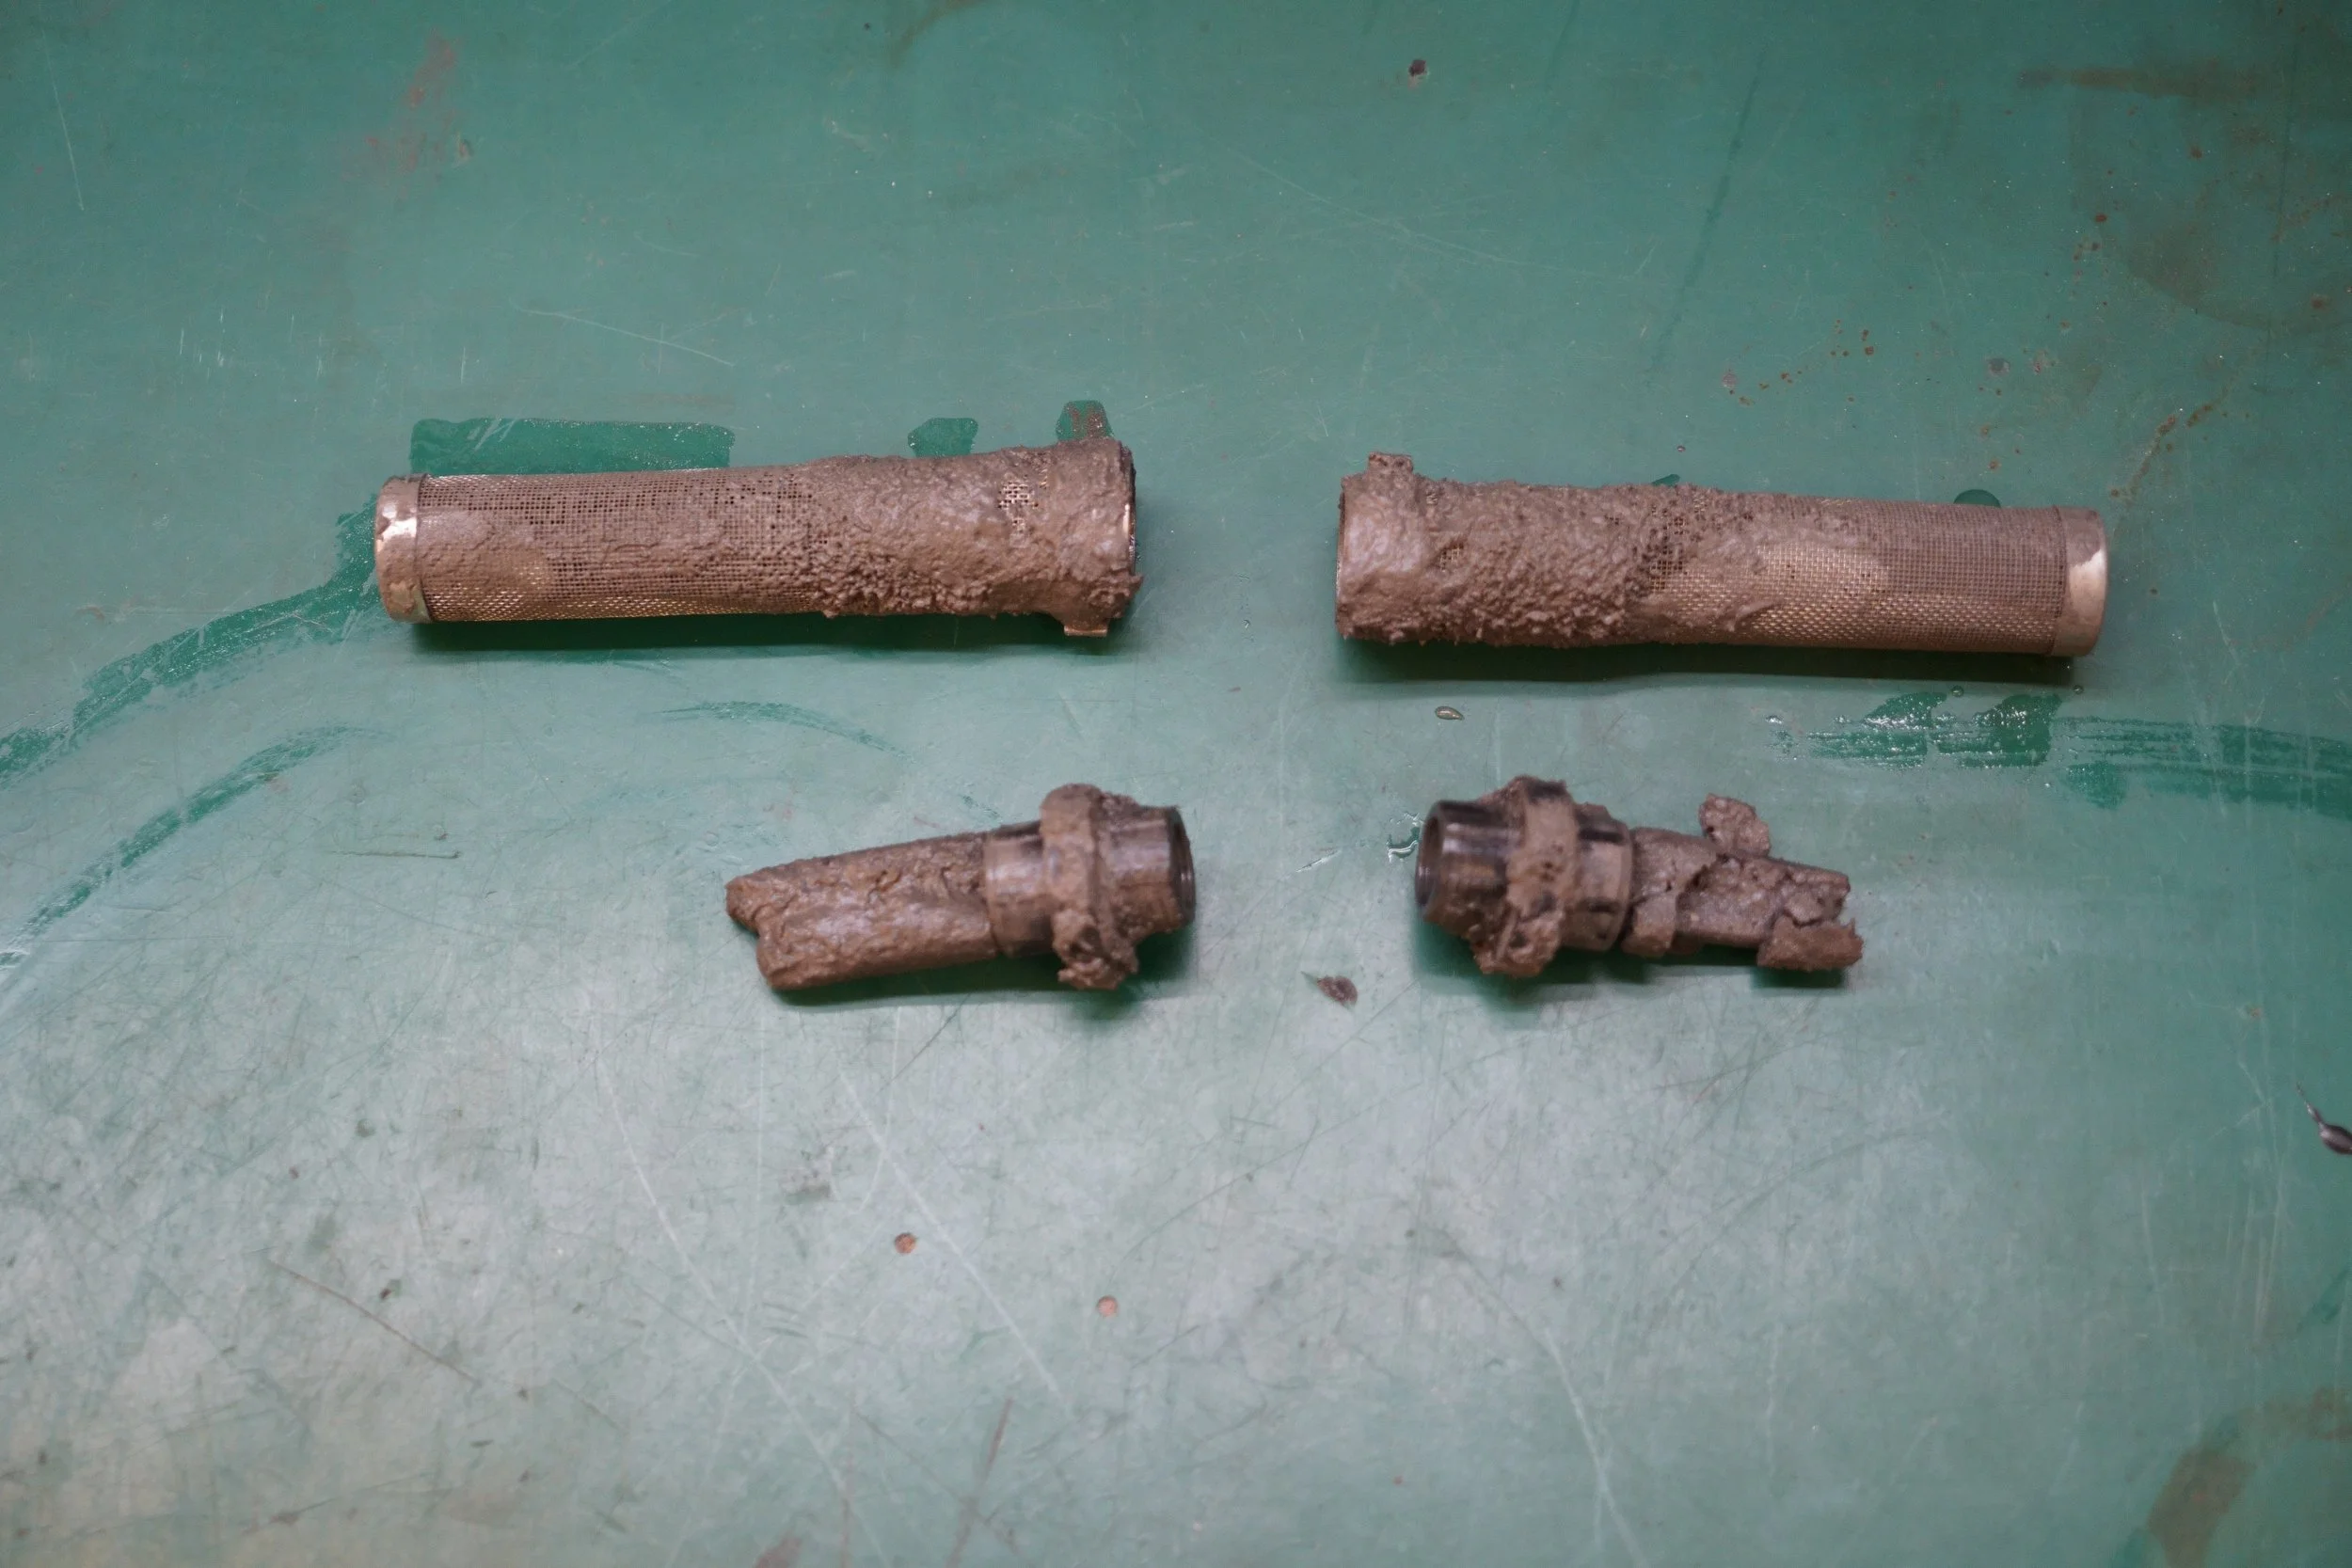
Dirty filter and dirty magnet.

Cleaned off filter and magnet.
3. Now that the filters are clean, clean out the rear baffles, making sure that there is no abrasive built up in the rear area of the tank.
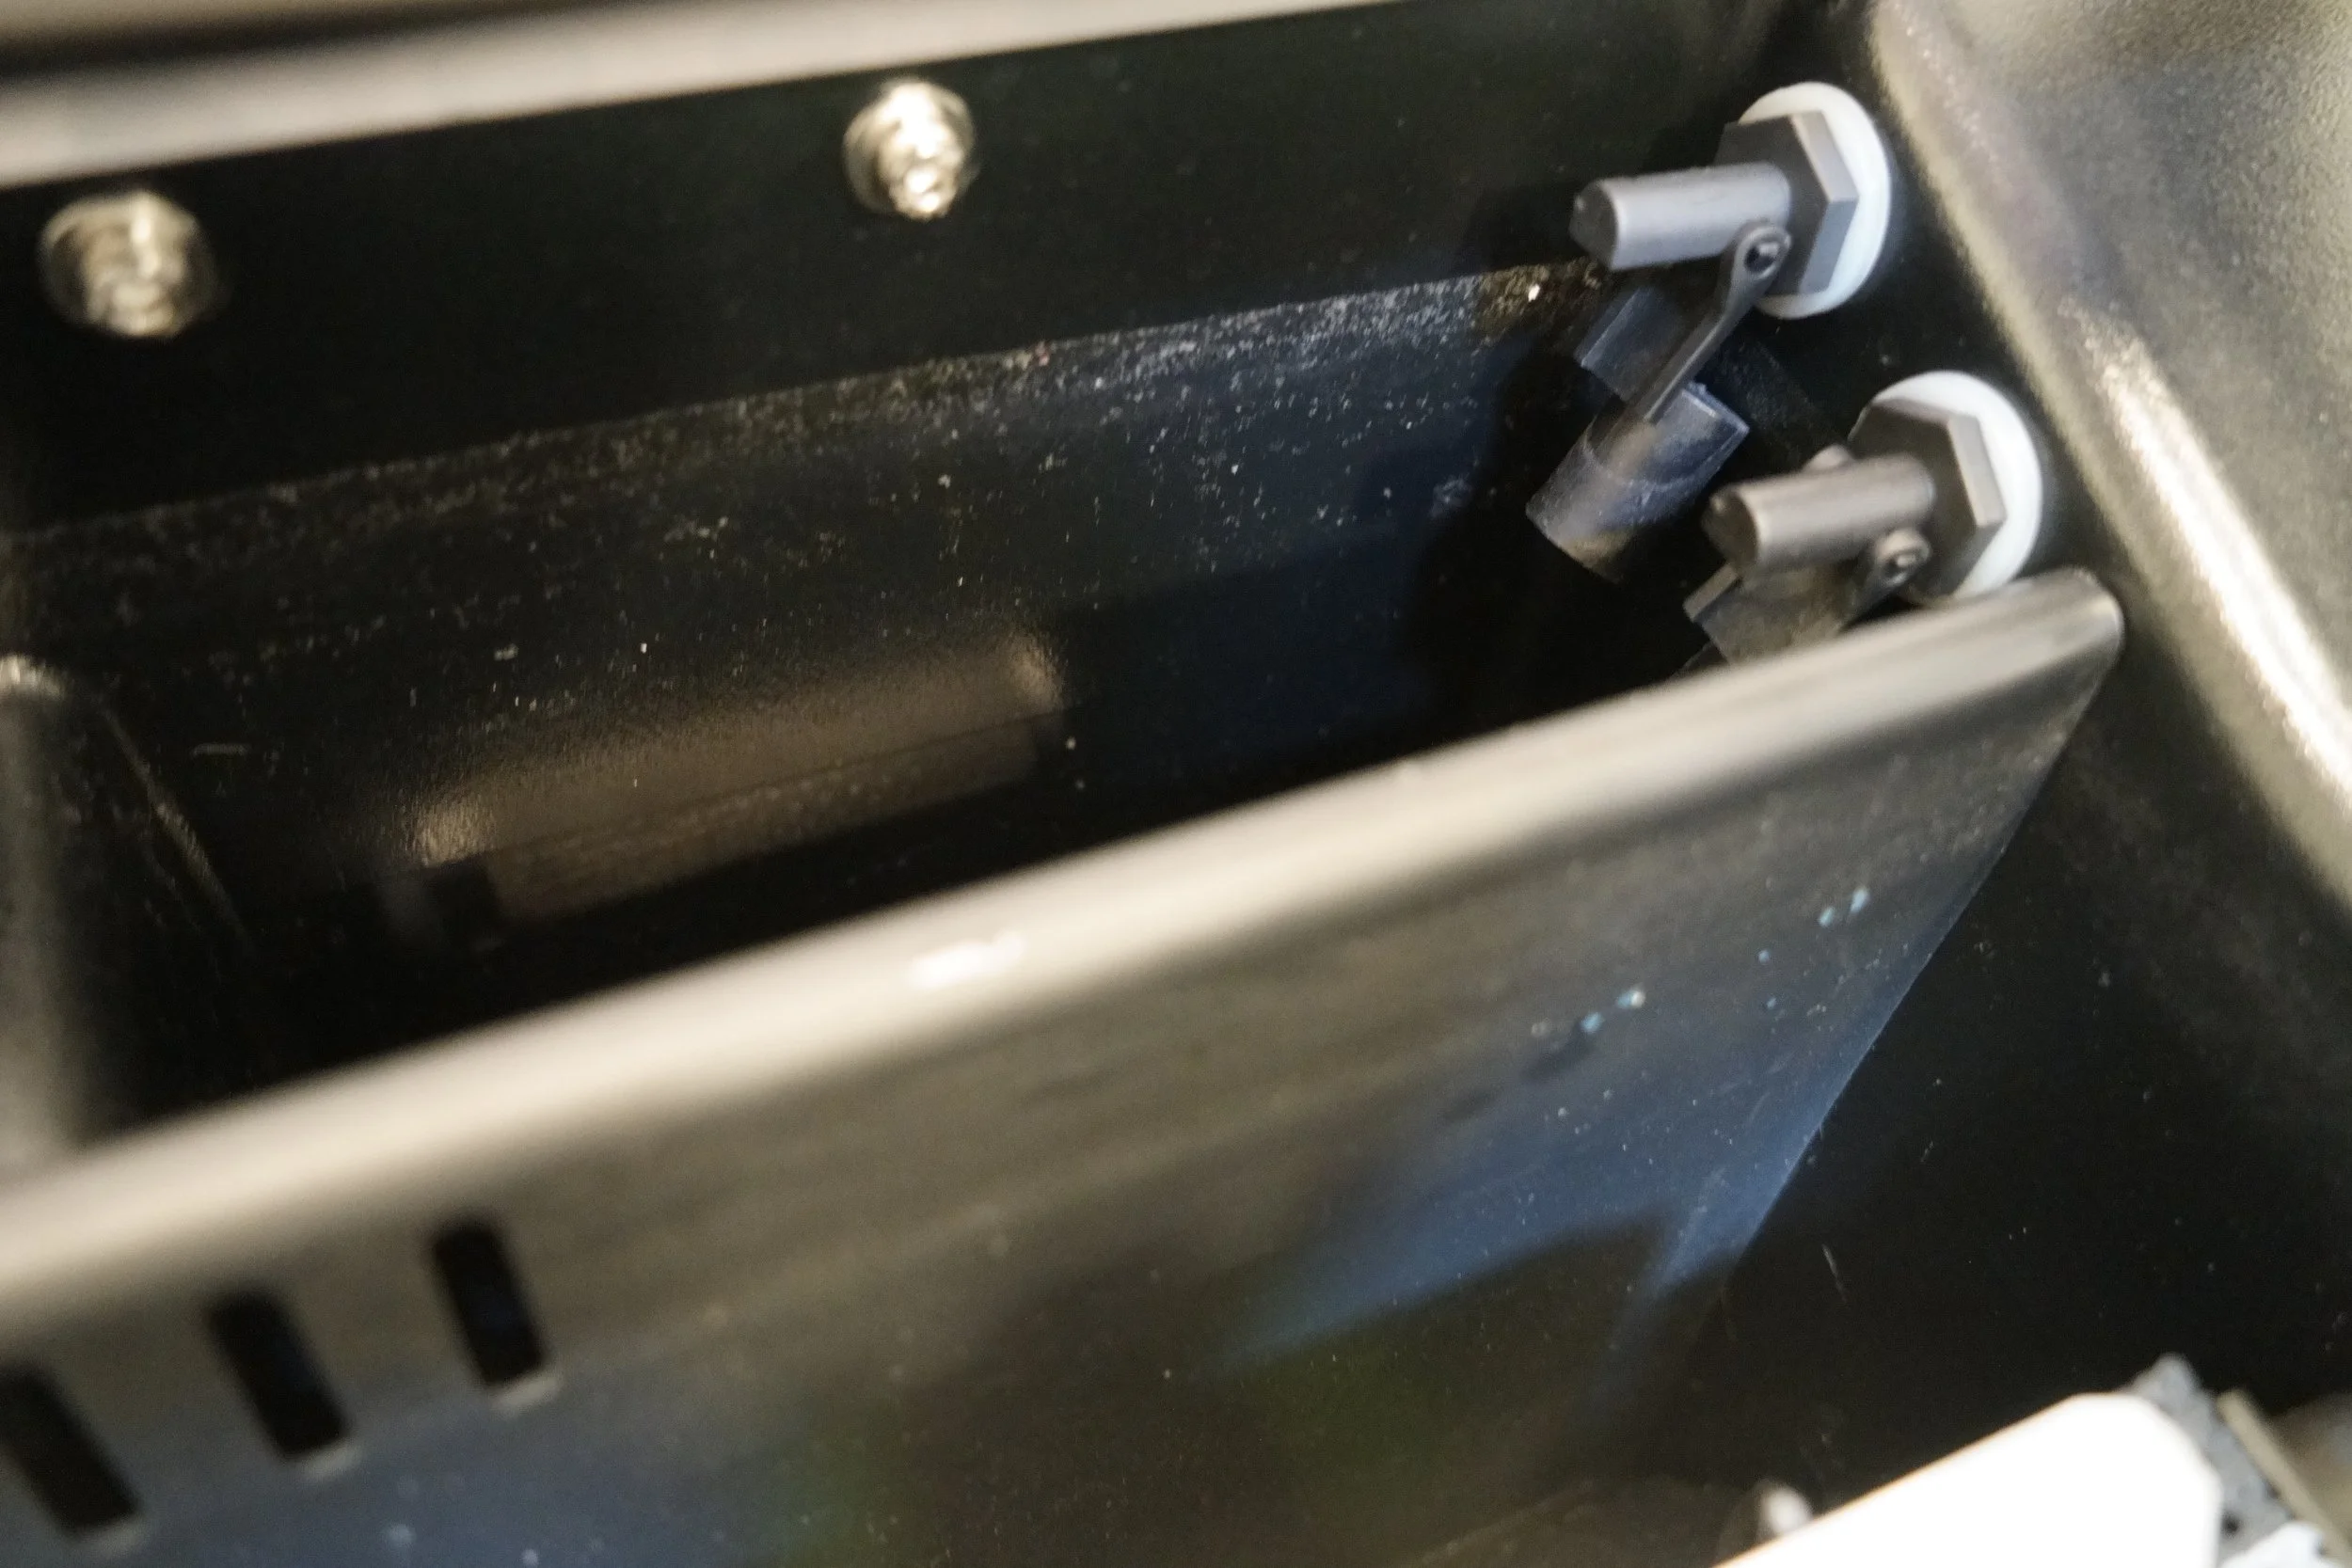
4. Finally, clean out the water level management float sensors on the right side of the rear cavity by washing them off with water.
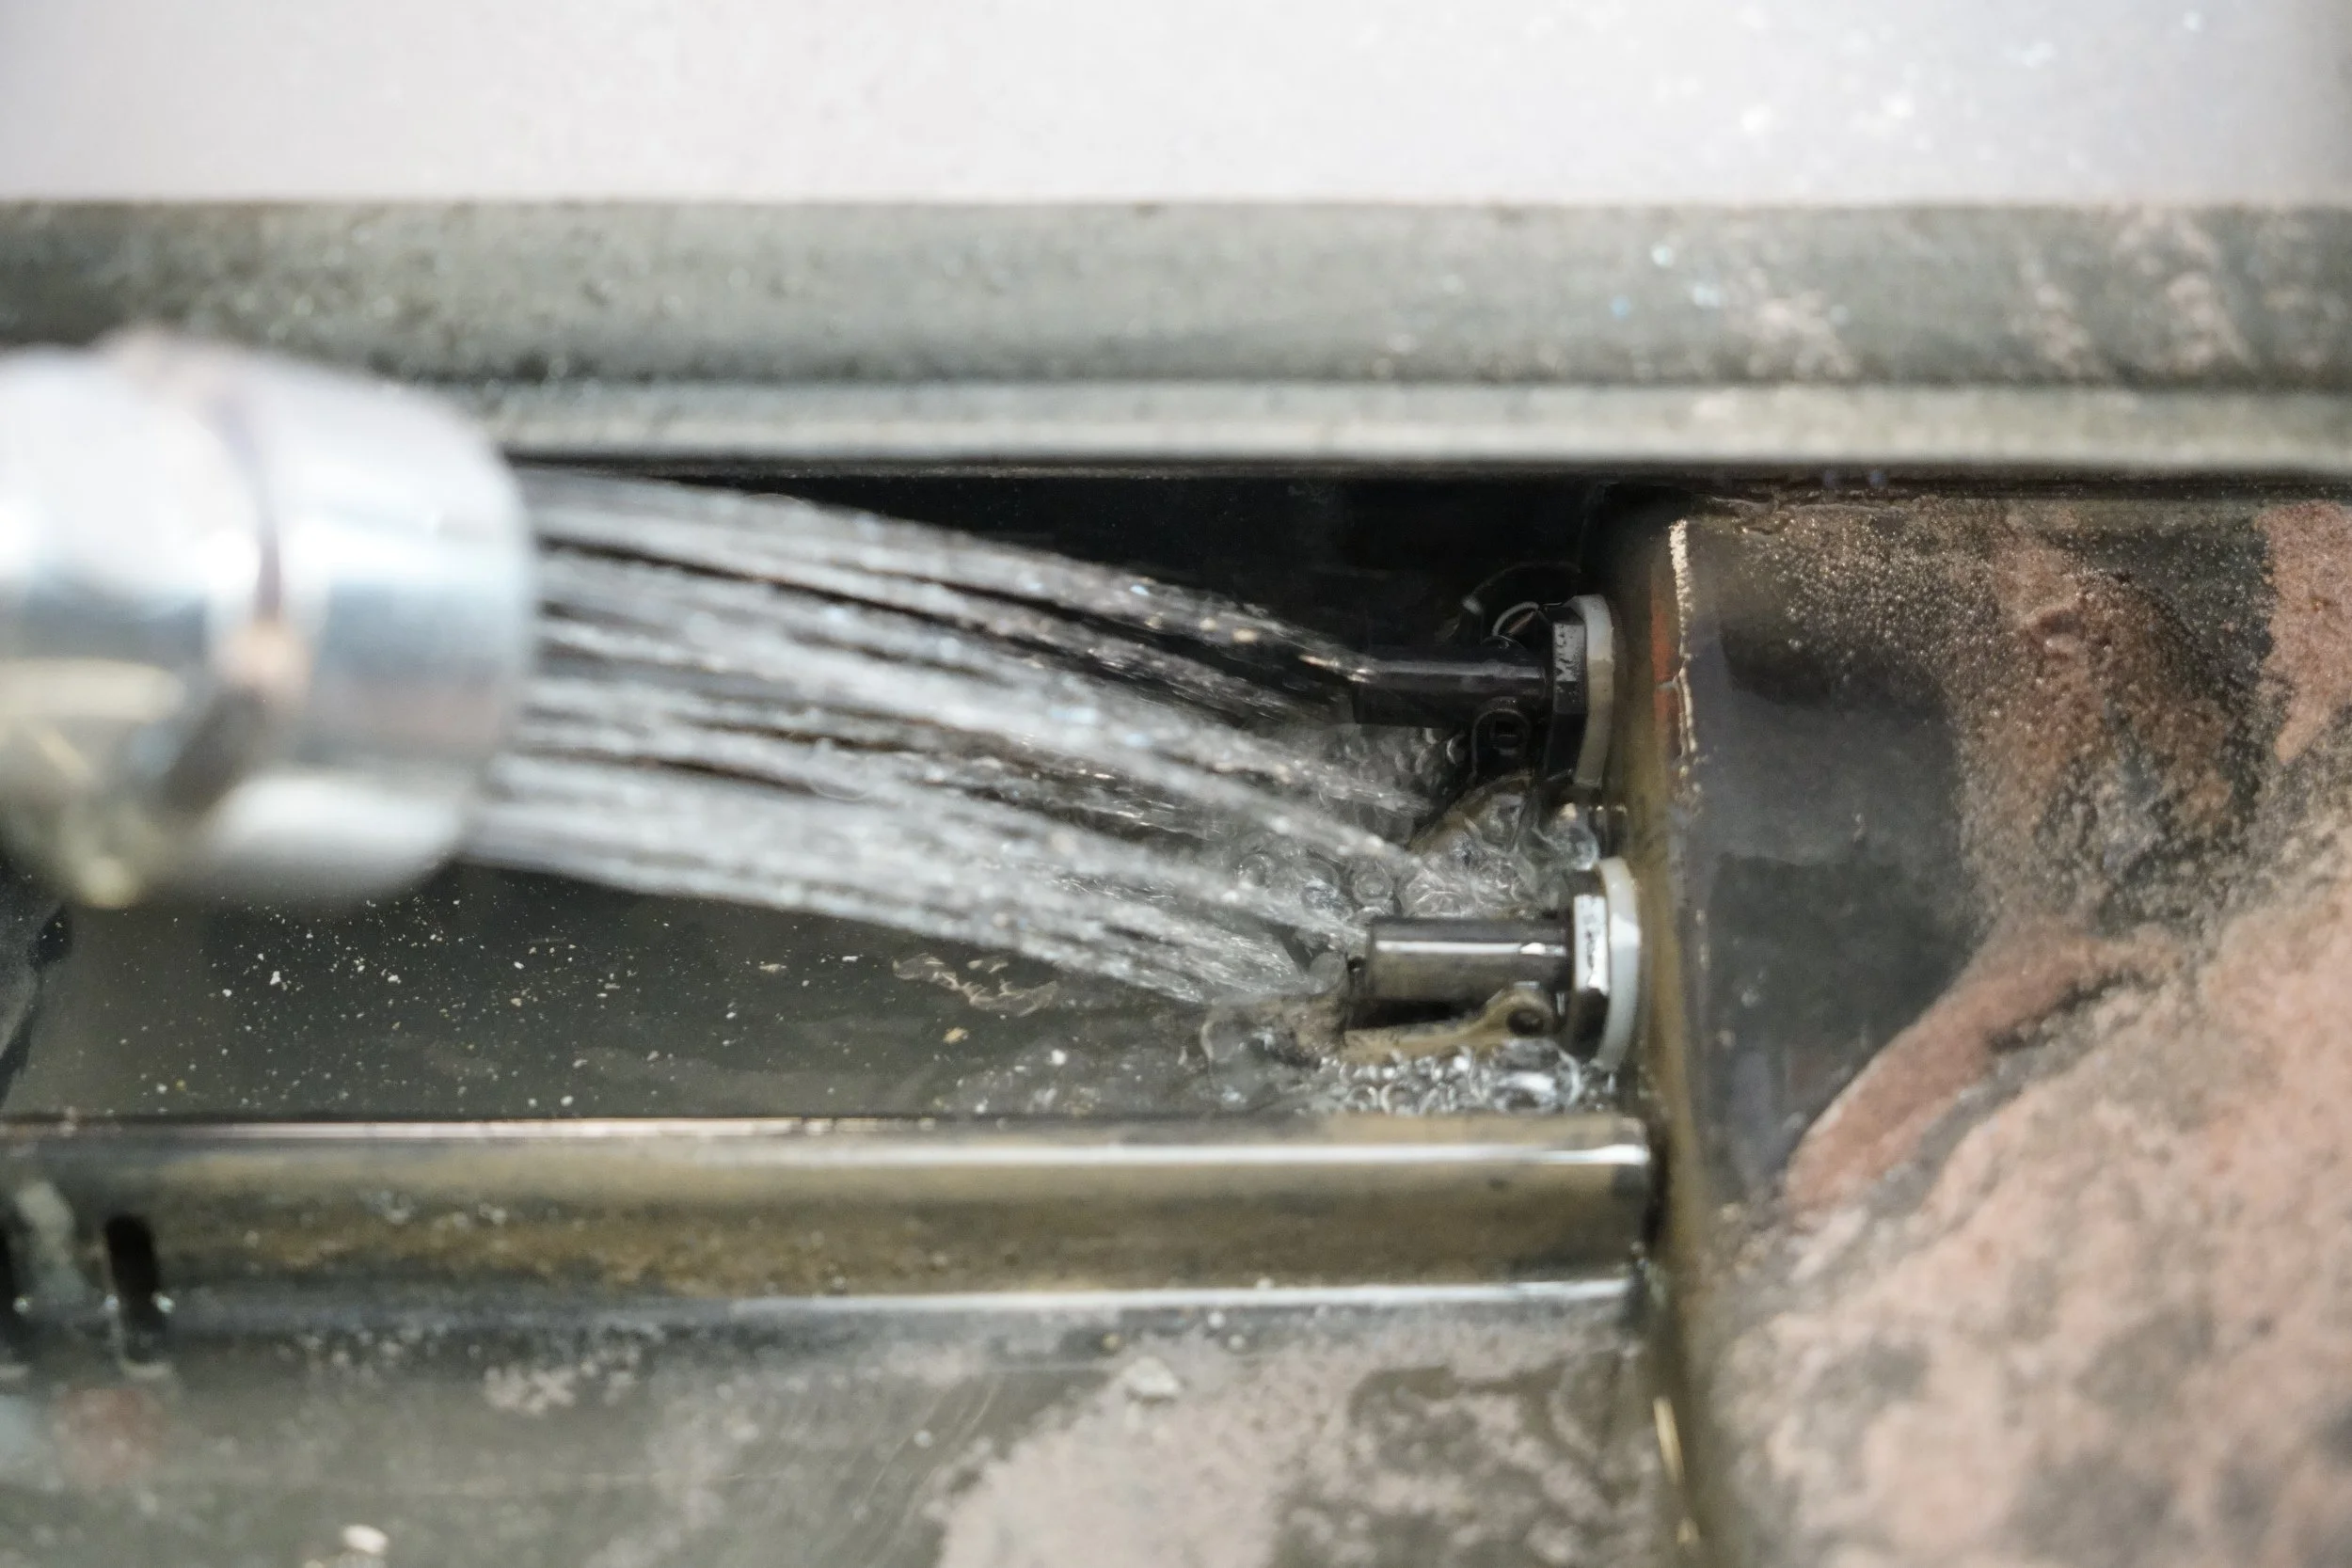
5. Resume cutting with the clean drain filters. If the "check drain filter" error messages are occurring repetitively after the filters have already been cleaned, troubleshoot the float sensor triggering point and LP drain pump.
Throughout the process of cleaning your drain filters, be careful not to trigger the hi/lo kill switches on the left side of your machine. If you happen to trigger these switches accidentally mid cut, you can use the restart cut feature to resume your cut progress.