This feature lets you start the cut from any point within a cut file, thereby allowing a restart from the position the cut failed.
The primary function of this upgrade is to save you critical time and money (abrasive cost) associated with a failed or interrupted cut.
You will now notice an option in the cut menu called “Restart Cut”, select this option to initiate a restart after a failed cut.
When this option is selected, the nozzle moves along the cut path in dry run mode (without water and abrasive). The user can visually access where the cut has failed and when the nozzle reaches that location the user can start cutting by pressing start.
The feature pierces at the restart location and completes the cut file as designed.
Please follow the provided Maintenance Schedule for your WAZER. If you do not abide to the regular maintenance procedures and schedule, the warranty and support for your WAZER will be void.
An overview of the WAZER software WAM. This section contains in-depth guides into the features of WAM as well a instructions to get the most of the WAM software
An overview of Control Panel servicing or error messages you may encounter while running your WAZER. This section will help you diagnose the problem when you see an error message.
This section will help you when there are leaks from your machine. How to find the source of the leak and how to either fix or replace the part causing the problem.
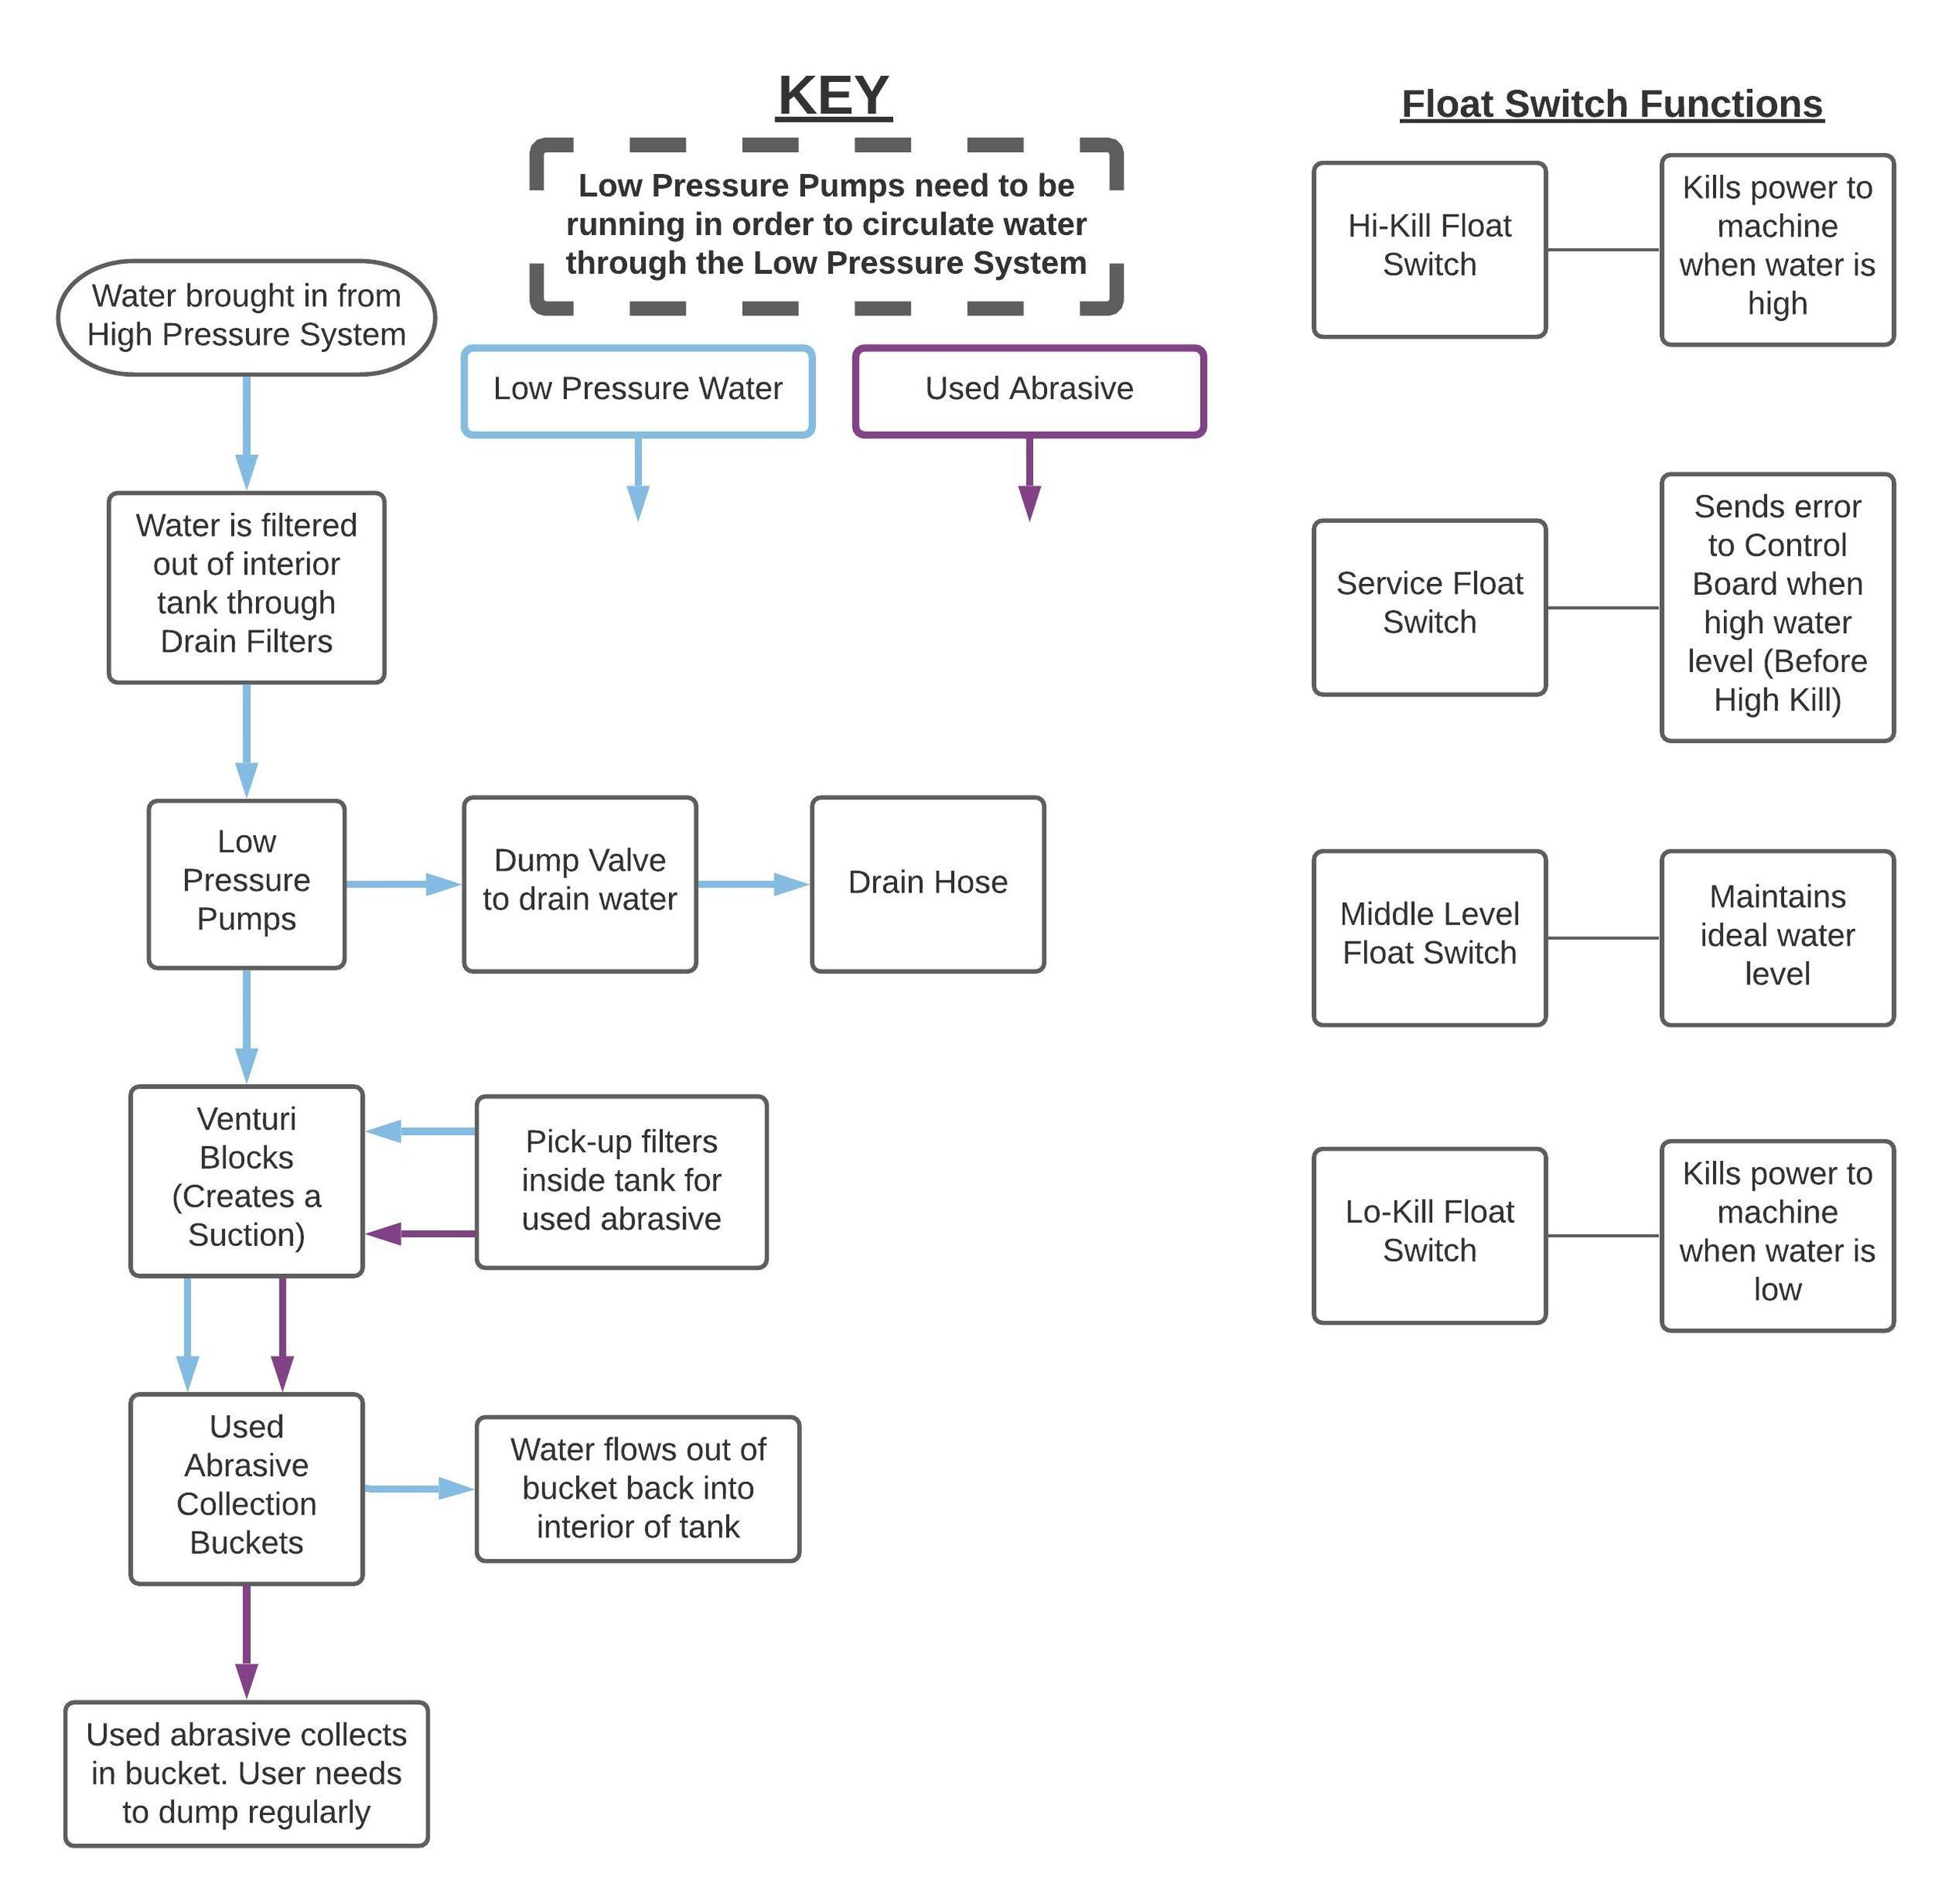
One of the most convenient features of WAZER is that it removes the Used Abrasive from the tank. The system will require some regular maintenance to keep it running smoothly. When things aren’t working as expected this section will help you diagnose what is not working and point you to resources to get things running smoothly.
This section will you to identify the root causes when the water level in the tank is abnormally high or abnormally low. Suggested solutions are also provided.
This articles formalized several term that usually used in a cut project, and also list out all the steps needed from conceptualization to final cut execution.
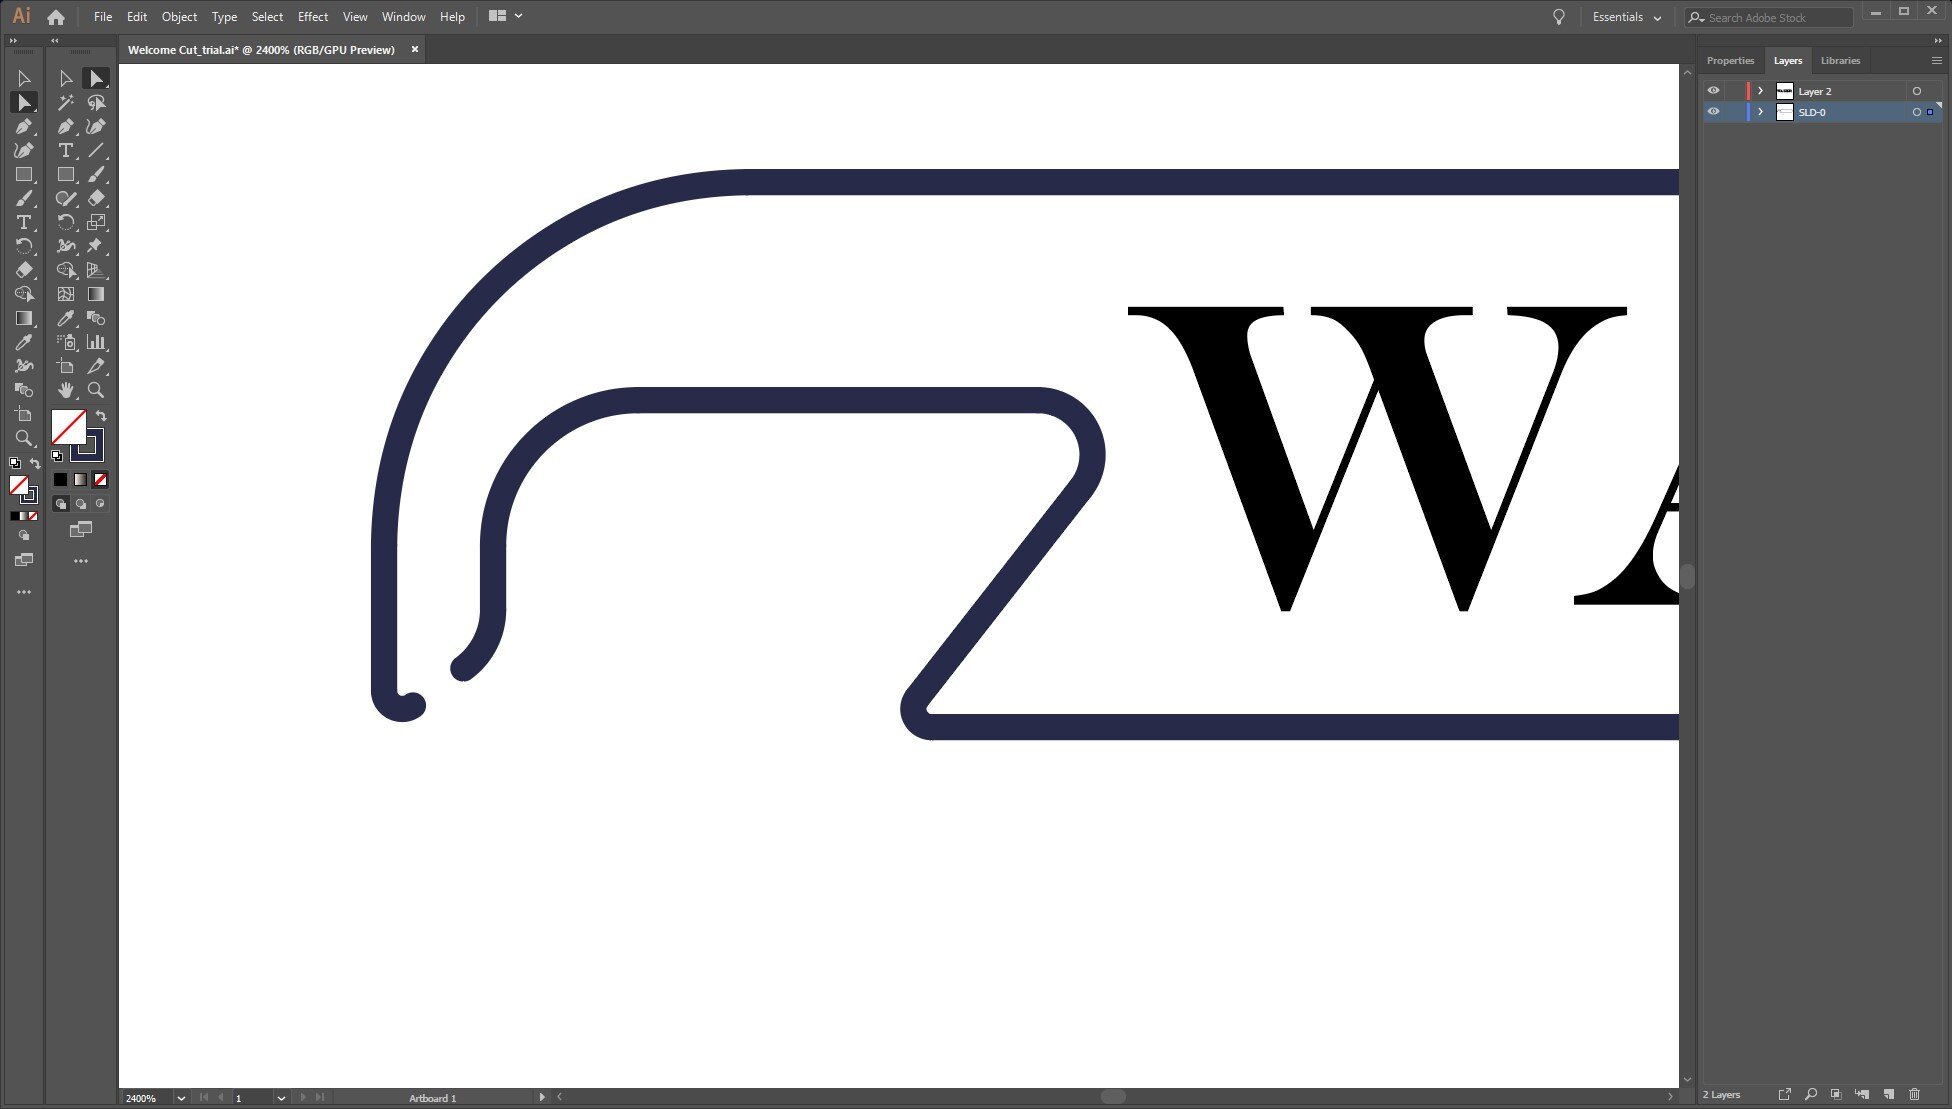
This tutorial will walk you through converting the edges in an image into vector paths which you can then cut. We use a free Photoshop type program called Gimp to do this. You can accomplish the same process with other software in much the same way.
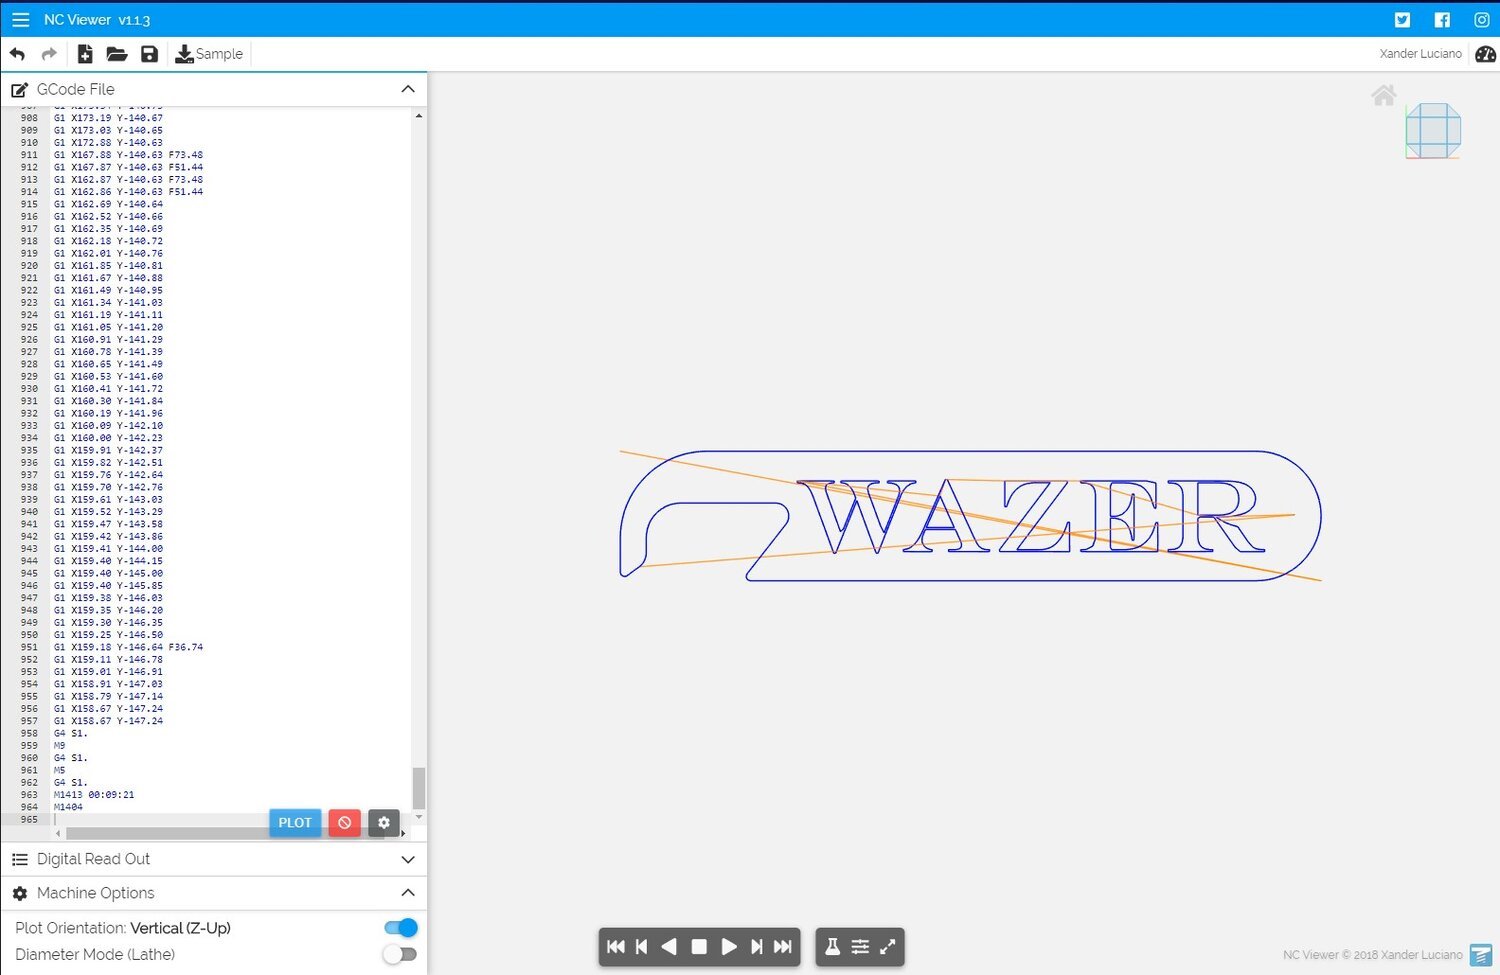
This is an explanation and dissection of the WAZER G-code structure so that you can understand how WAZER is interpreting the series of commands that WAM generates. These are all critical for your WAZER to function correctly and safely
The WAZER team regularly uses this method to see how the material is to be cut by the WAZER. It can help you understand the order parts will be cut out and the path that the machine will take