Tool Holder
Overview
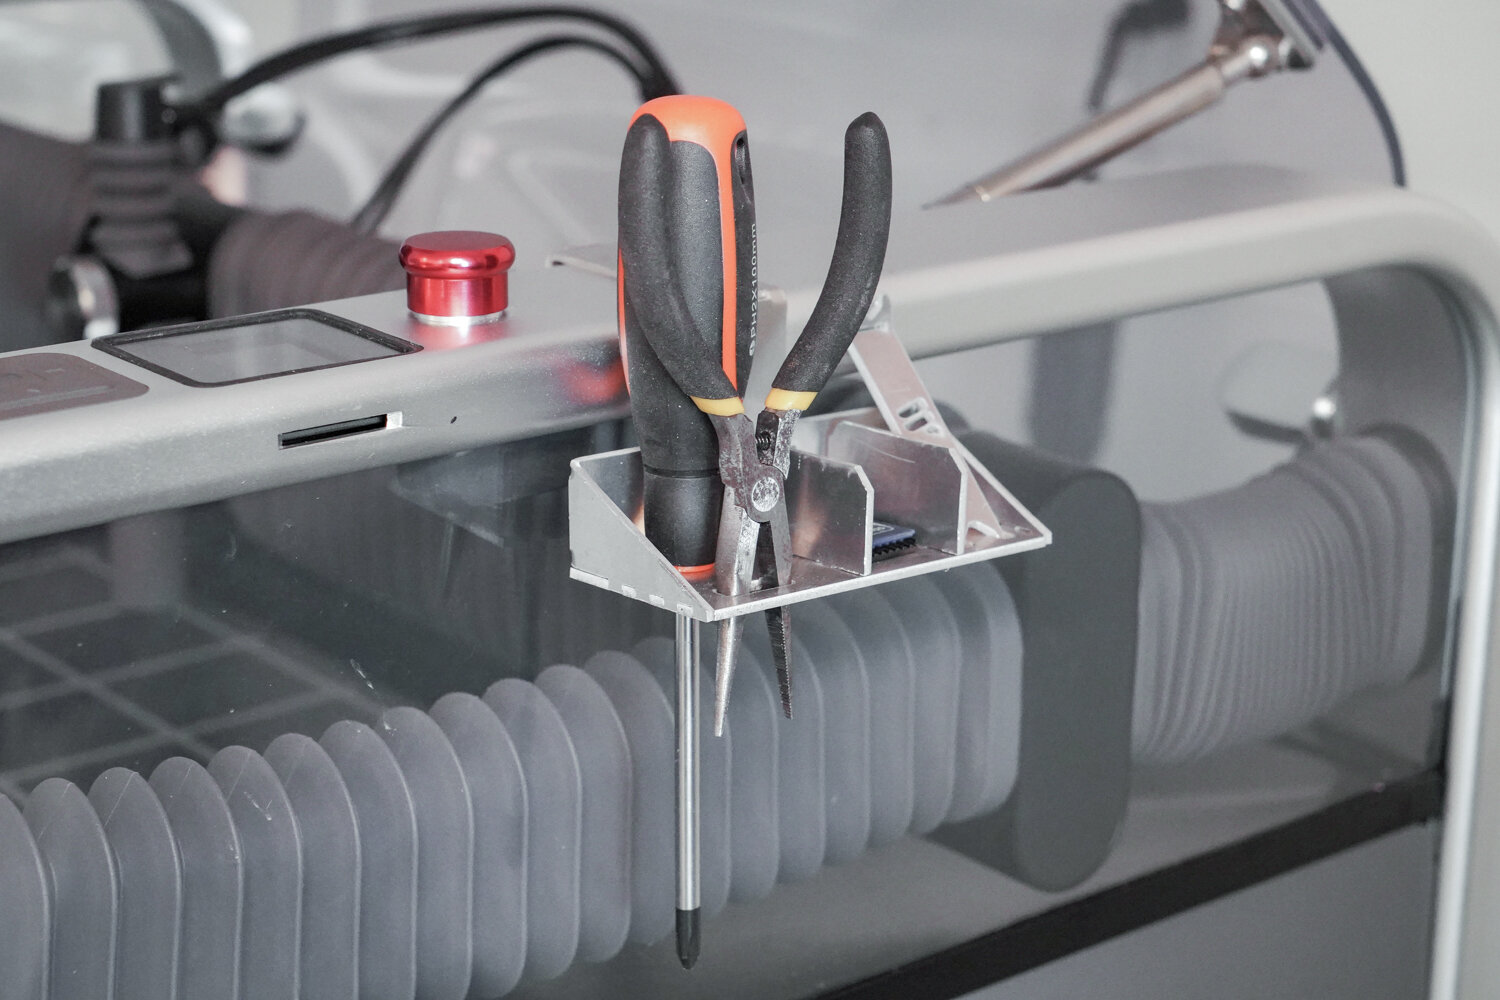
The exterior the WAZER Main Unit is minimalistic, but we can add a small tool share and make it more practical and fit our daily operation better. This curriculum is designed to guide you in making a small tool holder.
Even though WAZER can only cut out 2D design patterns, it does not mean we can only make 2D parts. Through proper sheet metal technique and borrowing some work working tricks, we can transform a flat design into a 3D object.
This lesson contains cut files designed for the recommended material, and also customizable design files to create your own cut files. On top of that, a step-by-step guide is also provided. In then end we will have a tool hold that sits nicely on the side of the Main Unit and have an accessible space for all the commonly used tools.
Tools needed for these assemblies:
Pliers
Hammer
Deburring Tool
File
Curriculum Outline
Download the cut files
Cut out the parts
Post Process
Assemble the tool holder
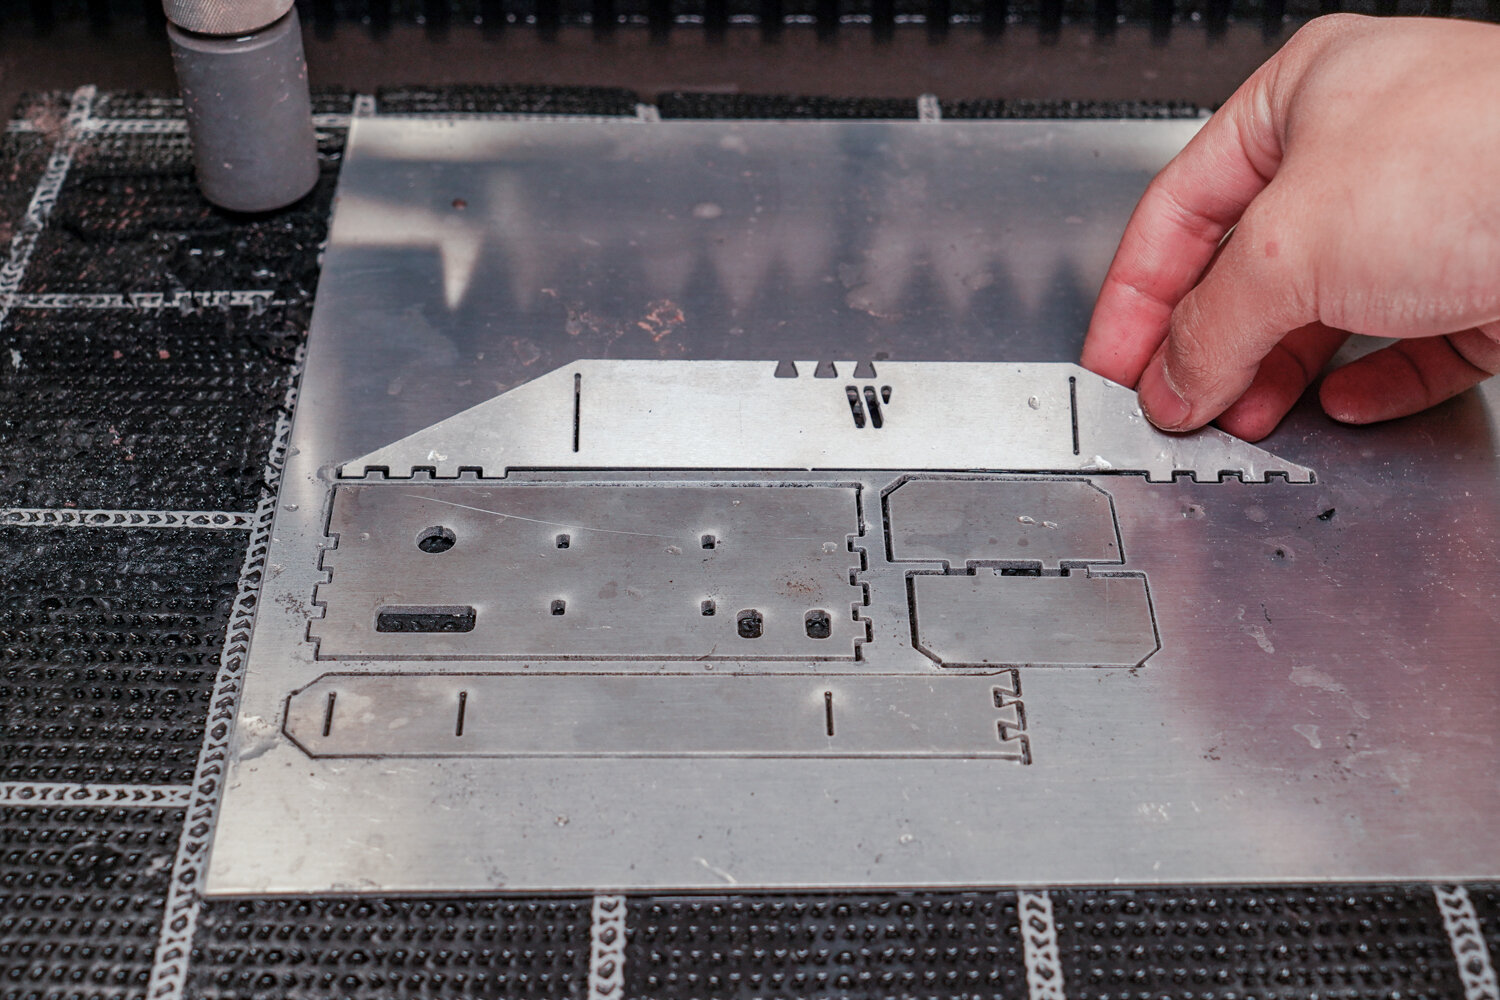
Step 0: Download the Design file from our Downloads page and cut the parts on materials of your choice
This is what the cut will look like immediately after cutting has finished.
Step 1: Deburring
Use a deburring tool to clean up all burrs on the pieces.
Step 2: Filing
Use a file to clean up the sharp tab remnants.
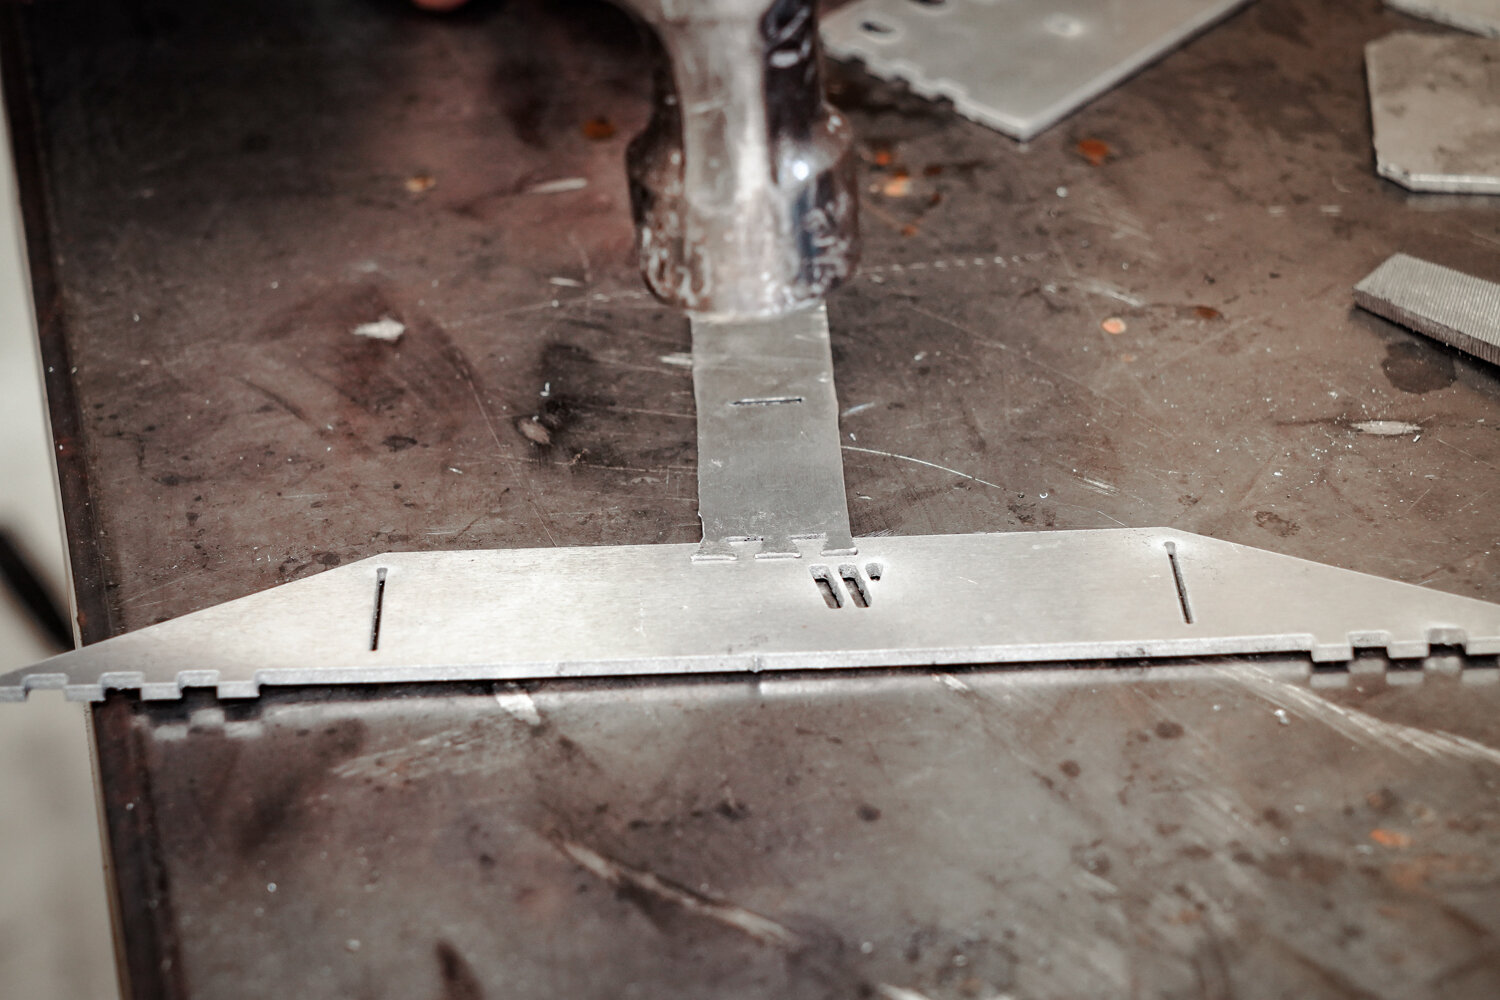
Step 3: Lining up the Dovetail Joint
Make sure that the draft angles of the pieces are lined up by flipping the hook piece over before locking the joint with a hammer.
Line up the dovetails once you ensure that the draft angles correspond with each other.
Step 4: Locking the Dovetail Joint
Hammer the joint together with a hammer until the pieces are flush with each other.
Step 5: Bending the Back Piece
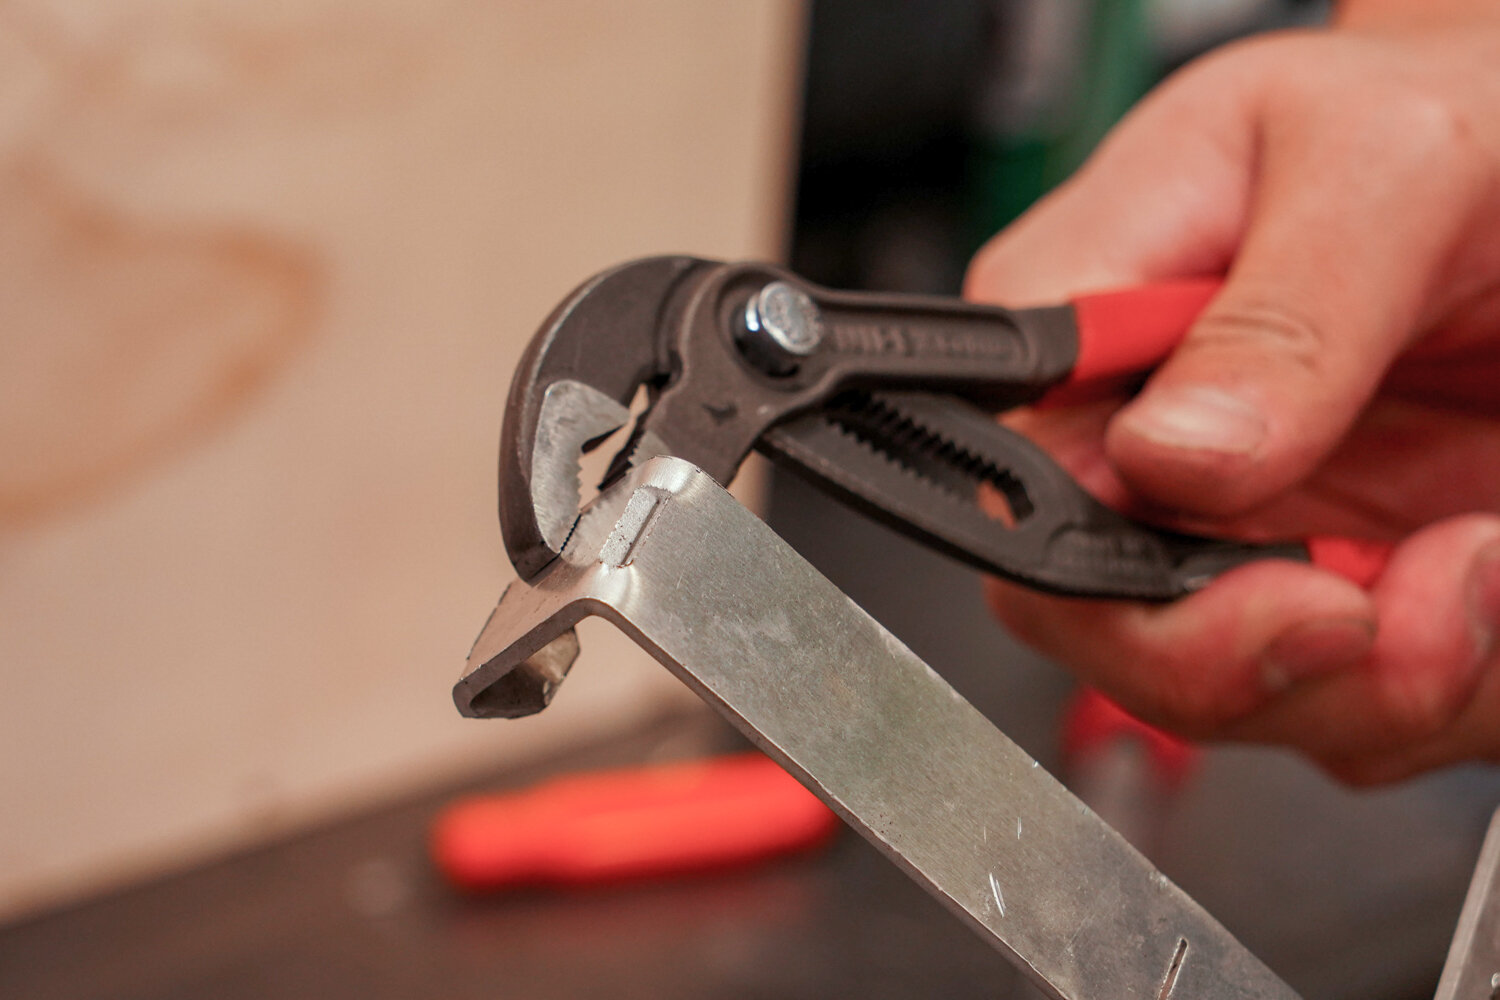
Using a clamp or pliers, bend the back piece along the relief cuts to 90 degrees.
The bent piece should look like this.
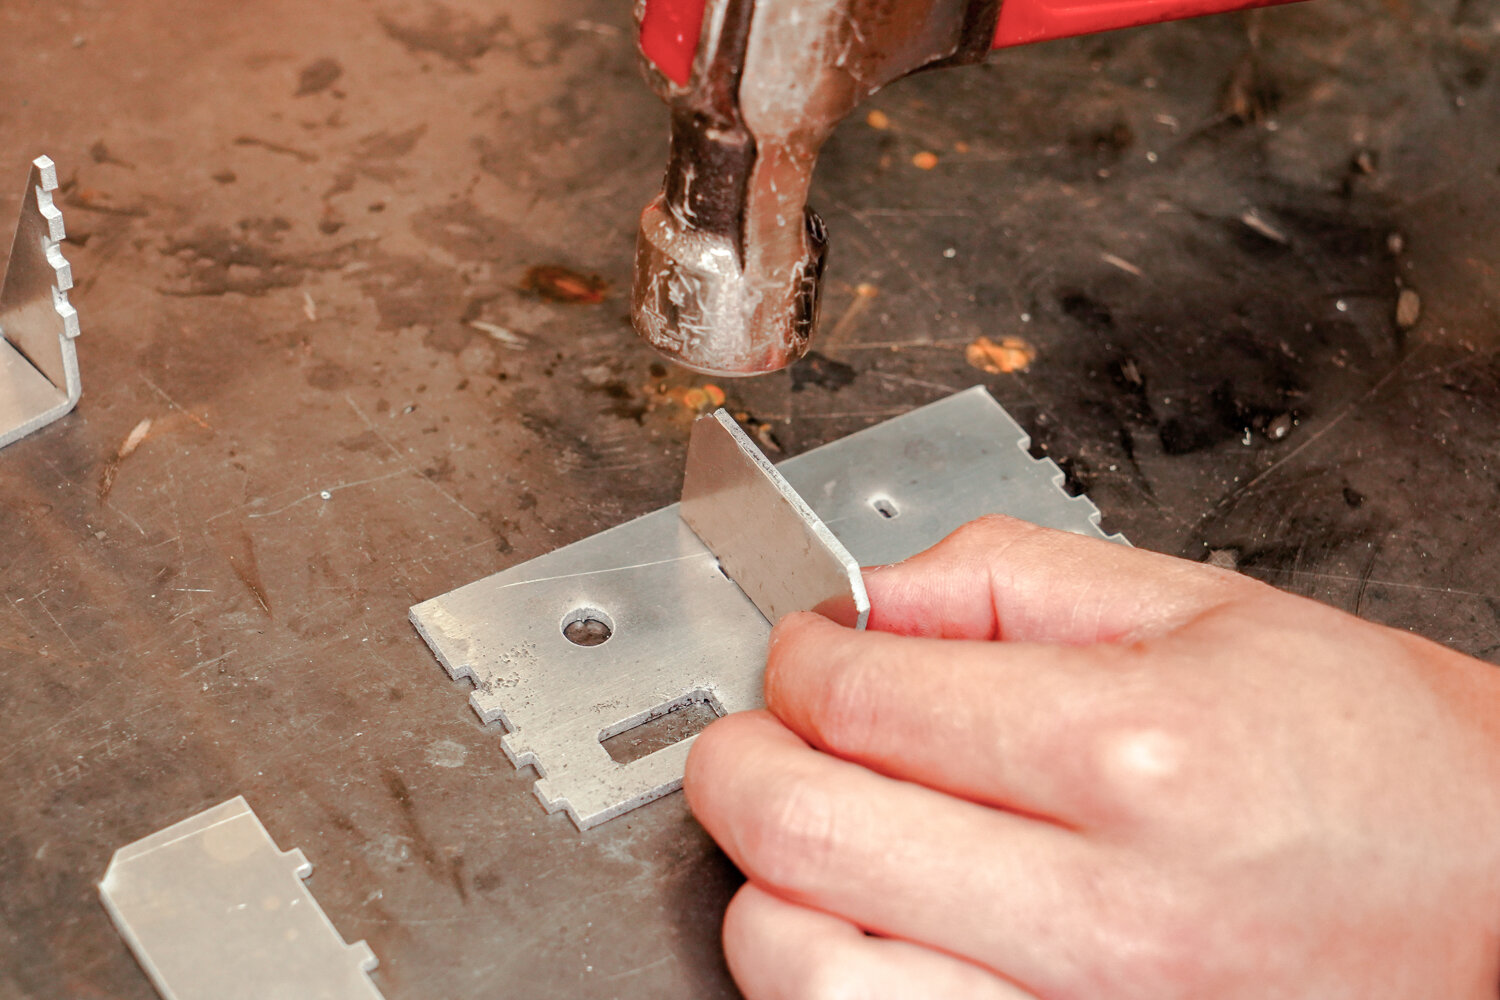
Step 6: Inserting the Partitions
Insert partitions into base piece holes using a mallet or hammer.
Step 7: Attaching the Box Joints
Attach back piece to base piece by lining up pieces and hammering the box joints together.
Hammer joints as far into each other as they will go. This will ensure a tight and strong joint.
Step 8: Bending the Hook
Bend hook into shape using a vice or pliers. Each bend is 90 degrees. These angles can be slightly adjusted for tightness once it is test fit over the machine.
Finished Product
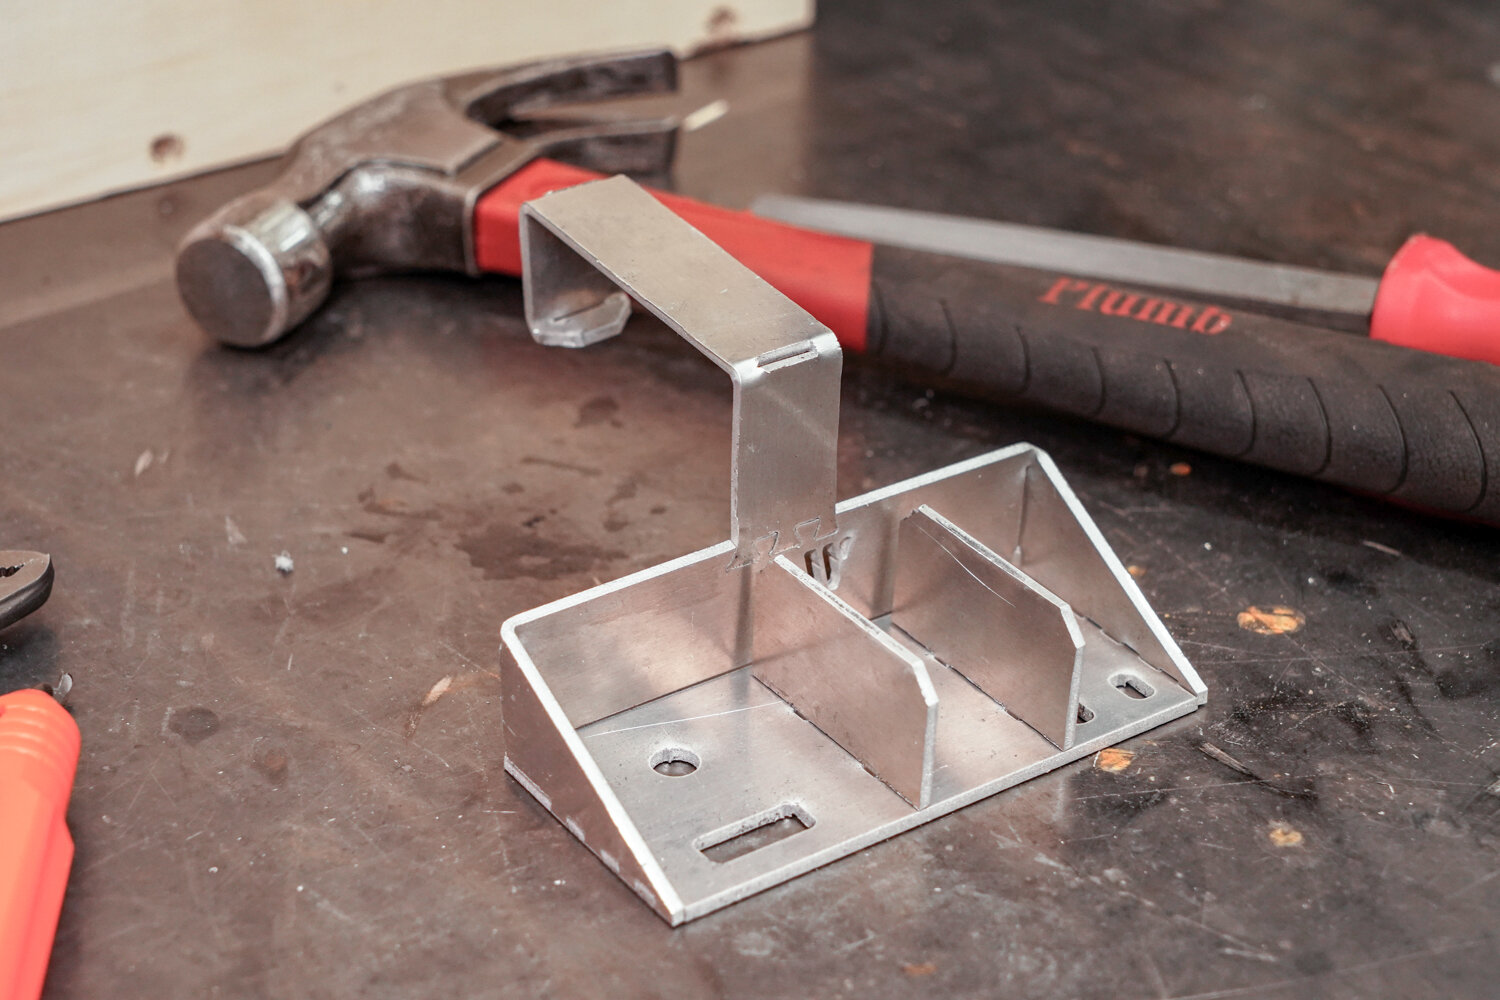
The finished product can be used to hold a multitude of tools and other important items, an SD card, screws, and the Multitool Welcome Cut.
The hook goes around the aluminum hoop on either side of the machine. The fit is intentionally tight so that the tool holder does not move when being used. Hook the far end of the hook over the inside of the machine, and then press the top of the hook down until it fully seats on top of the hoop.
