Desktop Bridge
OVERVIEW
Wood and metals are drastically different materials, yet some woodworking technique can be used on metal. This curriculum is designed to guide you trying out some wood joints technique by making a metal bridge.
Even though WAZER can only cut out 2D design patterns, it does not mean we can only make 2D parts. Through some sheet metal technique and borrowing some work working tricks, we can transform a flat design into a 3D object.
This lesson contains cut files designed for the recommended material, and also customizable design files to create your own cut files. On top of that, a step-by-step guide is also provided. In the end we will have a mini bridge that is strong enough to even be stood on.
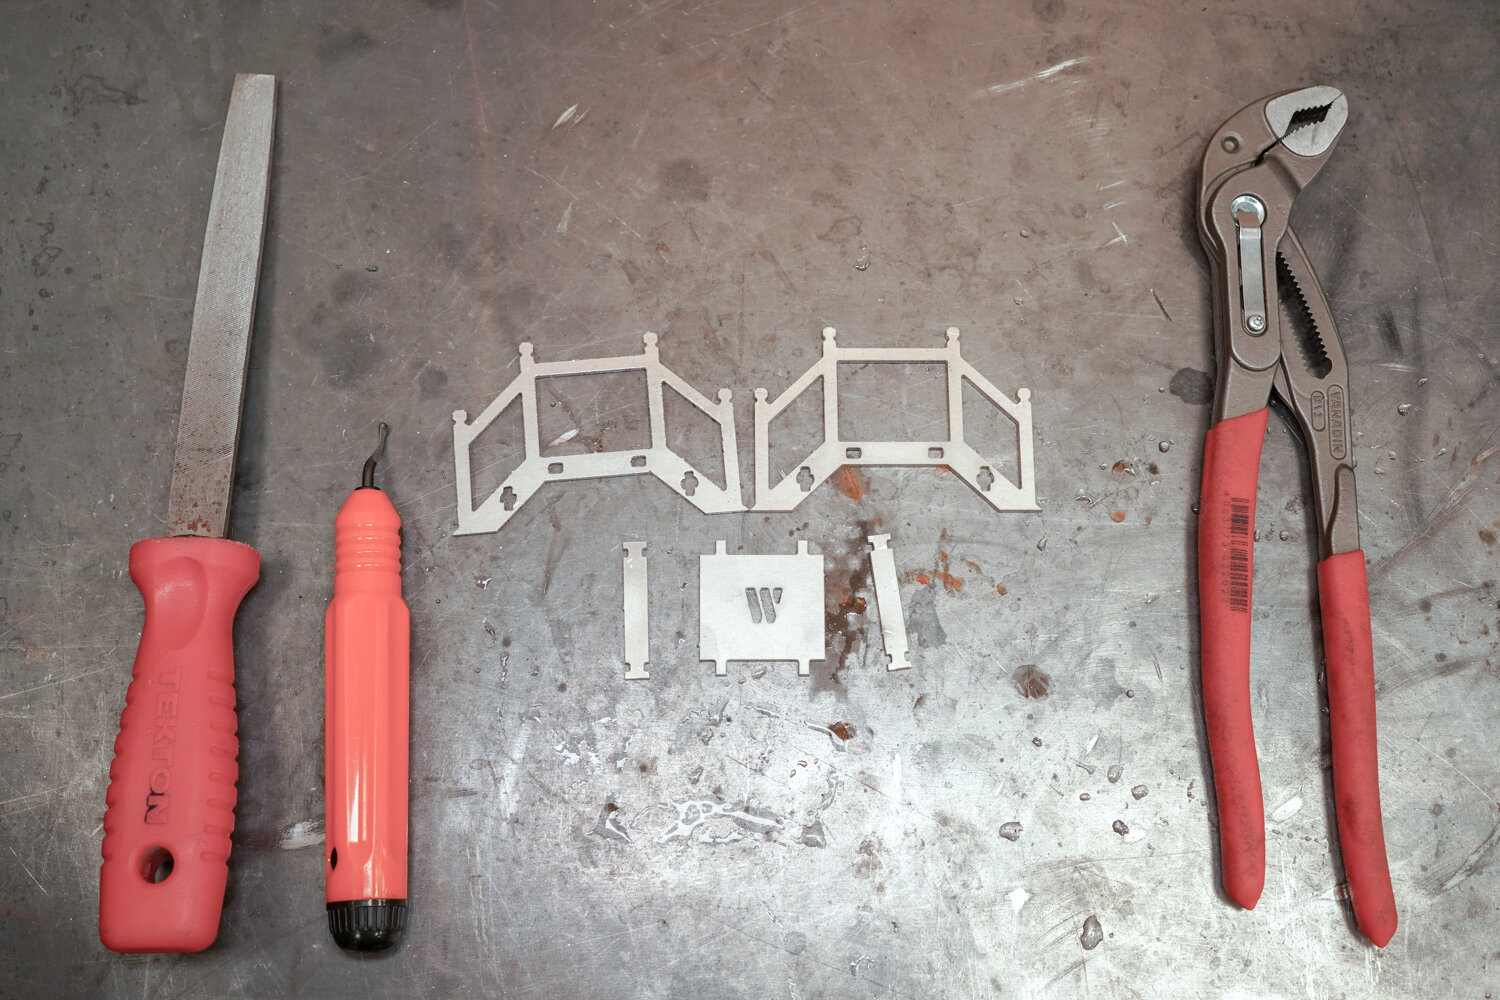
Tools needed for these assemblies:
Pliers
Hammer
Deburring Tool
File
Curriculum Outline
Download the cut files
Cut out the parts
Post Process
Assemble the Desktop Bridge
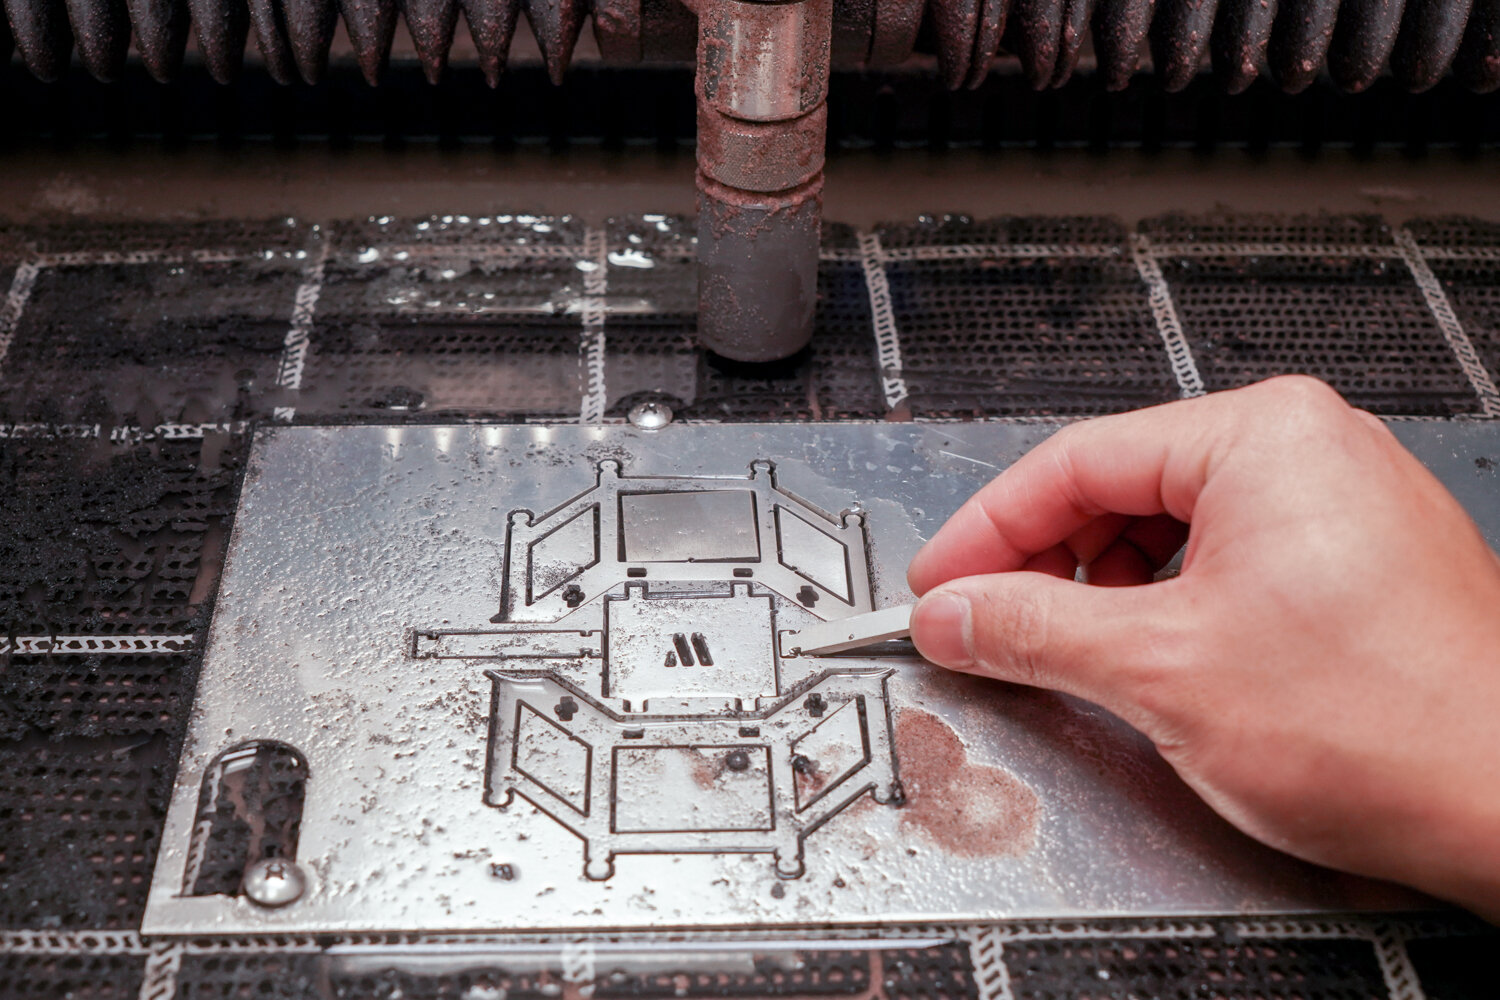
Step 0: Download the Design file from our Downloads page and cut the parts on materials of your choice (must be 2.3 mm thick or joints might not fit)
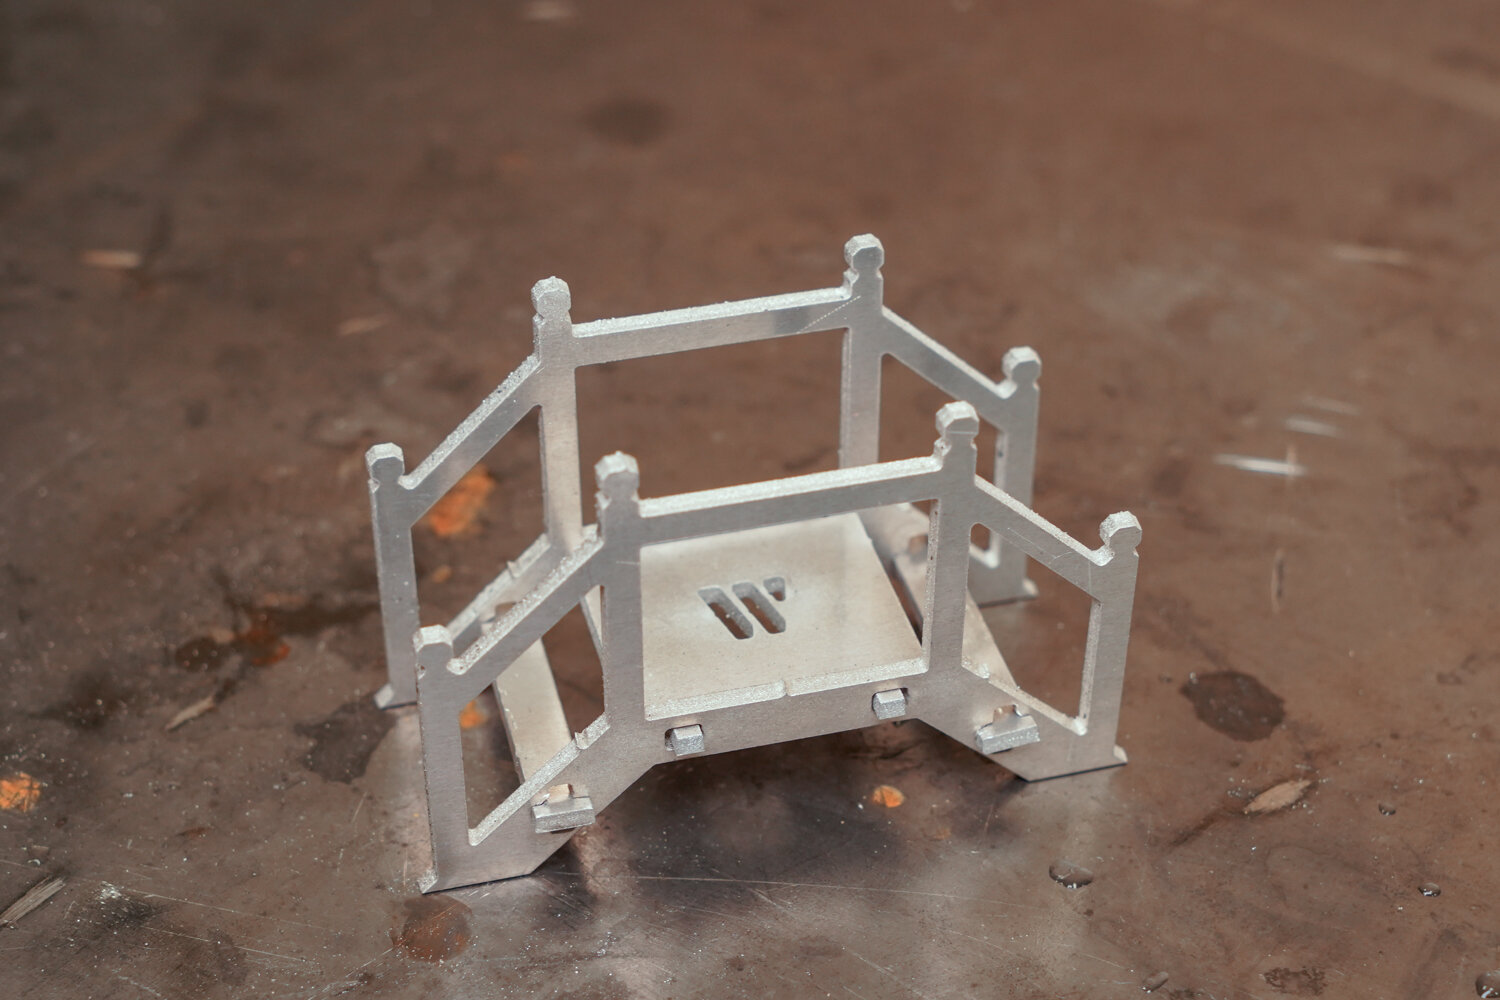
This is what the cut will look like immediately after cutting has finished.
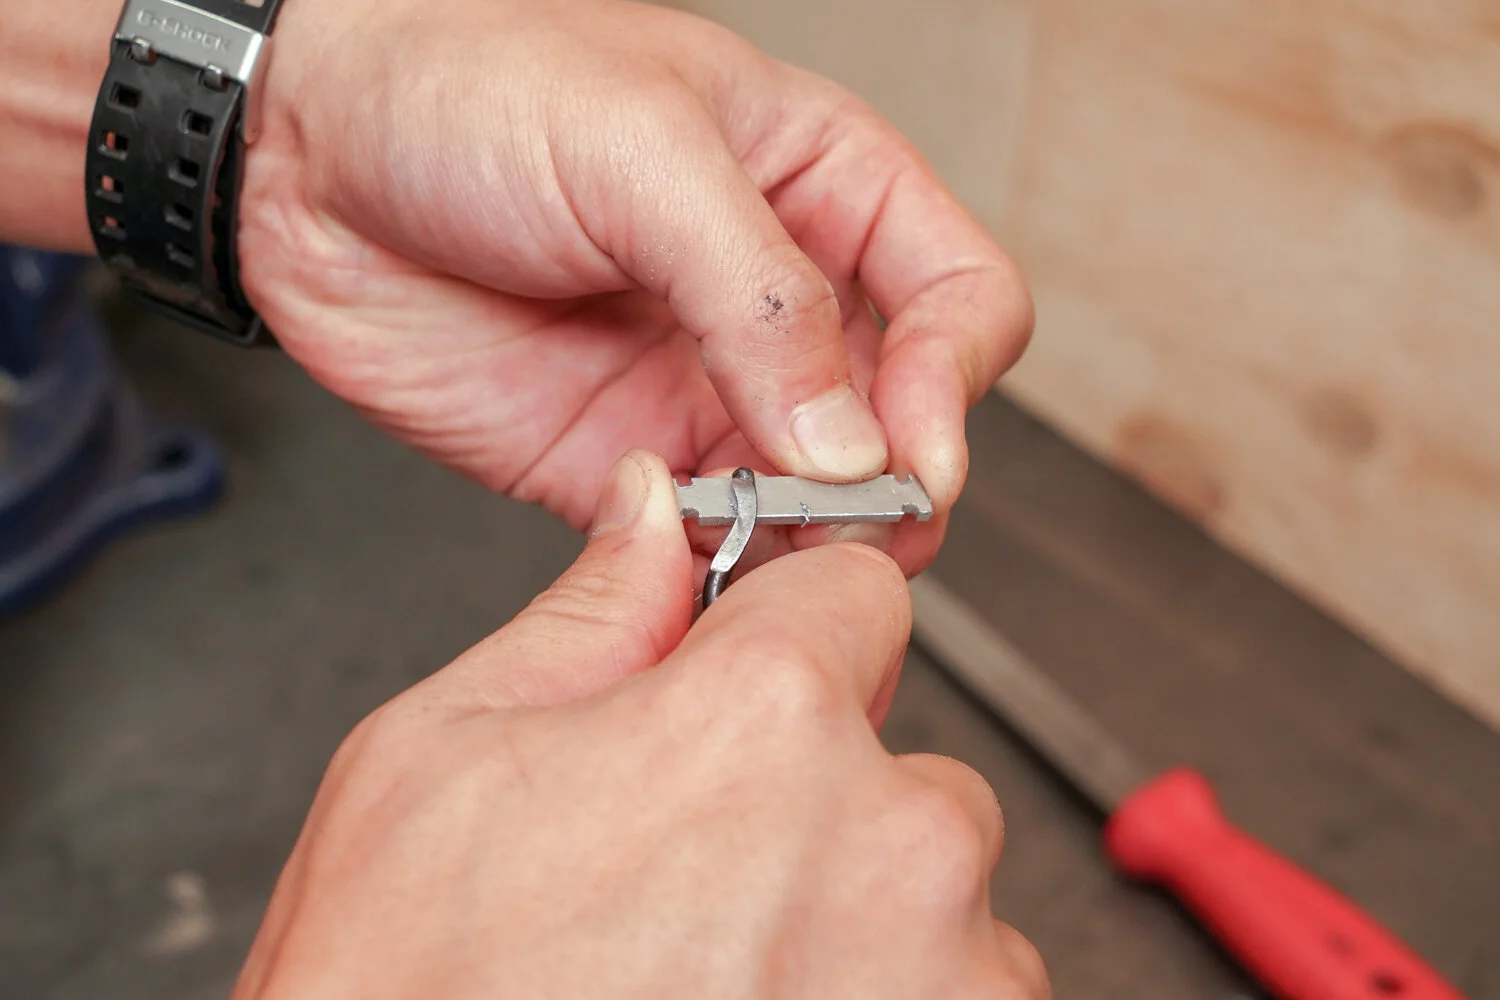
Step 1: Deburring
Use a deburring tool to clean up all burrs on the pieces.
Step 2: Filing
Use a file to clean up the sharp tab remnants.
Step 3: Twist Joints
Push the two skinny stair pieces through their cut outs in the bridge side pieces vertically, as shown.
Twist the joint once or twice with pliers or by hand to ensure that the piece will lock.
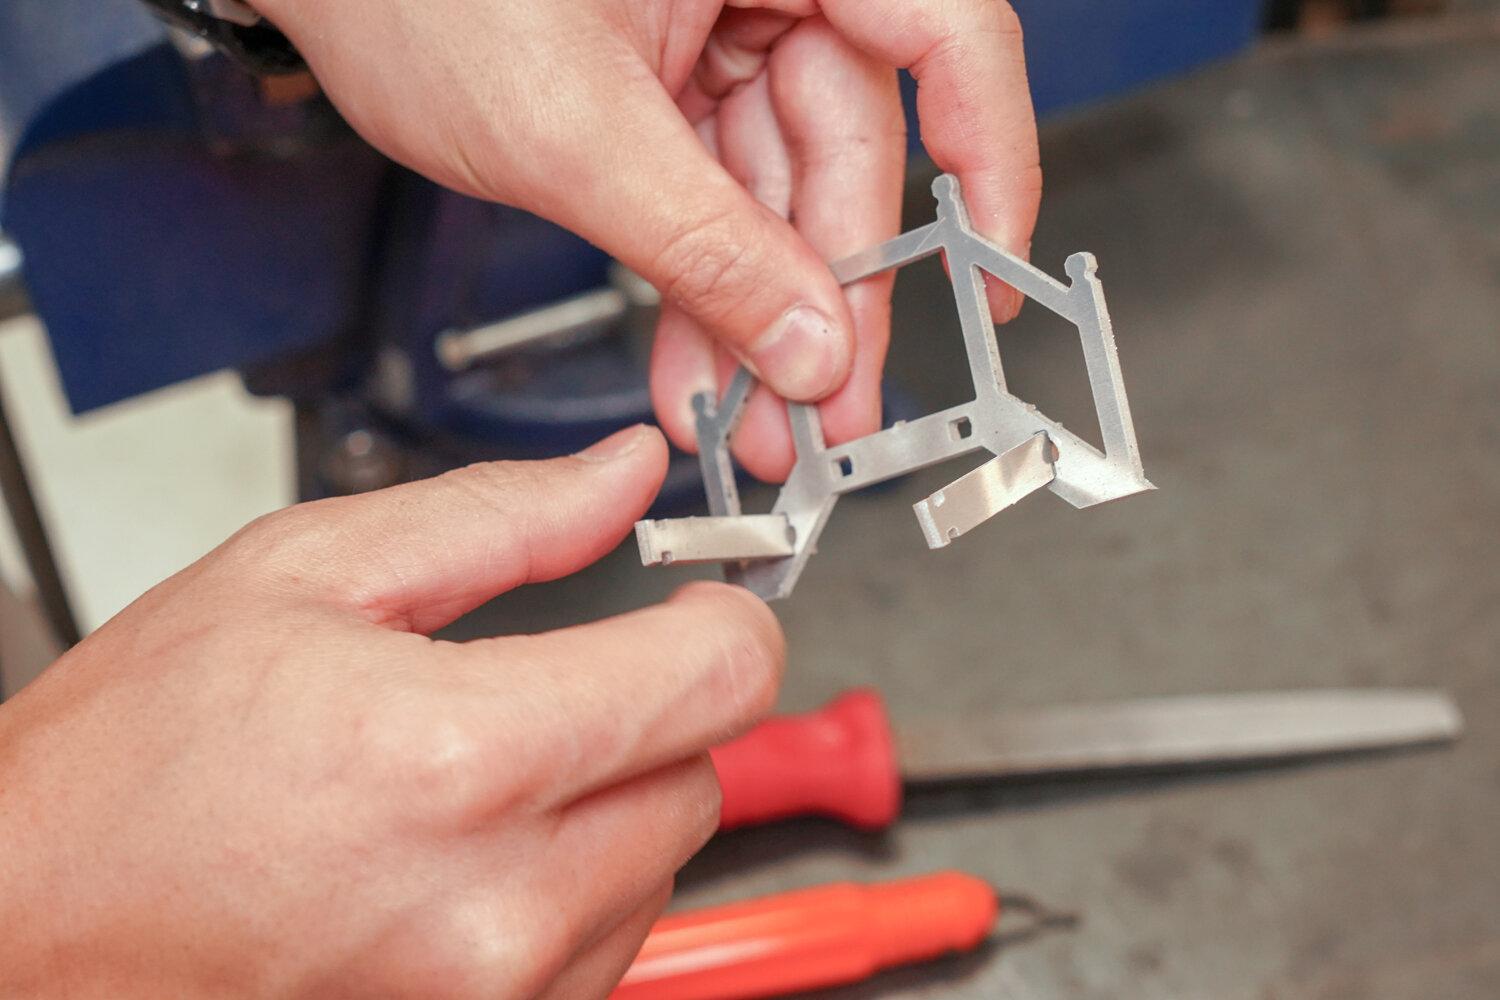
Step 4: Insert Main Span
Insert the main span’s tabs into two holes on the bridge sides, as shown.
The fit of these tabs into their holes is intentionally loose.
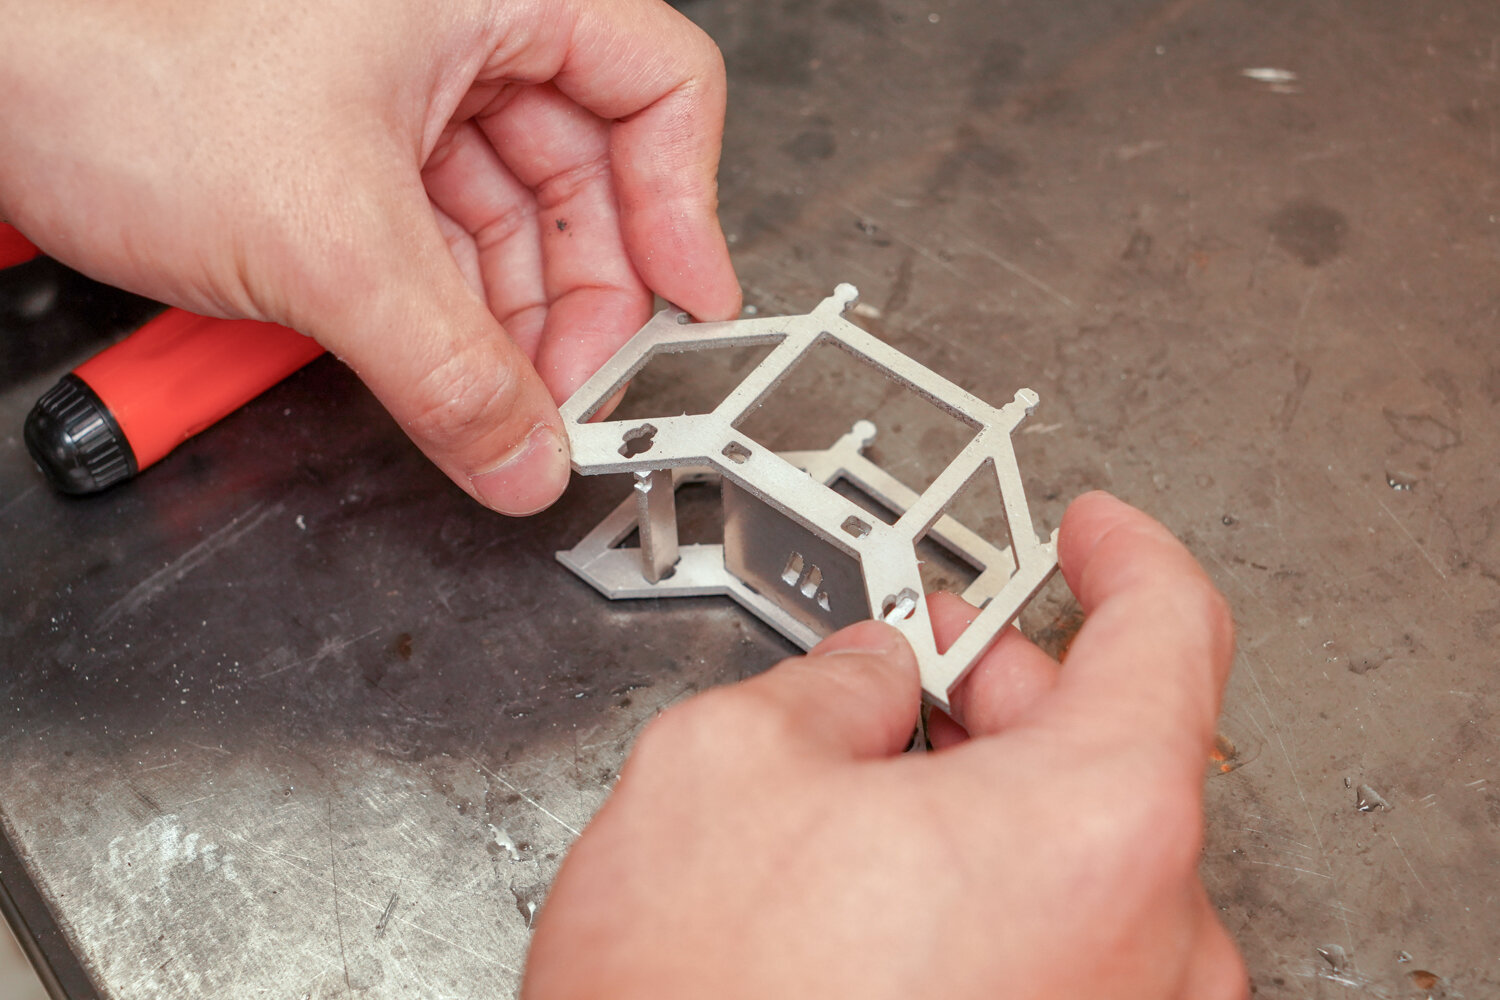
Step 5: Adding the other side of the Bridge
Line up the two stairs and two tabs of the main span with their respective holes on the other side of the bridge and push them through, as shown.
This operation might take a bit of force and wiggling.
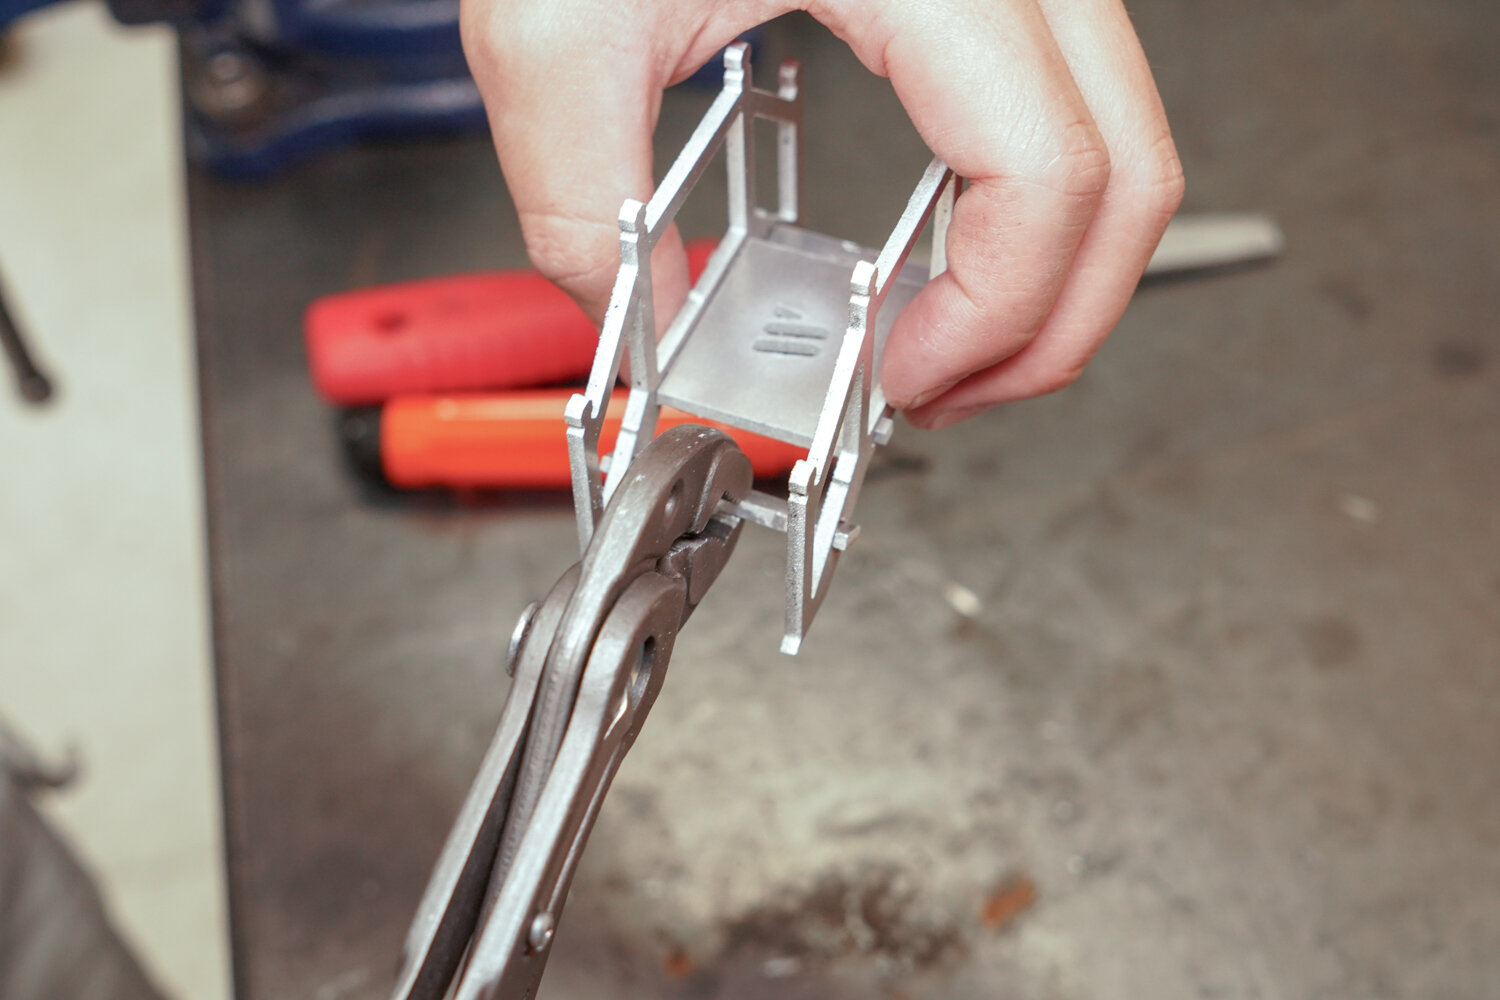
Step 6: Locking the Twist Joints
Twist the top of the stair piece away from the middle of the bridge with pliers until they are parallel to the main span piece, as shown. Repeat for the other stair.
Once fully twisted into place, the bridge should feel solid and the pieces should not wiggle.
The Final Product
Using water jetting, an endless array of complex creations awaits. This bridge serves as a demonstration of one type of joint that can be used to take a 2 Dimensional cutting operation and turn it into a 3 Dimensional end result.
