Install Tool Tray on WAZER Pro
The Tool Tray is a valuable add-on to the WAZER Pro. It sits on the right side of the machine where you can conveniently place tools, fasteners, and materials with a holding capacity of 25kg.
Required Tools
4mm allen key
Parts Needed
WAZER Pro tool tray kit
Procedure
1. Extract all the contents from the WAZER Pro tool tray box.
i. You will find the tool tray, two M5 screws with washers, and a 4MM allen key.
2. Remove the right middle panel that covers the AC cavity, and the right top panel covering the Right side Cavity tray.
3. At this moment, you will see two long set screws pre-installed in the WAZER Pro middle Cast knuckles.
4. Grab the Tool tray, align the outer two holes to the pre-installed set screws.
i. Allow the tool tray to dangle down onto the plastic AC cavity.
5. With one hand pushing up the tool tray, fasten the M5 screws through the inner holes and into the threaded hole on the Cast Knuckles.
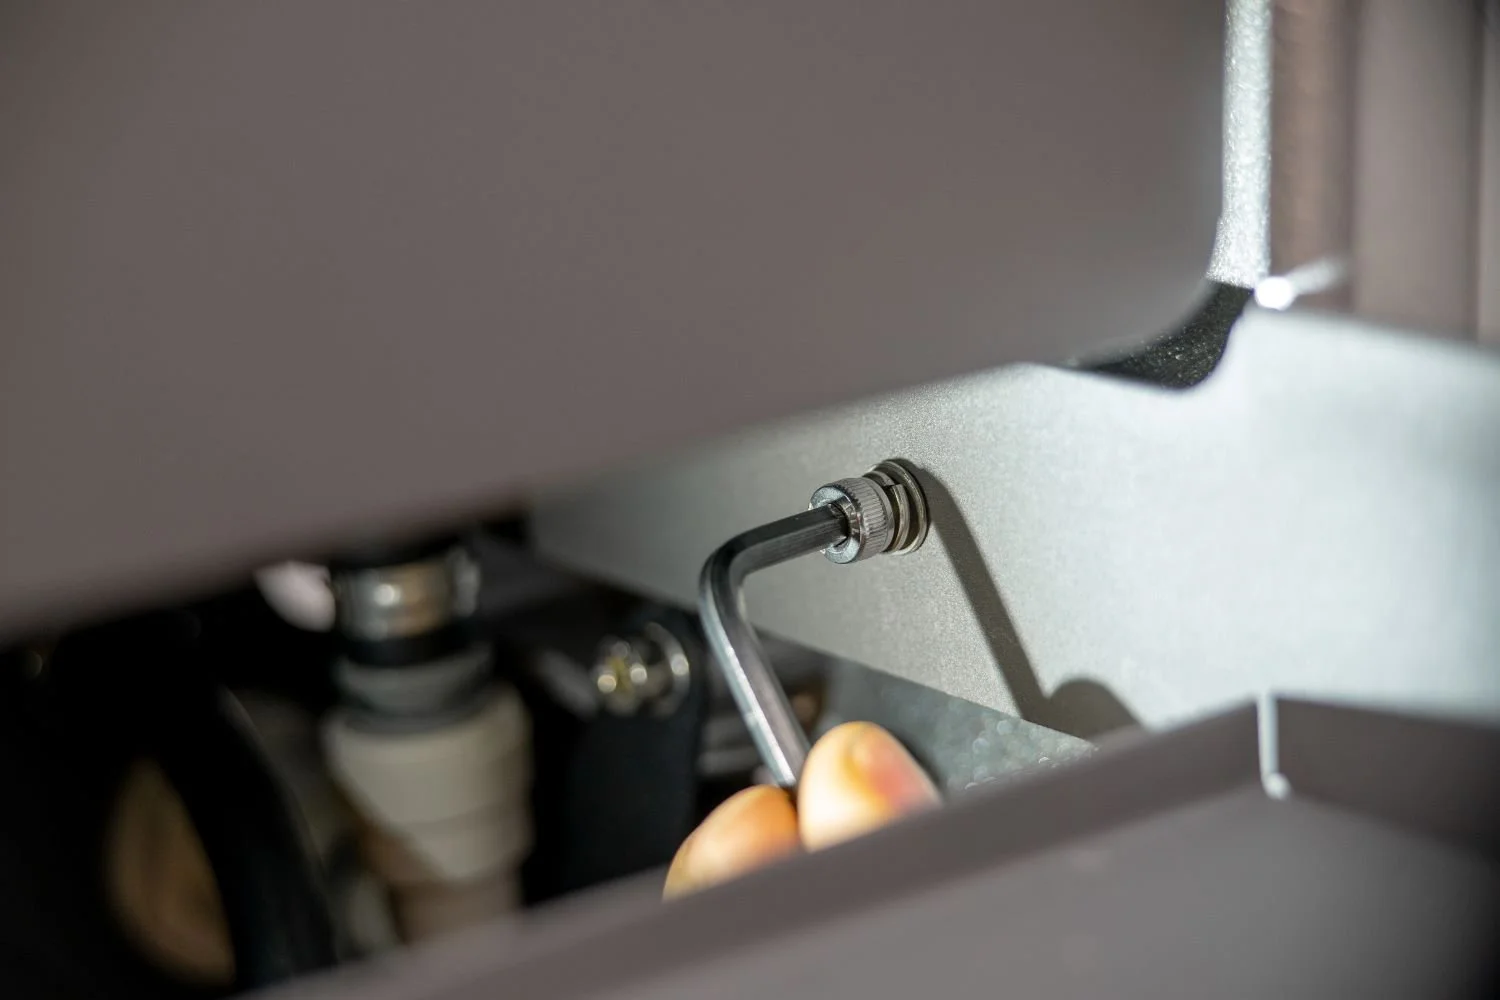
6. Tighten the two M5 screws using the included 4mm Allen Key
Notice
It is recommended to conduct a load test on the tool tray after installation
Put a bucket of abrasive slowly onto the tool tray.
Check and ensure the tool tray is not buckling or warping at any point.
Check and ensure the screws have not shifted and are secure .
Remove the bucket of abrasives.
The Tool Tray is installed and ready to be used.
Next Time
If the space is limited around your WAZER Pro, the tool tray can be left unassembled or be removed at any time.

